Download presentation
Presentation is loading. Please wait.

1
Setting up MyChisholm

2
Access the Chisholm website From any of the Chisholm campuses the website is accessible either by clicking home or typing “intranet” in to the location bar. If you are accessing the Chisholm website from home or another location enter www.chisholm.edu.au in to the location bar.www.chisholm.edu.au

4
Along the bottom of the page click once on myChisholm

5
Then click once on the “Go to myChisholm” button.

6
In the login box that appears, enter your first initial followed by your student id. Your password will be your date of birth unless you changed it when you first logged in to windows.

7
You will then be presented with the myChisholm member area

8
On the right hand side click on Widows Live E-mail

9
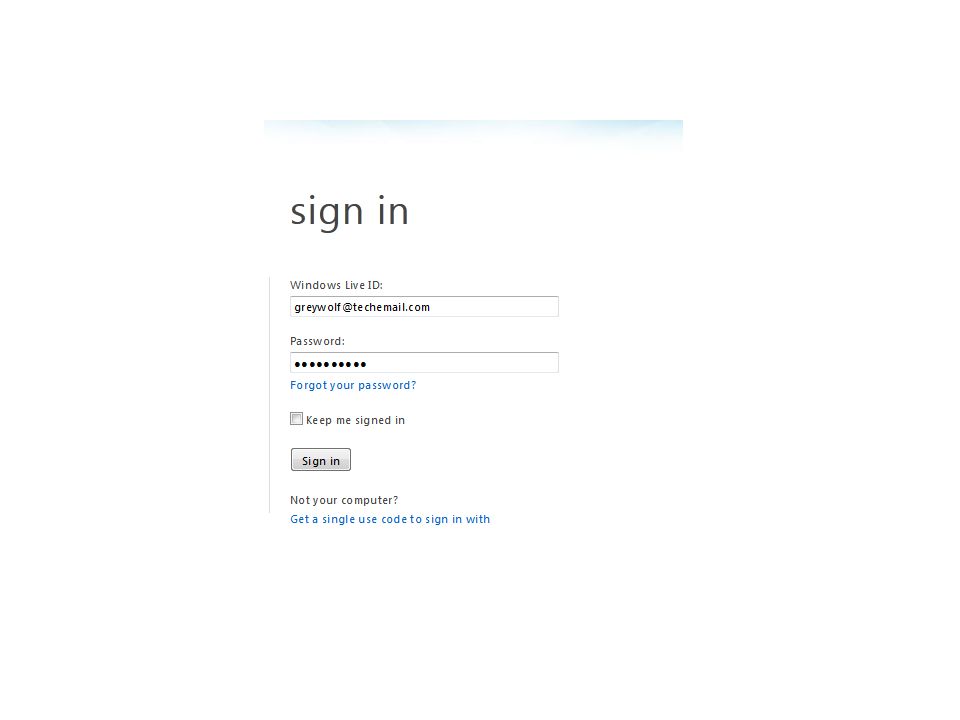
This will open the Windows Live website. Your Windows Live ID will be in the format Firstname.SURNAME.FirstYearEnrolledWithChisholm@my.chisholm.edu.au Firstname.SURNAME.FirstYearEnrolledWithChisholm@my.chisholm.edu.au Your password will be your date of birth. (This will not change when you change your windows password) Note: The FirstYearEnrolledWithChisholm will be the first 4 digits of your student number shortened to a 2 digit year. Example: Elijah.COWLEY.11@my.chisholm.edu.au
 Note: The FirstYearEnrolledWithChisholm will be the first 4 digits of your student number shortened to a 2 digit year. Example:")
12
If you use Windows Live services with a different account (ie. Hotmail or Messenger) you can link these accounts so that email received from one account can be accessed from the other. To set this up ensure you are logged in to the account you want to be the default. You may want to log out of your student email and in to your regular live account.
 you can link these accounts so that received from one account can be accessed from the other. To set this up ensure you are logged in to the account you want to be the default. You may want to log out of your student and in to your regular live account..")
14
Click on your Windows Live ID in the top right corner of the page. Select “Options” from the menu.

15
Click “Linked IDs” from the account section. Then click “Add linked ID” You will first need to re-enter the password for the account you are logged in to. Next enter the Live ID of the account you wish to link followed by the password for that account.

16
Click on the “Link” button to complete the process. Note: If you are linking a different account to your Chisholm live account the ID’s and passwords will be in reverse order.

17
You may have other email accounts you wish to be able to receive mail and notifications for through Live.

18
Click on the arrow next to your Windows Live ID Select “Options” from the drop menu.

19
Select Email Addresses from the account section. Then click “Add an email address” On the following screen select “Add your own email address” radio button and enter the address you would like to receive mail for (note: a text box will appear after selecting Add your own email address)
.")
20
Click the “Add” button to have a verification email sent to the email address you added.

21
Login to your email account and open the email from Windows Live Click or copy to your browser the first link in this email.

22
Hello, greywolf@techemail.com: It looks like you added an email address to your Windows Live account (greywolf@techemail.com). - elijah.cowley@chisholm.edu.au Added If you added this email address, great! Use this link to confirm elijah.cowley@chisholm.edu.au: https://accountservices.msn.com/EmailPage.srf?emailid=840e250b2f6daf92&ed=Cnesk8l/TX04lPRWpVtpMF AwZXdCsgJLto5V1Ofpa8wuVX0VJsciTUzpoZPjNK64TNn7IaM9TwMNyr5r3bA9rAA%3D&lc=1033&urlnum=0 If you didn't add this email address, cancel the request by using this link: https://accountservices.msn.com/EmailPage.srf?emailid=840e250b2f6daf92&ed=Cnesk8l/TX04lPRWpVtpMF AwZXdCsgJLto5V1Ofpa8wuVX0VJsciTUzpoZPjNK64TNn7IaM9TwMNyr5r3bA9rAA%3D&lc=1033&urlnum=1 Thank you, Windows Live Microsoft respects your privacy. To learn more, please read our online privacy statement: http://go.microsoft.com/fwlink/?LinkId=74170 Microsoft Corporation One Microsoft Way Redmond, WA 98052 https://accountservices.msn.com/EmailPage.srf?emailid=840e250b2f6daf92&ed=Cnesk8l/TX04lPRWpVtpMF AwZXdCsgJLto5V1Ofpa8wuVX0VJsciTUzpoZPjNK64TNn7IaM9TwMNyr5r3bA9rAA%3D&lc=1033&urlnum=0 https://accountservices.msn.com/EmailPage.srf?emailid=840e250b2f6daf92&ed=Cnesk8l/TX04lPRWpVtpMF AwZXdCsgJLto5V1Ofpa8wuVX0VJsciTUzpoZPjNK64TNn7IaM9TwMNyr5r3bA9rAA%3D&lc=1033&urlnum=1 http://go.microsoft.com/fwlink/?LinkId=74170

23
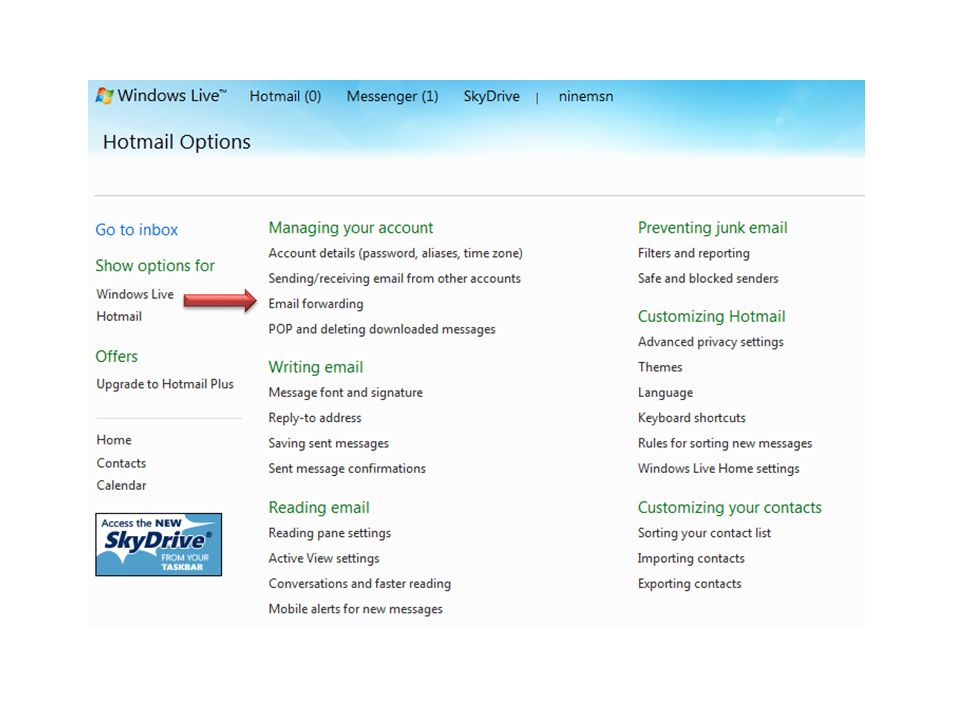
Some email services are not compatible with Windows Live causing emails to not appear in Live Mail, in this situation you may need to forward the email from Live to your other email address. This can be done by going to your Live account options. Select “Mail” from the categories on the left had side. Choose “Email forwarding”

25
You may also set the default account mail will appear to be sent from when you send an email from live mail, this is located under Email options, “Sending/receiving email from other accounts” item.

Similar presentations