Download presentation
Presentation is loading. Please wait.

7
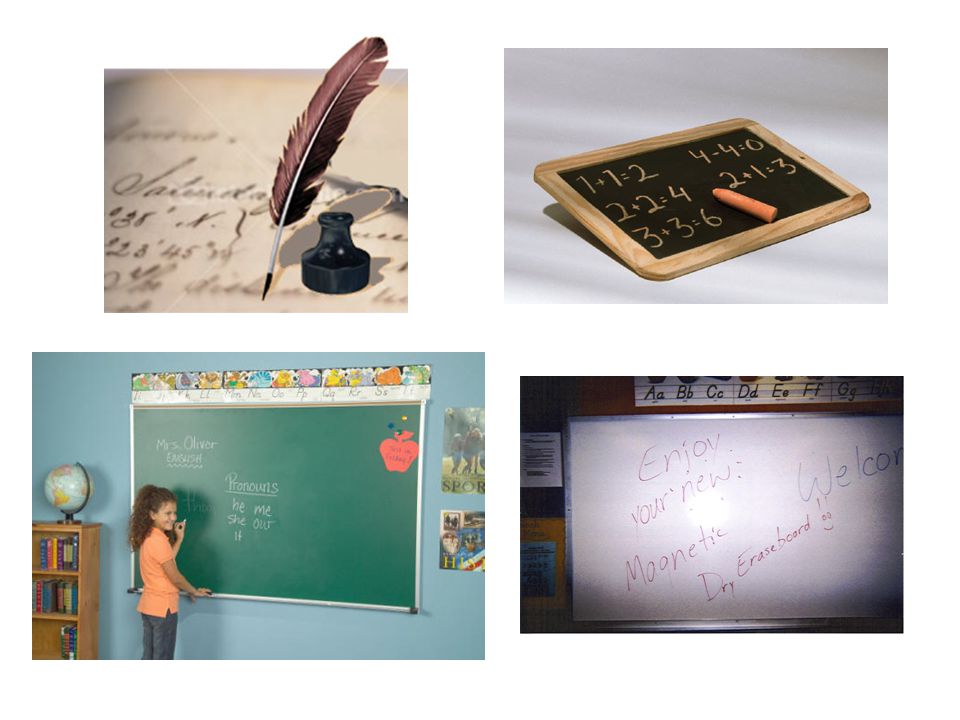
Why are we here? No more need for vis-à-vis markers!

8
Number Spinner

9
Color Wheel Spinner

10
The evolution of technology in schools…

13
A little about me… I have been using the Interwrite pad in my classroom over the past three years and was asked to share my experience and knowledge with the software to my colleagues. I think the Interwrite has been a life saver and has helped me create “effective, challenging, and engaging lessons” on a daily basis! http://www.mtnbrook.k12.al.us/cms/Mr.+Haller/7944.html

14
My Goal for Today’s Workshop: By the end of the workshop, every participant will be able to use the Interwrite pad in their own classroom.

15
Today’s Agenda: 1. Setting up the Interwrite Pad in your classroom. 2. Work through: – Module 1: Getting Started with Workspace – ***Module 2: Creating Interactive Content – Module 3: Engaging Content with Learners – Module 4: Integrating Multimedia Resources – Module 5: Using Workspace with Other Applications – Module 6: eInstruction Product Suite Integration – Module 7: Customizing Workspace 3. Content Creation and Practice Time

16
First Things First… 1. Charging the Interwrite Pad (Be sure the pen is secured in holster). 2. Turning on the Interwrite Pad and Opening the Interwrite Program from eInstruction. 3. Connecting the Interwrite Pad. 4. Changing the toolbar size to 40 x 40. 5. Setting up the Gallery Database.

17
#5. Interwrite Workspace Gallery Setup http://www.mtnbrook.k12.al.us/Images/Users /8/File/Tech%20Handouts/interwrite09setup. pdf http://www.mtnbrook.k12.al.us/Images/Users /8/File/Tech%20Handouts/interwrite09setup. pdf

18
Practice Time – Setting up your Folders and Database

19
Module 1: Getting Started with Workspace “Preferences” Workspace Pages: blank (white) pages, colored pages, lined pages, graph paper pages, gradient pages (2 and 4 colors), image pages, calendar pages….and more! Once you set up pages, you can simply add an additional page in a one click step

20
Show pages…

21
Interactive Modes Mouse Mode Annotate Mode Video - http://mbsinterwritebeginner.wikispaces.com / http://mbsinterwritebeginner.wikispaces.com /

22
Your turn… Create 3-5 pages. Try to use a variety of pages.

23
Module 2: Creating Interactive Content Toolbar – How to use items in the toolbox. A description of each item can be found on the wikispace page: – http://www.mtnbrook.k12.al.us/Images/Users/8/ File/Tech%20Handouts/01%20Getting%20Started %20with%20Workspace.pdf http://www.mtnbrook.k12.al.us/Images/Users/8/ File/Tech%20Handouts/01%20Getting%20Started %20with%20Workspace.pdf

24
Math Tools Video on how to use some of the math tools such as a ruler, protractor, & compass. http://mbsinterwritebeginner.wikispaces.com/

25
Module 3: Engaging Content with Learners All lessons are improved with the use of the Interwrite. Students LOVE to use the pads and are able to….SHARE THE LOVE! Features: Spotlight, Curtain, Gradient Backgrounds Video: http://mbsinterwritebeginner.wikispaces.com / http://mbsinterwritebeginner.wikispaces.com /

26
Module 4: Integrating Multimedia Resources Using the Document Camera incorporated in an Interwrite lesson. Math Lesson Example

27
Math Lesson - Example

28
Multimedia Resources Adding a sound file

29
Multimedia Resources Adding a Video File

30
Multimedia Resources Record and Playback

31
Multimedia Resources Videos: http://mbsinterwritebeginner.wikispaces.com / http://mbsinterwritebeginner.wikispaces.com /

32
Your Turn!!! Use the record and playback multimedia resource! Try adding an audio or video file!

33
Module 5: Using Workspace with Other Applications Creating hyperlinks. Found on the properties bar at the bottom of the page. http://mbsinterwritebeginner.wikispaces.com / http://mbsinterwritebeginner.wikispaces.com /

34
Your turn… Create a hyperlink on a page.

35
Module 6: eInstruction Product Suite Integration 3 videos http://mbsinterwritebeginner.wikispaces.com / http://mbsinterwritebeginner.wikispaces.com /

36
Module 7: Customizing Workspace There are videos on the website that you can refer back to when in your classroom.

37
How to Save an Interwrite Lesson onto Your Webpage Simply click on the workspace menus (drop arrow on the top right of the toolbar) and click “Export PDF file.” It will then save this file as a PDF. Once this file is saved, you should be able to upload it on in10sity without any trouble!

38
Extra Special Features! Page Transitions Gallery Walk! – Look at the different subject areas in the gallery!

39
The more you play with the Interwrite Pad and software, the easier it becomes!!! “The expert at anything was once a beginner” Helen Hayes

40
Conclusion I hope you learned at least one new thing. You can always find someone to help you with the Interwrite software at your school…just ask. Chad Haller, 5 th Grade Math @ Cherokee Bend. Feel free to e-mail me!

41
THANK YOU!!!

42
Practice/Creation Time: I am around to help you with any questions you may have. I will do my best to help you out!

Similar presentations