Download presentation
Presentation is loading. Please wait.

1
LAB #2 CARBURETOR REMOVAL AND REPLACEMENT

2
Remove Cover Using a #10 star tip and a bit driver, remove the four screws to recoil cover.

3
Remove Blower Housing Remove Gas Cap With a 10mm socket remove three nuts.

4
Remove Blower Housing Cont. With an 8mm socket remove two bolts on the opposite end of the engine that the recoil is on.

5
Recoil Removal Carefully remove the recoil, notice the position the handle is in, when you put it back on the recoil is in the correct position.

6
Remove the blower housing and the spacers.

7
Place small parts in bag and label.

8
Hose Clamp Removal Use pliers to move the clamp on the fuel line away from the carburetor fuel fitting. Remove the fuel line from the fitting. Be careful here, as this may be difficult and require a screwdriver to pry the line off.

9
Remove Carb. Using a 5/16” socket remove the two bolts that secure the carburetor to the engine. Before completely removing the carb. Disconnect the skinny rod first then the larger rod. Rotate the carburetor to release it from the governor linkage. You may have to pull the governor link to the left to extend it for this

10
procedure. Now carefully work the linkage spring out of its hole on the carburetor throttle lever. Be careful not to stretch the spring! Gently work the carb away from its mount. Remove heat spacer from between the carb & the engine block. Place small parts in bag and label.

11
Carb Removal Remove heat shield. Remove Spacer. Leave on paper gasket, as it might rip.

12
Air Gap Using a feeler gauge measure the gap between the armature and the flywheel. Record your findings.

13
Using a 10mm combination wrench carefully remove the three bolts from the engine block. This will allow you to remove the gas tank. Notice that the gold bolt is connecting the armature.

14
Using a 10mm socket remove the two screws holding on the gas tank.

15
Place small parts in bad and label.

16
Disconnect the fuel line from the gas tank, before removing the gas tank.

17
Gas Tank Bracket Using a 10mm socket remove the bracket that holds the gas tank.

18
Dip Stick Using a 10mm socket remove the oil dipstick.

19
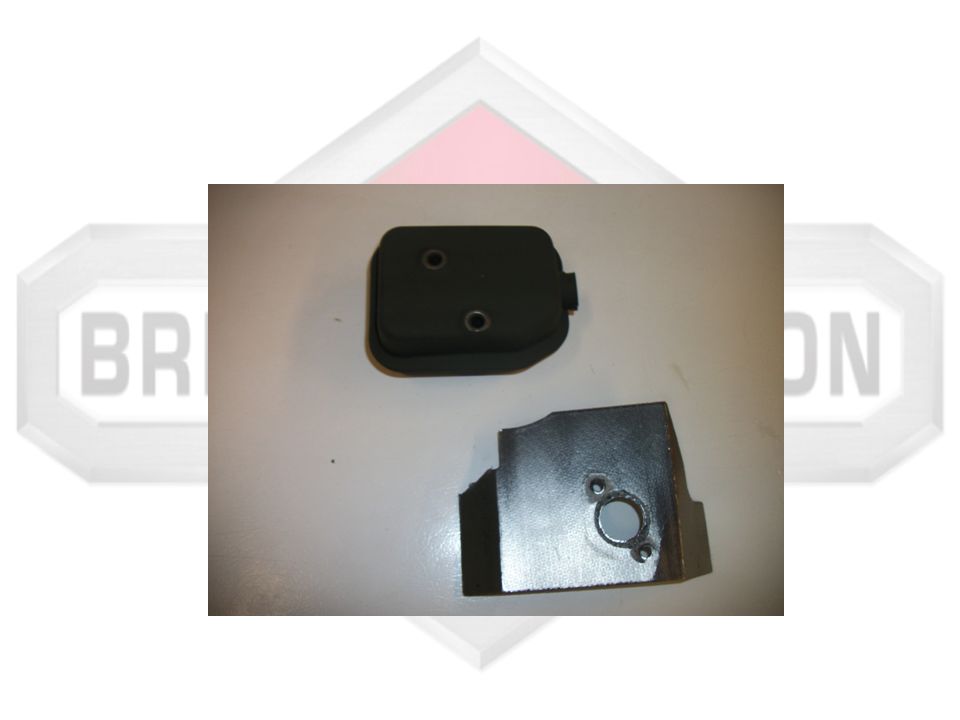
Muffler Heat Shield Using a 10mm socket remove the two nuts that hold on the muffler heat shield.

20
Muffler Remove muffler

21
Remove the cardboard heat shield.

23
Using a 10mm socket remove the two bolts that hold the governor control arm carefully

24
removing the spring from the control lever and keeping the fuel line in the bracket.

Similar presentations


 2003 Converted to PowerPoint by Janice Clanfield, 2008.>")


