Download presentation
Presentation is loading. Please wait.

1
Microsoft PowerPoint Research: Third- Fifth Grade
Katie Claxton Chandler Elementary Library Media Specialist

2
Opening/Objective 126. 7(b)1, 110. 14(b)(18), 110. 15(b)(16), 110
Opening/Objective 126.7(b)1, (b)(18), (b)(16), (b)(16): We will learn how to use Microsoft PowerPoint. Closing: I can use Microsoft PowerPoint to create a presentation about my research topic. Literacy Connection: Active Listening and Writing
1, (b)(18), (b)(16), (b)(16): We will learn how to use Microsoft PowerPoint. Closing: I can use Microsoft PowerPoint to create a presentation about my research topic. Literacy Connection: Active Listening and Writing.")
3
Guiding Questions: What is PowerPoint. What is research
Guiding Questions: What is PowerPoint? What is research? Explain: We can use PowerPoint to share our research with others by creating an informational slide show.

4
Academic Vocabulary: Research- to study and learn facts about a topic PowerPoint- a computer program that is used to create slides and slide shows. Insert- to put something inside or into something else. Drag- to move something

5
Academic Vocabulary: Re-size- to make something bigger or smaller Font- the type of writing being used Clip Art- pictures that can be inserted into a document Animation- to make something have movement Transition- progression from one slide to the next

6
Opening up PowerPoint Using your mouse and cursor, click on “Start” on the bottom left side of your screen. Click on “All Programs” Click on “Microsoft Office” Click on “Microsoft Office PowerPoint”

7
Microsoft PowerPoint When you open up PowerPoint, you will have a white slide that has two textboxes on it. The top textbox will have the words, “Click to add title” and the bottom box will have the words, “Click to add subtitle”

8
Title and Subtitle Using your mouse and cursor, click inside of the top textbox. Using your keyboard, type the name of the animal you have been researching in class. Using your mouse and cursor, click inside of the bottom textbox. Using your keyboard, type your first and last name, click enter, and type your teacher’s name.

9
Add a Slide Using your mouse and cursor, click on “New Slide” on the top of the screen. (Make sure you are on the “home” tab.

10
Changing Your Slide Layout
Using your mouse and cursor, click on “Layout” on the top of your screen. Click on “Blank”

11
Inserting a Text Box Using your mouse and cursor, click on “Insert” on the top of the screen. Click on “Text Box” Using your mouse and cursor, click on the slide and drag your mouse to make a text box.

12
Inserting Text After you drag your cursor to make your text box, you will see a flashing line. Using your keyboard, type your first fact.

13
Changing your Font Style
Using your mouse and cursor, click and highlight the text in your textbox. Make sure you are on the “HOME” tab at the top of your screen. Click on the “Font” selection box and choose the font of your choice.

15
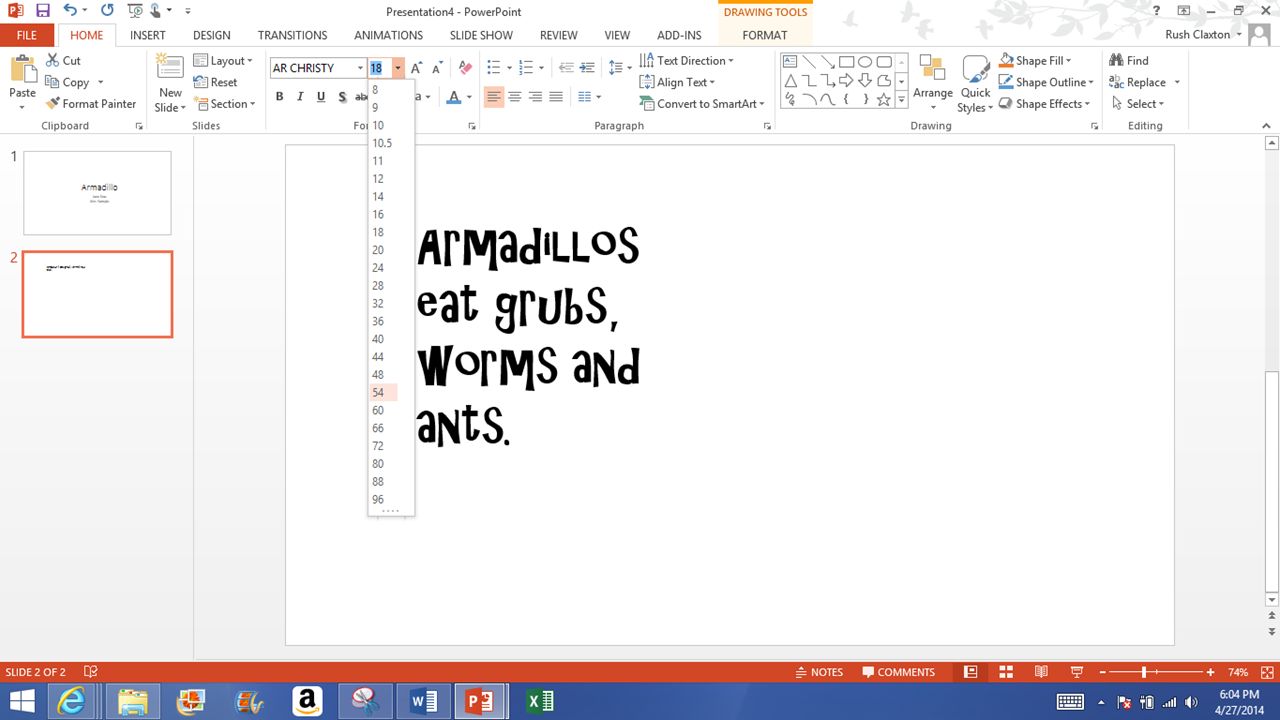
Changing your Font Size
Using your mouse and cursor, click and highlight the text in your textbox. Make sure you are on the “HOME” tab at the top of your screen. Click on the “Size” selection box and choose the font size of your choice.

17
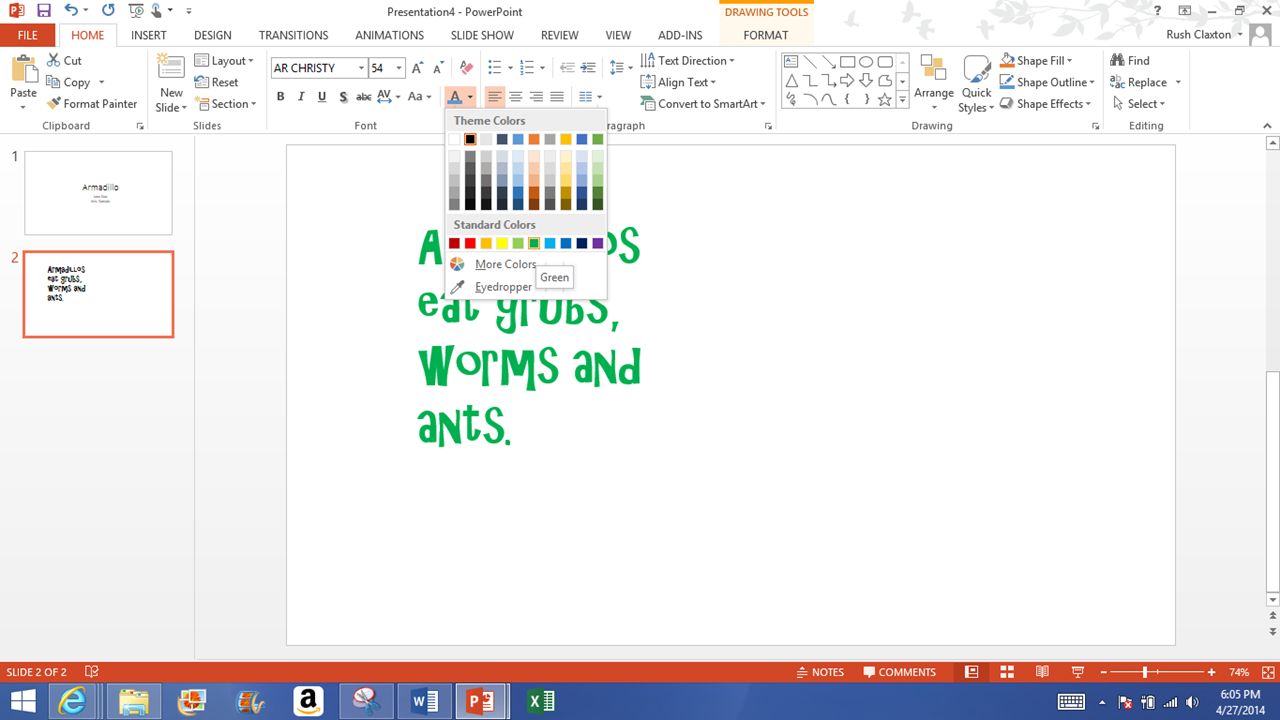
Changing your Font Color
Using your mouse and cursor, click and highlight the text in your textbox. Make sure you are on the “HOME” tab at the top of your screen. Click on the “Color” selection box and choose the font color of your choice.

19
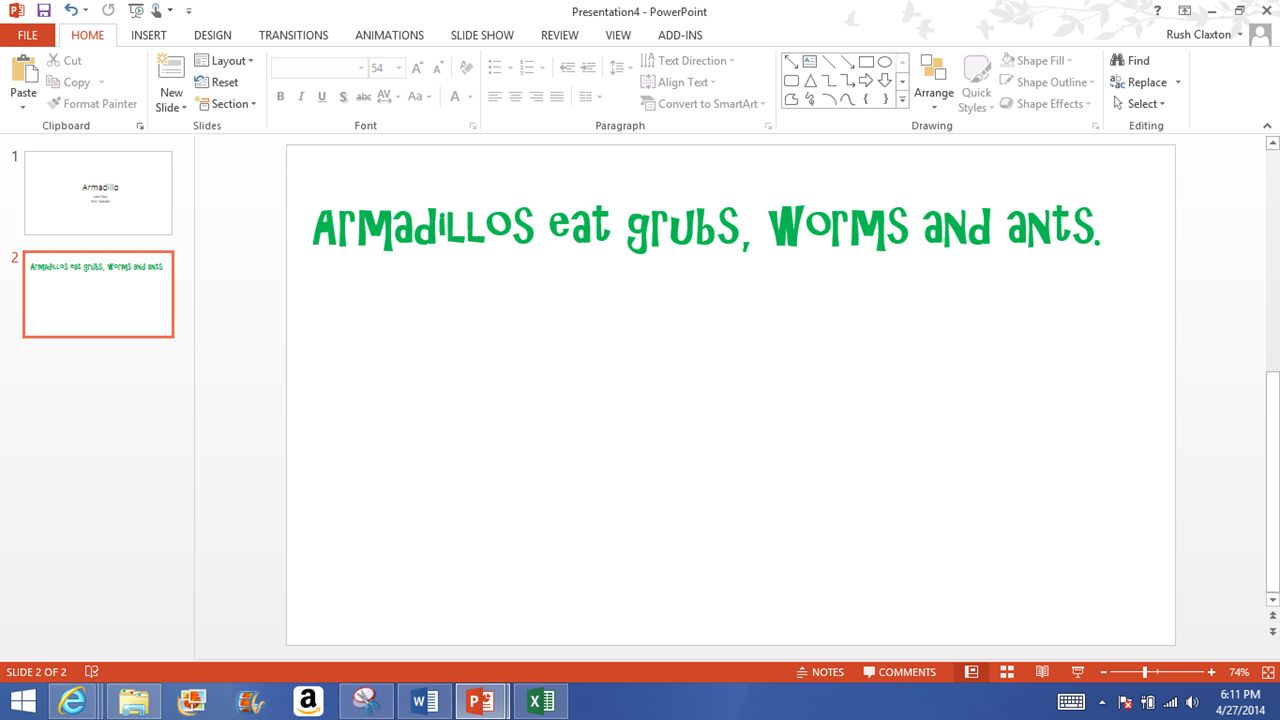
Re-Size your Text Box Using your mouse and cursor, hover over the corner of your text box. Your cursor will change into a double sided arrow. Click and drag to make your text box larger or smaller.

21
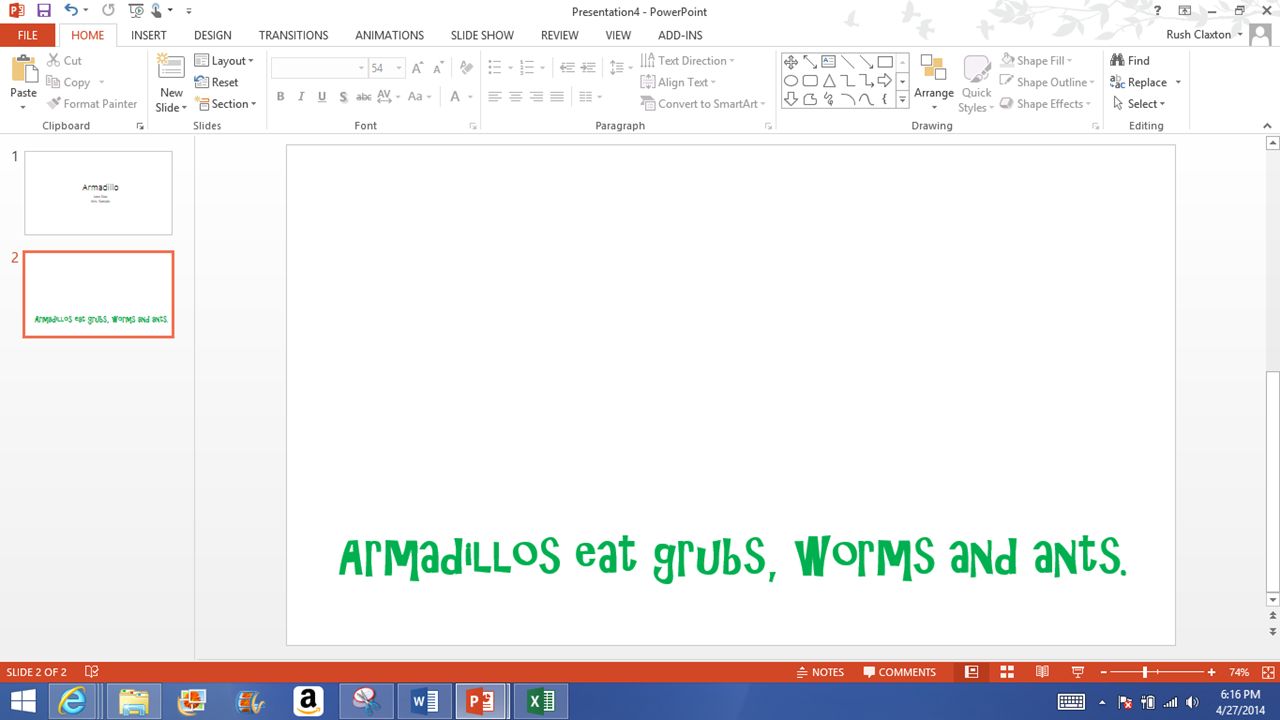
Moving your Text Box Using your mouse and cursor, hover over your text box. Your cursor will change into a four sided arrow. Click and drag to move your text box.

23
Add a Slide Using your mouse and cursor, click on “New Slide” on the top of the screen. (Make sure you are on the “home” tab.

24
Changing Your Slide Layout
Using your mouse and cursor, click on “Layout” on the top of your screen. Click on “Blank”

25
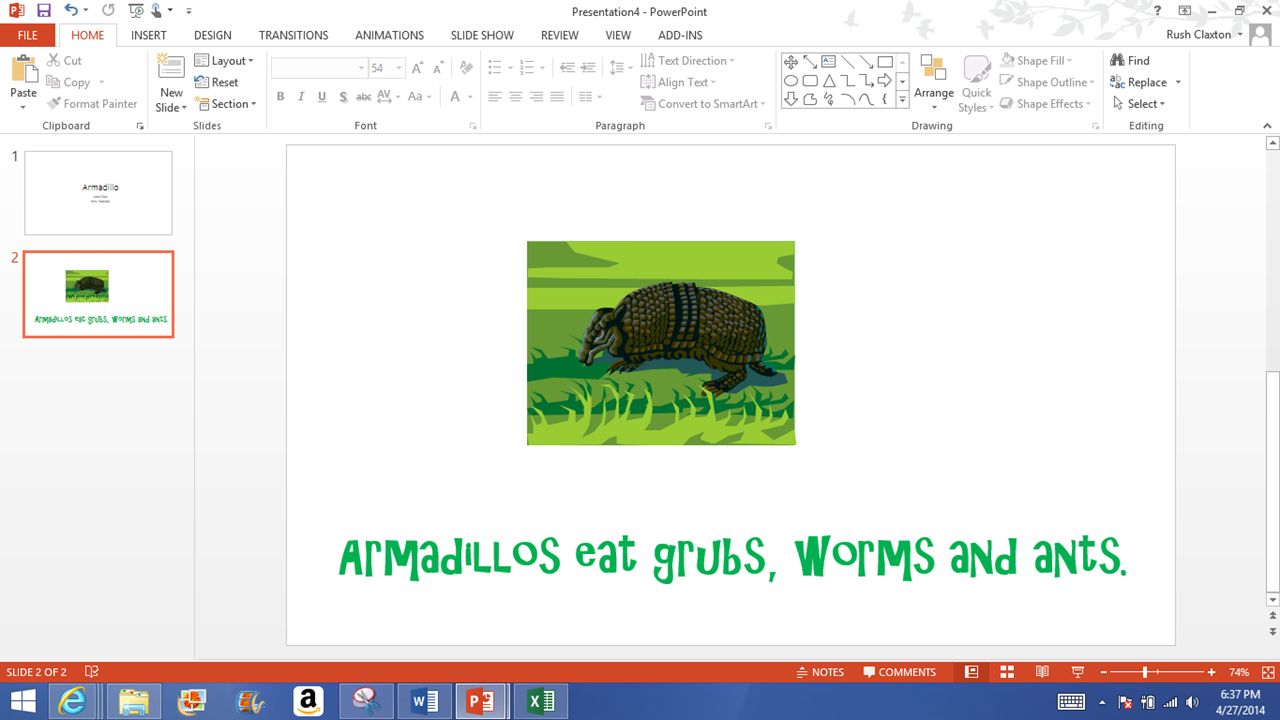
Inserting a Photo Using your mouse and cursor, click on the “INSERT” tab. Click on “Pictures” Click on “Desktop” Click, the folder you saved your photos in 5. Click on the photo you want to insert 6. Click on “Insert”

27
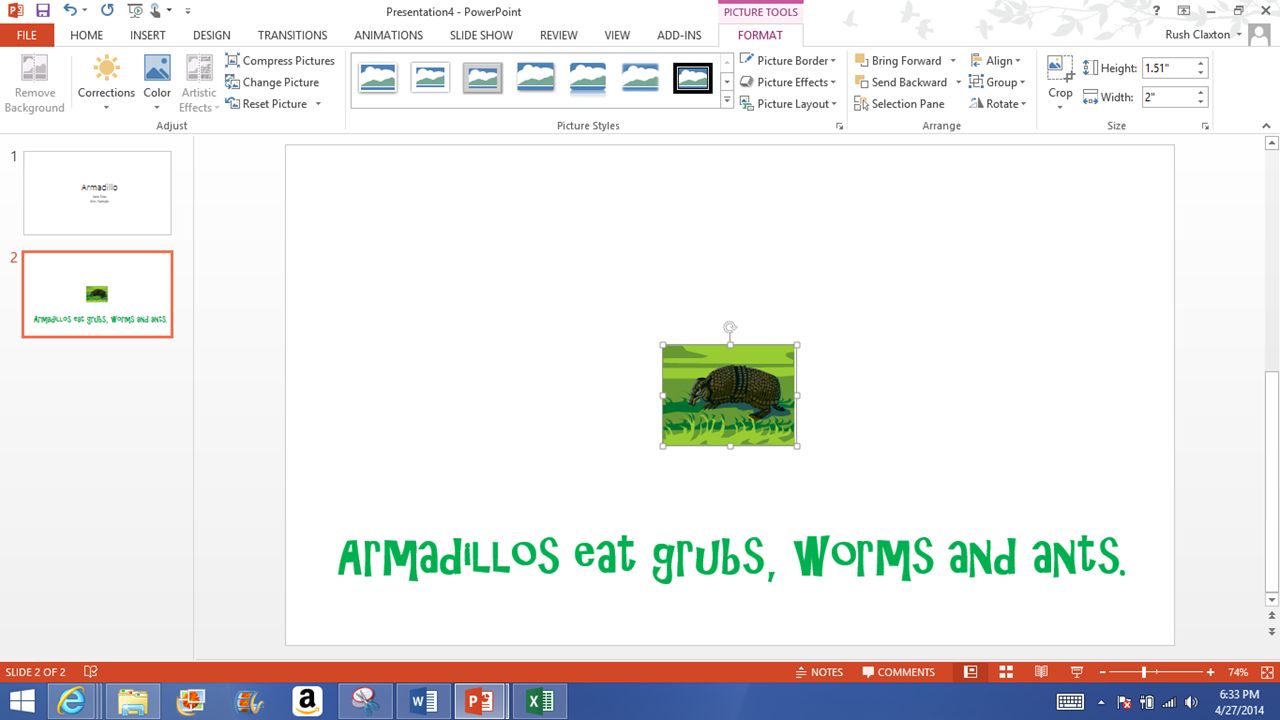
Re-Size your Clip Art Using your mouse and cursor, hover over the corner of your clip art. Your cursor will change into a double sided arrow. Click and drag to make your clip art larger or smaller.

29
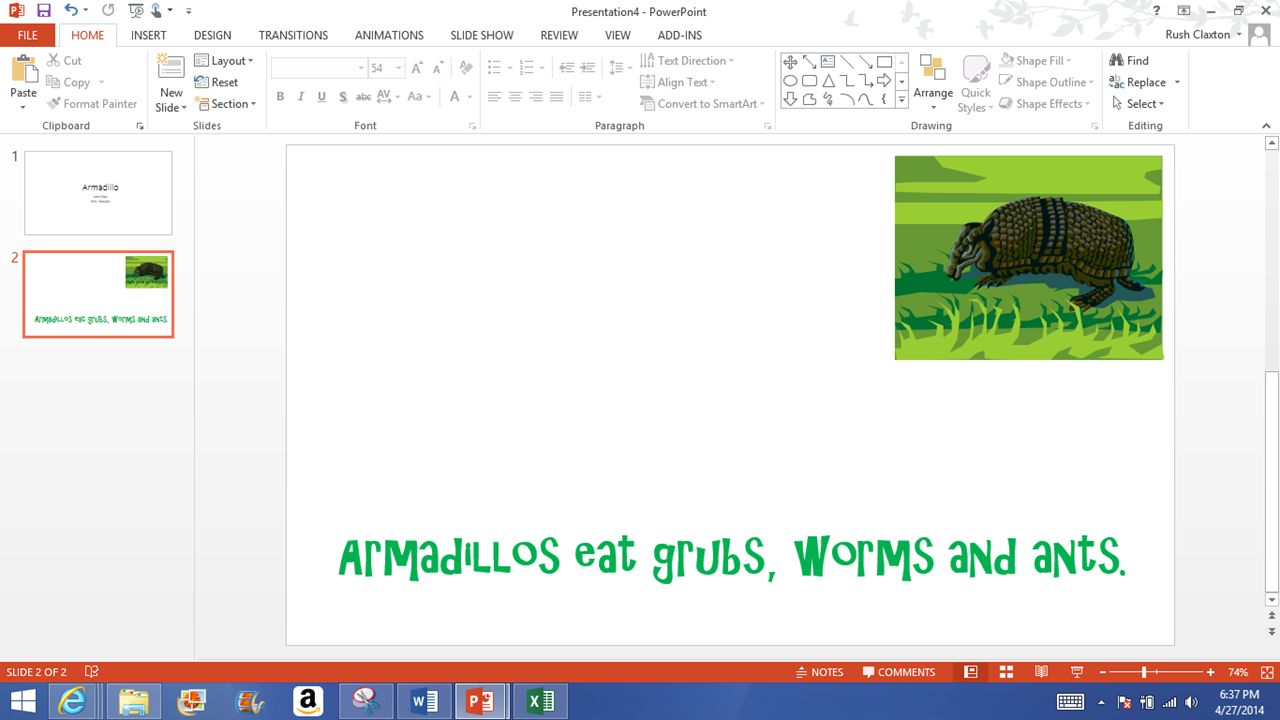
Moving your Clip Art Using your mouse and cursor, hover over your text clip art. Your cursor will change into a four sided arrow. Click and drag to move your clip art.

31
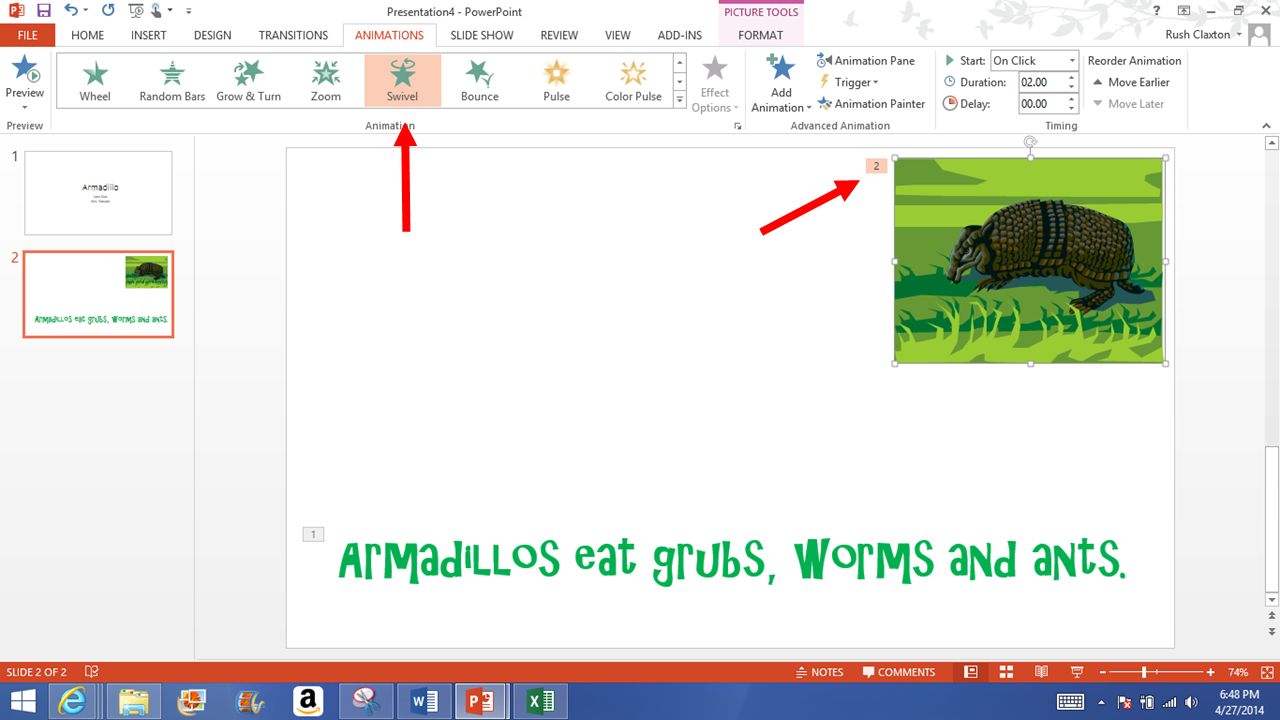
Adding Animation Using your mouse and cursor, click on “ANIMATIONS” tab at the top of your screen. Using your cursor, click on your text box. “Add Animation”

32
Adding Animation Chose the animation of your choice.

34
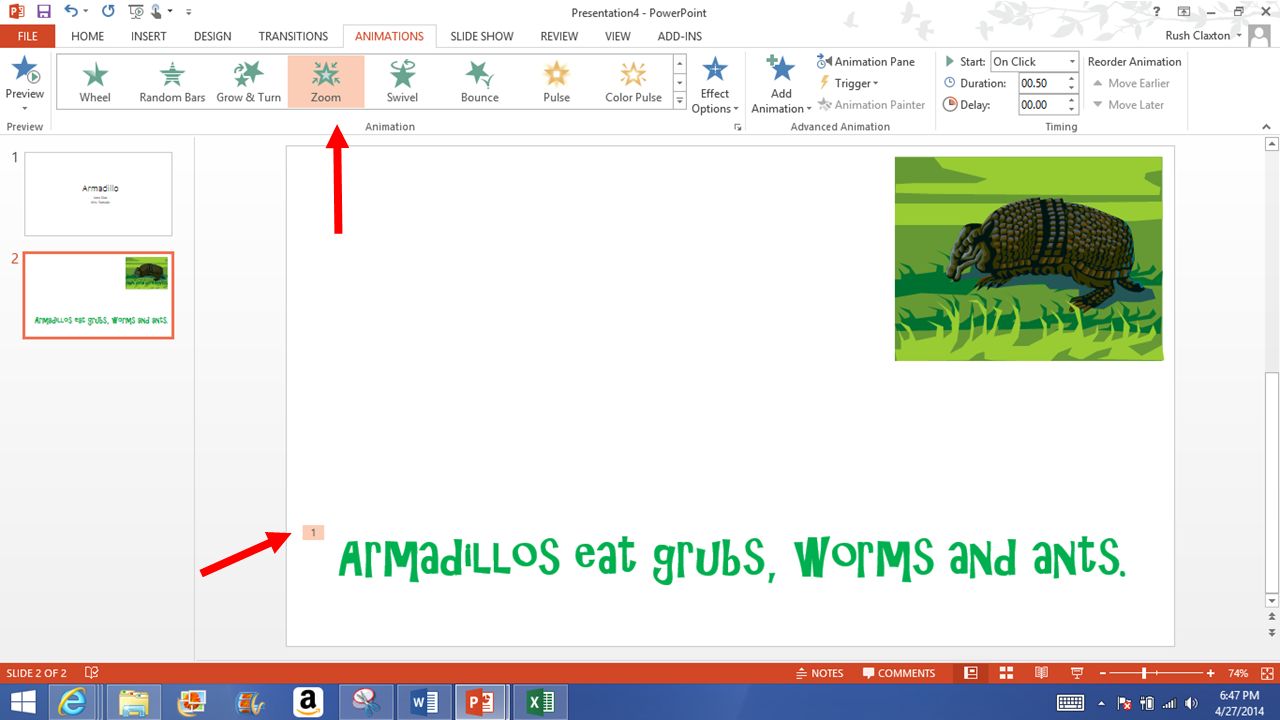
Adding Animation Using your mouse and cursor, click on “ANIMATIONS” tab at the top of your screen. Using your cursor, click on your clip art. “Add Animation”

35
Adding Animation Chose the animation of your choice.

37
Adding Transitions First, let’s make sure you are on the first slide of your PowerPoint. Click on Slide 1 of your Power Point. Using your mouse and cursor, click on “TRANSITIONS” tab at the top of your screen. Using your cursor, click on the transition of your choice.

38
Walk through those steps again
Walk through those steps again. For each of your slides, you will add a transition.

39
Watch your Slide Show Click on the “SLIDE SHOW” tab at the top of your screen Click on “From Beginning” choice Click “Enter” on your keyboard to progress through the slide show

40
Save your Slide Show Click on the “FILE” tab at the top of your screen
Click on “Save As” Type your name and the name of your research topic, \ Example: Jane Doe Armadillos

41
1. Using your mouse and cursor, click on “Save”

42
Print your Slide Show Click on the “FILE” tab at the top of your screen Click on “Print”

43
Using your mouse and cursor, click on
“Slides” and choose “2 Slides”

44
Using your mouse and cursor, click on
“Print”

45
Closing Power Point Click on the “FILE” tab at the top of your screen
Click on “Close”

Similar presentations


>")


 Part 1: Basic Vocabulary Part 2: Cursors Part 3: Insert Your Text Part 4: Insert Your Pictures Part 5: Basic Tools &>")


