Download presentation
Presentation is loading. Please wait.

1
User Instruction: Lets Log in

2
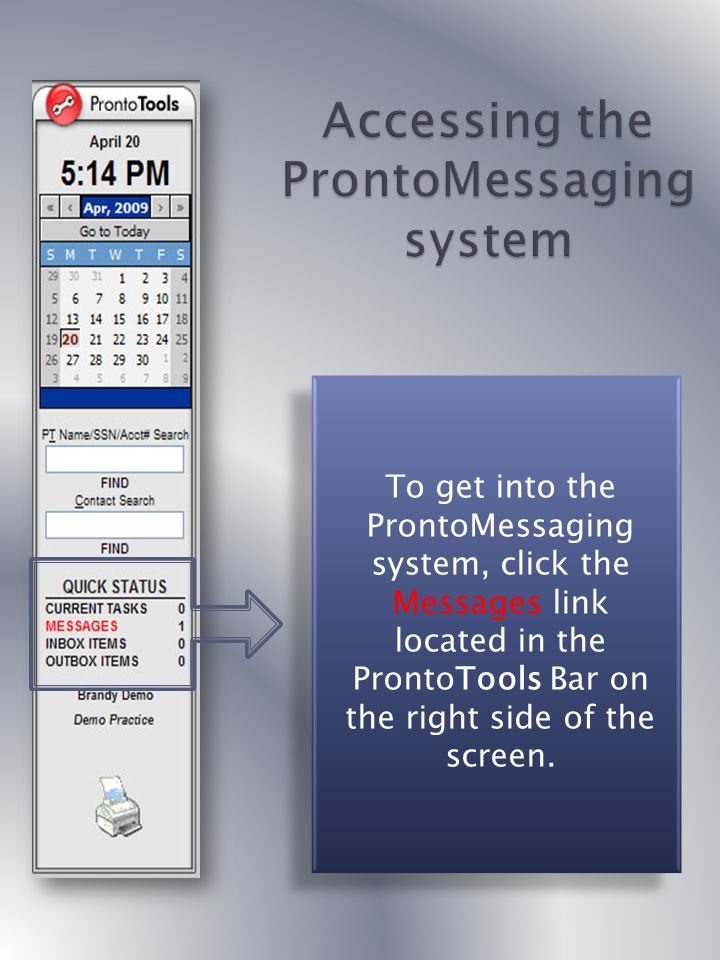
Logging In Getting Around Using the Company Calendar ProntoMessaging

4
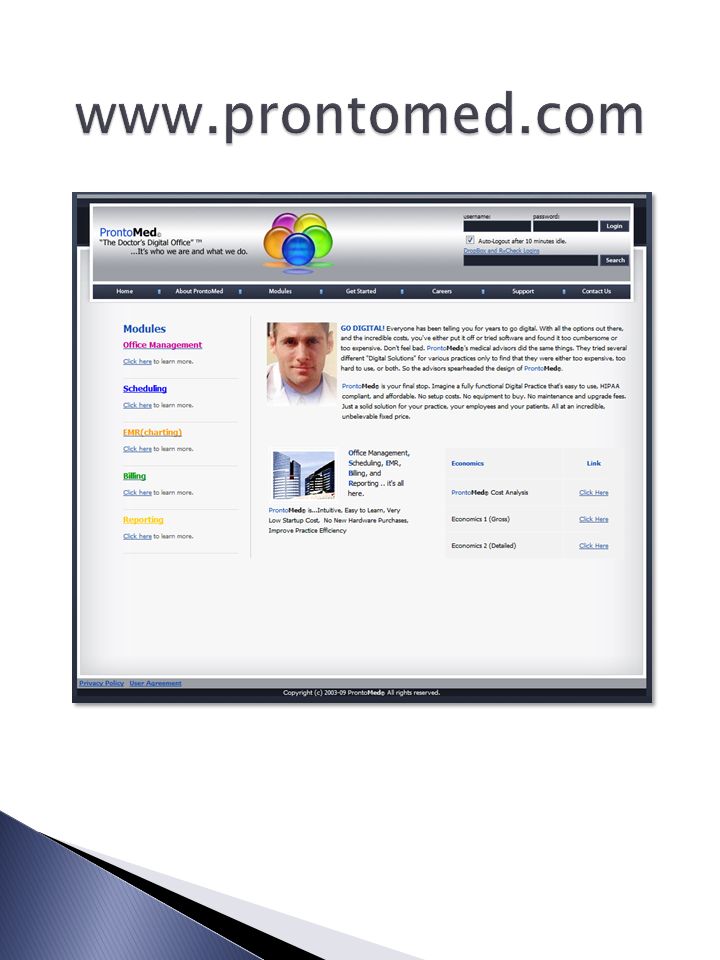
Locate the Login icon on the main page. Use your Username and Password provided to you. The Auto-Logout request is an added safety benefit. Once you have entered all information click the. Icon to enter into ProntoMed.

5
This is a one-time screen. Once you have agreed to the terms, you will not have to enter through this screen again. This is the User Agreement.

6
Welcome to the ProntoMed © Home Screen. This will be your default screen every time you login to ProntoMed. You can view all of your most current and upcoming service dates from this screen, Find a patient you are looking for, or quickly see if there are any pending messages awaiting you. ProntoMed is as easy as a click of the mouse. On every screen we have included frequently used links you may need.

7
1. By clicking the “Go to Today” button in the calendar you will go to the current day’s schedule. 2. By selecting a date in the calendar, the schedule for that particular day will be brought up. 3. The single arrows to the left and right of the month, year in the calendar will move you one month previous or ahead. 4. The double arrows to the left and right of the month, year in the calendar will move you one year previous or ahead. Viewing The Schedule:

8
There are four primary approaches to finding and viewing a patient, all of which consist of entering demographic information into the PT Name/SSN/Acct# Search Field. Last Name (full or partial) First Name (preceded by a comma) Full Name (last, first) Social security (dashes included) Finding A Patient:
 First Name (preceded by a comma) Full Name (last, first) Social security (dashes included) Finding A Patient:.")
9
Once the search criteria has been entered, a list will appear in the main screen of those patients that fit the data entered. Refine your search with the Search Criteria Fields.

10
Both the Folder and the name are both links to the patient’s electronic chart. The bubble is a link to the patient’s notes. The letter is a link to the messaging center. The light bulb is a link to the patient’s workflow tasks. The small calendar is a link to the patient’s appointment history. The last appointment, if any, will be just to the right of the calendar. The numbers in the green boxes are links to the Account, while also showing the Account balance

11
Using the Company Calendar can help cut down the confusion of a busy office. Staff can now easily see when the office is open or closed, or who has the day off. Even better, because it is part of the live system, when a new event is scheduled, it is immediately viewable by all staff.

12
When viewing the main screen, you can add new events to the office calendar by selecting the Post New Items Link located at the bottom of the screen. Drop down lists for the event type and Staff member connected to it allows you to quickly add needed dates.

13
By selecting a date on the calendar you can view already pending events, or add new events to the day. Also, events no longer needed can be removed from this screen.

14
The ProntoMessaging feature is a fast, easy and HIPAA compliant way for the office to quickly and efficiently communicate between the doctors and the staff.

16
Creates a new message to send Creates folders to organize in & outgoing mail Allows user to search for specific criteria Allows user to exit messaging system Opens incoming mail Contains messages sent to other users All messages previously discarded

17
Sending Messages To create a new message select the link. The above screen will appear. By clicking in the Recipients field, a list of available staff will appear to the left. Click on the names desired, and they will automatically populate the field. If a wrong name is selected simply click on the X beside the field to erase the names in the field. The CC recipients field is for those recipients that you may want to have a copy but are not the main recipients of the email. To finish, select the priority level of the message, and then select send.

18
An alternative to creating a message inside the messaging center is to create a message while in a patient’s chart. This can be a helpful option as it also permanently connects the message to the patient’s chart.

19
Receiving The Inbox contains both opened and unopened received mail. If the small envelope to the left is open the message has been opened previously. If the envelope is closed, the message is new mail that has not been read yet. To read a message, hover over any of its details and click on them. Messages

20
Once opened, the message screen will appear one of two ways. A simple message will appear like the message to the left. A message that has been linked to a patients chart will appear like the one below. Once finished, a list of continuing options can be found at the bottom of the message. A message does not have to be linked at the time of creation. It can also be linked to a chart from the receiver of the message but remember, once linked, a message can not be unlinked.

21
Moving A single message can be moved while it is opened. If more than one message needs to be moved, opt for the inbox function, and then select which messages need moved by checking the boxes to the right. Once all messages have been chosen, use the dropdown box located at the bottom of the inbox, and select the folder the checked messages are to be moved to. Messages

Similar presentations


 Mail ! Microsoft 2003 Exchange E-mail for VUSD Teachers.>")


 User Guide Horizon School Division #205.>")


 Search Invoice Manage.>")

 Holly Smythe, Instructional Designer, Ext 8451 Lonny Buinis, Instructional Designer, Ext 8306.>")


 for Collin College faculty and staff.>")


 English. Education Upon completion of this course, you will be able to: Navigate the GCal interface Search your calendar.>")