Download presentation
Presentation is loading. Please wait.

1
Using Outlook 2010

2
Benefits of Using Outlook Now – Better formatting of HTML mail (with bullets, fonts, etc.) – Great calendar, ability to send meeting requests that automatically enter your calendar – Great task manager Once we move to the Exchange server in the Fall – You’ll be able to see other people’s calendars (if they give you access) – Ability to send Instant Messages (Chat) – Much larger inbox! (4gb)
.")
3
Before we start If you use Eudora… – Open Eudora and go to Tools->Options ->Checking Mail – Check the box that says Leave mail on the server – Make sure there is no number set in the “for how many days” box. (i.e. never take mail off the server) This won’t affect your Eudora, but it will keep Eudora from stealing all your mail from Outlook.
 This won’t affect your Eudora, but it will keep Eudora from stealing all your mail from Outlook..")
4
How to set up Outlook The following slides show you how you set up Outlook to use the IMAP server. In the Fall, we will switch you to the new Exchange server.

5
1 2

6
If you see this, you are on...Track AMore likely, you see this. So you’re on Track B

7
1 2 Track A

8
1 2

9
Track B

10
1 2 This is where Track A and B merge

11
1 2

13
Hit OK, Next, Close etc. Close Outlook completely Then open Outlook again and go to File->Account Settings Double-click the account you just created (ie username@bu.edu)

14
1

15
2 1

16
1 2 3 Hit OK, Next, Close etc.

17
How to set up the BU Directory The following slides show you how you set up the ldap server, which will automatically look up the email address of anyone who is part of the BU community.

18
1 2 go to File->Account Settings and click Address Books

20
1 2 Type: ldap.bu.edu, then click More Settings

21
1 2 3 O=Boston University,c=US

22
Hit OK, Next, Close etc. Close Outlook completely

23
How to move your address book(s) to Outlook The following slides will show you how to import a Thunderbird address book. You might have more than one to import- you can do this procedure multiple times.

24
To import your Thunderbird address books, Part 1 Open Thunderbird and go into address books Highlight one of the address books on the left Tools->Export, Name the file address1 and then change the “Save as type” to Comma Separated. Save the file to your Desktop

25
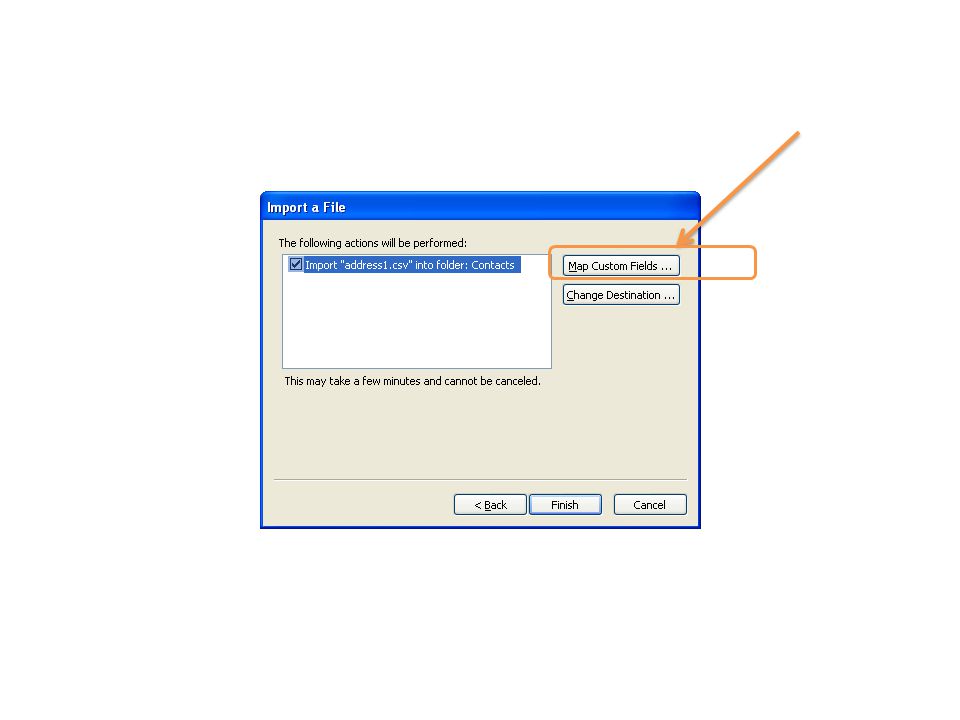
Part 2 Open Outlook Go to File->Open->Import (as shown below)
")
26
1

28
Browse to the file on your desktop. It should be called address1.csv

31
Go through the list on the right and make sure that for every field you tended to enter information into in Thunderbird, there is a matching set of field names. (For example, “First Name” in Outlook is mapped from “First Name” in Thunderbird.)
.")
32
The most important fields to check are the email fields. Email Address should match to Primary Email, and Email 2 Address should match Secondary Email. Drag the fields from the left column and drop them in the appropriate row on the right.

33
1 2 3 Change view to business card view This is best way to look at your imported contacts.

34
Make the BU Directory your primary search location. Do this in Home tab->Address Book, Tools->Options. Change the order so that ldap is on top, then Contacts.

35
To use your address book… Start a new message Type somebody’s last name Tab to the next line and wait a few seconds to see if the name is found. If not, click on the check names button (see next slide). Note you can do the same for CC and BCC
. Note you can do the same for CC and BCC.")
36
If you see a red line underneath the name, BU can’t find the address. Click on Check Names.

37
How to create a signature, part 1.

38
How to create a signature, part 2.

39
How to attach a file.

40
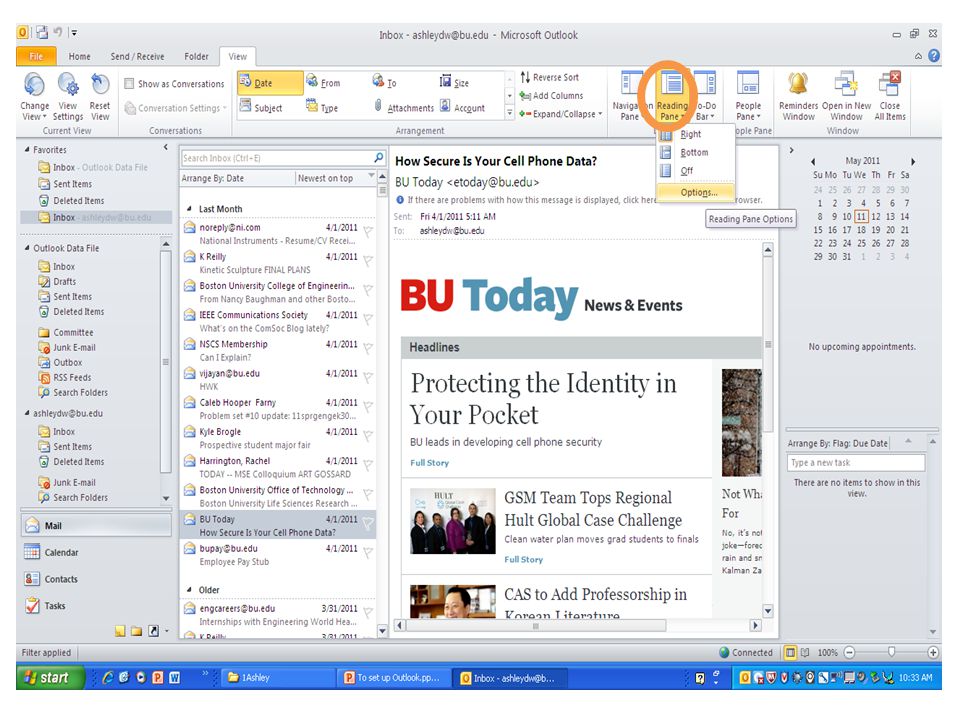
General Email Topics The following slides show you: How to distinguish between the server mail and your local mail How to set up your favorites folder links How to sort by name, date, subject, etc

41
Server Mail Local Mail

42
1. How to add to favorites. 2. Outlook doesn’t show images automatically. Right click here if you want to see the images from a trusted source.

43
Right click here to sort email.

44
How to mark email as Junk email. This will cause all future emails from this sender to skip your Inbox and go directly to Junk.

45
How to create a rule so that all future mail from a sender goes into one folder.

46
How to start a new mail message How to find someone’s address How to add a CC or Bcc How to reply to a message How to send How to switch between plain text and HTML How to highlight and change font Quick Demos:

48
1. Ways to search for email. 2. Click current folders or All Outlook Items. 1 1 2 2

49
The first time you click on the Search bar, you may get this. Go ahead and download and install it.

50
How to send a group email 1 3 2

51
Appointments vs. Meetings Appointments are for yourself only. Meetings are when you want to invite other people. This is how you invite someone to a Meeting: 1

52
Flags and Tasks 1 2

53
How to do an E-Mail Merge Step 1 Create your data file in Excel. – You need to use column headers in your Excel spreadsheet. The column headers will become the field names when you do the merge. – You should always use easy to identify names such as E-Mail for the column that has the e-mail addresses. – Save the Excel file.

54
How to do an E-Mail Merge Step 2, Part 1 Create your Main document in Word. – Open Word and click the Mailings Tab. Click Start Mail Merge then select E-mail Messages Click Select Recipients then select Use Existing List. Navigate to where you saved your Excel data file (from Step 1) and click Open. If the Select Table box opens, select the appropriate worksheet (Sheet1$ is the default, use that if you haven’t created additional worksheets). Make sure the First row of data contains column headers box is checked then click OK
 and click Open. If the Select Table box opens, select the appropriate worksheet (Sheet1$ is the default, use that if you haven’t created additional worksheets). Make sure the First row of data contains column headers box is checked then click OK.")
55
How to do an E-Mail Merge Step 2, Part 2 – Type the text of your e-mail message. You may include personalized data such a name if that data is included in your Excel spreadsheet. To insert a field click Insert Merge Field and select the field you want from the drop-down list – When you are finished writing your message you may preview the results by clicking the Preview Results button.

56
How to do an E-Mail Merge Step 2, Part 3 – When you are ready to do the merge click Finish & Merge and select Send E-mail Messages. Note your document will be sent in the body of the e- mail so recipients do not need to have Word on their computer to see the e-mail message. – You will be prompted for a subject line, please type an appropriate subject. IMPORTANT: Your e- mail will be sent automatically as soon as you click the OK so make your happy with your message. If you are happy then click OK.

57
How to do an E-Mail Merge Step 2, Part 4 You’re done. If you think you will want to use this Word merge document again then save. Otherwise you may close without saving.

Similar presentations


 Mail ! Microsoft 2003 Exchange E-mail for VUSD Teachers.>")


 Mail ! Microsoft 2003 Exchange E-mail for VUSD Teachers.>")


 User Guide Horizon School Division #205.>")


 Holly Smythe, Instructional Designer, Ext 8451 Lonny Buinis, Instructional Designer, Ext 8306.>")


 for Collin College faculty and staff.>")


 is a web mail service of Microsoft Exchange; allow users to connect remotely via a Web browser OWA is used to access e-mail,>")

