Download presentation
Presentation is loading. Please wait.

1
Using the Remedy Requester Console

2
What is the Requester Console?
The Requester Console is a quick and easy way for DOE staff to submit, view, update, cancel, and (in some cases) resolve their own requests. The Requester Console is a web based entry point that will replace the practice of ing requests directly to IT staff or the Centralized Service Desk (CSD).
 resolve their own requests. The Requester Console is a web based entry point that will replace the practice of ing requests directly to IT staff or the Centralized Service Desk (CSD).")
3
Who Can Use the Requester Console?
All DOE employees will eventually have access to use the Requester Console to submit, view, update and cancel their own requests. Initially, only Lotus Notes and PDE3 (OHR/CHAP) user requests will be supported. NOTE: Future rollout for other application support may be noted in our DOE Memos and Notices, dated 02/05/2009, regarding the Centralized Service Desk (CSD).
 user requests will be supported. NOTE: Future rollout for other application support may be noted in our DOE Memos and Notices, dated 02/05/2009, regarding the Centralized Service Desk (CSD).")
4
How Do I Access the Requester Console?
Open your web browser—Internet Explorer 6 is recommended. Login to the Centralized Service Desk (CSD) web site: with your DOE Internet user name and password, then click on the Create Incident Ticket link. During later phases of this project, a Requester Console access point will be available on one or more DOE intranet sites.
 web site: with your DOE Internet user name and password, then click on the Create Incident Ticket link. During later phases of this project, a Requester Console access point will be available on one or more DOE intranet sites.")
5
What are the Components of the Requester Console?
The Requester Console is made up of 3 main components: The My Requests Console The New Request Form The Knowledge Base Search Results Area

6
The My Requests Console
This table displays a list of all Incidents that you previously created using the Requester Console.

7
The New Request Form This form allows users to submit a quick ticket for themselves, and to search the Knowledge Base for possible solutions.

8
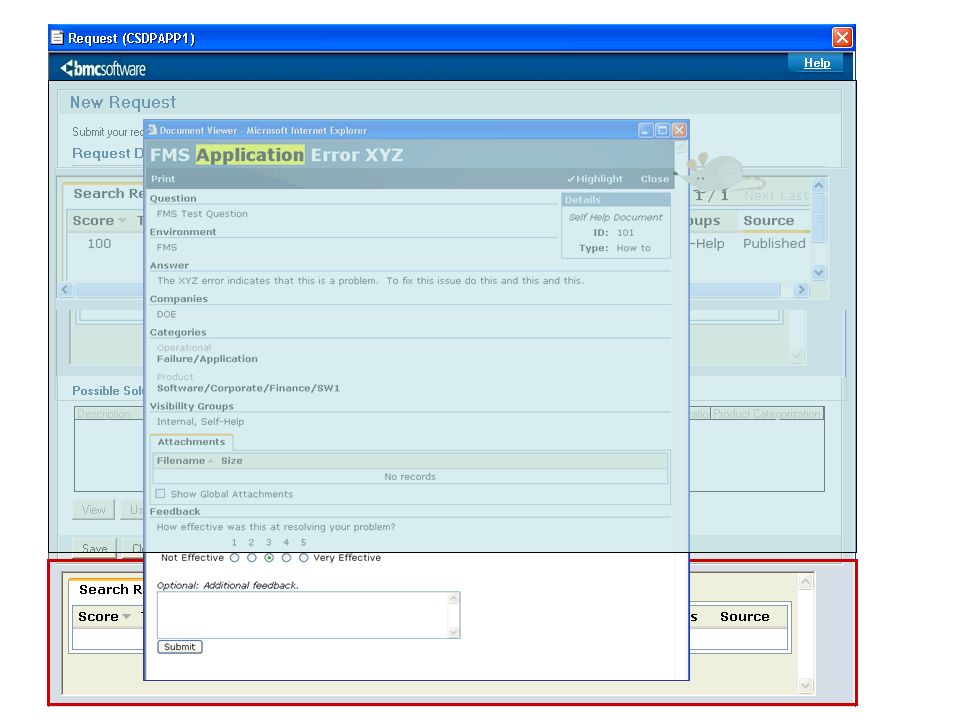
The Knowledge Base Search Results Area
The Knowledge Base can be searched by keyword(s) for possible solutions to your issue—it’s a good place to check before submitting your New Request to the CSD.
 for possible solutions to your issue—it’s a good place to check before submitting your New Request to the CSD.")
9
Let’s Create a New Request!
This scenario is based on a actual request (only the names have been changed to protect the innocent)… Norma (Teacher) Rachel (Tech Coordinator) Sammy (CSD)
… Norma (Teacher) Rachel. (Tech Coordinator) Sammy (CSD)")
10
Norma has a problem… She wants to put in her attendance information, but can’t log in to eSIS …unfortunately the system keeps telling her that her “certificate” has expired.

11
Norma contacts her Tech Coordinator, Rachel.

12
Rachel is not sure if the issue is related to eSIS or to Lotus Notes
Rachel is not sure if the issue is related to eSIS or to Lotus Notes. She decides to send a request to the Centralized Service Desk for help. Rachel logs into the web* and creates a Remedy ticket using the Requester Console. *Internet Explorer (version 6) is recommended.
 is recommended.")
13
She logs into the CSD web site at http://csd.k12.hi.us
with her DOE Internet user name and password. Then clicks on the Create Incident Ticket link, to log into the Remedy Requester Console.

14
Your Remedy® password will be the same as your “Internet password.”
Your Remedy® login (User Name) will be the first letter of your first name, and the first seven letters of your last name, followed by the last 4 digits of your Employee ID number. Your Remedy® password will be the same as your “Internet password.” Step 1: On the Remedy® Login Screen, she enters her User Name (e.g. ratkinso4321). Step 2: Enters her HIDOE Internet Password (e.g. book1234). Step 3: Clicks the Log In button.
 will be the first letter of your first name, and the first seven letters of your last name, followed by the last 4 digits of your Employee ID number. Your Remedy® password will be the same as your Internet password. Step 1: On the Remedy® Login Screen, she enters her User Name (e.g. ratkinso4321). Step 2: Enters her HIDOE Internet Password (e.g. book1234). Step 3: Clicks the Log In button.")
15
Step 4: From the IT Home page, she clicks on the Requester Console quick link.

16
Step 5a: From the left navigation pane, she may select Open or All to view her previously submitted requests.

17
Step 5b: While in this screen, she double-clicks on another ticket she previously submitted to check on the status.

18
Step 5c: She clicks on the Request Details tab to view the current status and see who’s currently assigned to work on this issue.

19
Step 5d: She may view the Work Info tab to view the details entered about this pending issue, or to add new work info/details to her existing ticket for the technicians to review.

20
Step 6: Back to Norma’s issue--Rachel proceeds to submit a ticket for Norma by clicking on the Create a New Request button.

21
Step 7 – As the Requester, Rachel…
Verifies her contact information is current Selects the application area and the action requested in the Summary field Enters the details (no character limit) of Norma’s issue in the Notes field Selects the Urgency she feels is appropriate Enters the Date Required, if necessary Searches Knowledge Base for possible solutions to use and close her ticket (see next slide)
 of Norma’s issue in the Notes field. Selects the Urgency she feels is appropriate. Enters the Date Required, if necessary. Searches Knowledge Base for possible solutions to use and close her ticket (see next slide)")
23
Step 8: Click on Save, OK, then Close.

24
Step 9: Click on Refresh to see your Request ID # (remember this for future reference).
.")
25
Step 10: Close your Requester Console, and you’re done!

26
The created service request was automatically sent to the HIDOE Centralized Service Desk.
Rachel shuts down her computer and goes on to do some other work. She thinks: Maybe tomorrow will be a better day…

27
Immediately… Sammy is a member of the Centralized Service Desk. When he completes his current call, he sees Rachel’s request on his Support Console.

28
The CSD opens the ticket submitted by Rachel for Norma’s issue, and reviews it for further processing.

29
The CSD reads the Notes for details, Assigns the ticket to the appropriate group, and checks the Knowledge Base for any additional (internal) documentation on this issue.
 documentation on this issue.")
30
The CSD determines this is a Lotus Notes issue, and makes the appropriate selection…

31
… and Saves it, so it can be processed by the Lotus Notes support section.

32
Rachel receives an confirming that the Lotus Notes support section has received the request. She gives Norma a call and lets her know.

33
They both think – Maybe today is a good day after all…

34
The Remedy Requester Console
Questions? Comments? Concerns? Please visit our CSD web site at OR Oahu users may call us direct: (808) Neighbor Islands call toll-free:
 Neighbor Islands call toll-free:")
Similar presentations


 Absence Entry.>")


 Absence Entry.>")


