Download presentation
Presentation is loading. Please wait.

1
All About Pottery!

2
What is pottery? Pottery:
All fired ceramic wares or materials which, when shaped, contain a significant amount of clay. (Ware is another word for pottery)
")
3
What exactly is clay? Clay:
particles of decomposed rock combined with water that create a flexible body which is then fired in a kiln to fuse the particles back into a stone-like state.

4
STAGES OF CLAY Clay goes through four different stages in the process of making any pottery. Those four stages are…… Slip Plastic Leather-hard Bone dry

5
#1: Slip Slip is liquid clay.
It is a thick and creamy mixture of clay and water. You will use slip to join clay parts together or to decorate the surface. It is applied before firing, when the clay is still wet.

6
#2: Plastic Plastic Clay is soft, bendable and easy to work with.
This is the stage the clay you will be using is at.

7
#3: Leather-hard Leather-hard Clay has been allowed to dry slightly, making it stiffer and able to support its weight, but can still be worked on and have parts attached.

8
#4: Bone-dry Bone-dry clay is completely air-dried, but not yet fired.
You cannot add any more clay or mold it at this point.

9
How to make a piece of pottery: Hand-building
the technique of building pots using only your hands and simple tools.

10
The three different handbuilding techniques…

11
THREE BASIC HANDFORMING TECHNIQUES
Pinch Coil Slab

12
Pinch Pot The process of starting with a ball of clay, inserting your thumb and "pinching" the clay between your thumb and fingers, gradually expanding and shaping the wall into a bowl-like form.

13
Pinch Pot Steps

14
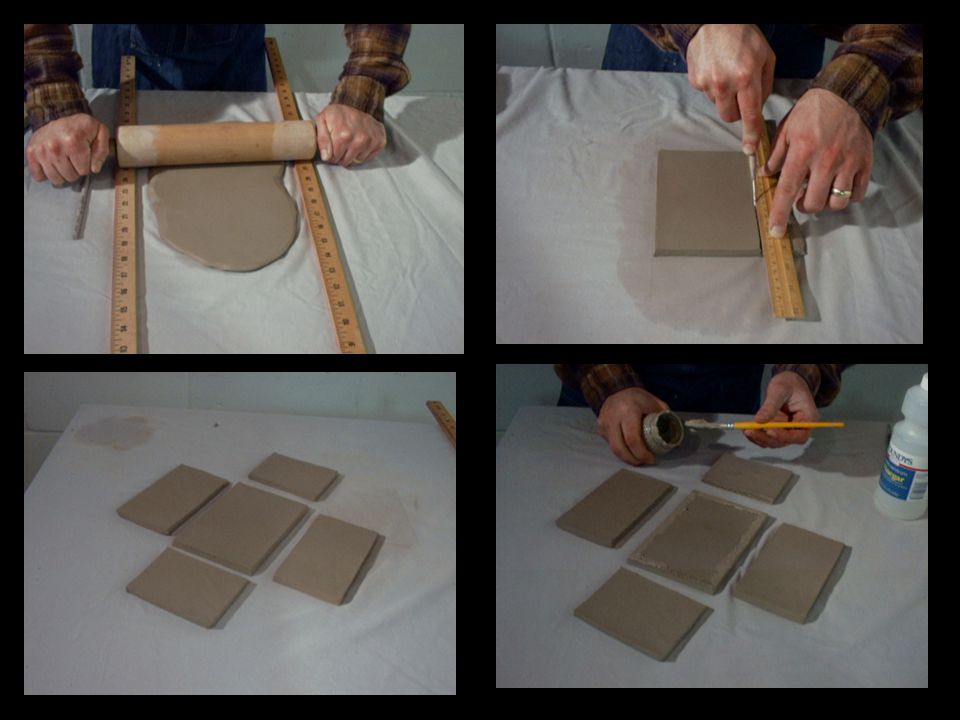
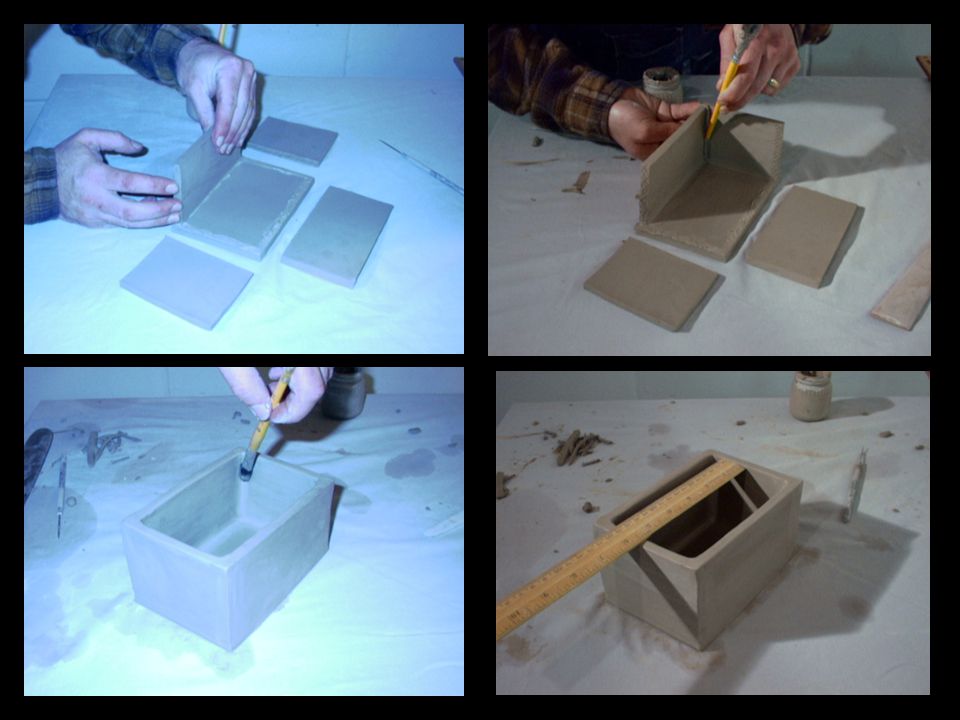
Slab Building Slab building uses thin sheets of clay to build a structure, the sheets can be either rolled or stretched out. They can be manipulated while plastic and formed around molds or while leather-hard and construct the form from shapes cut from the sheet.

17
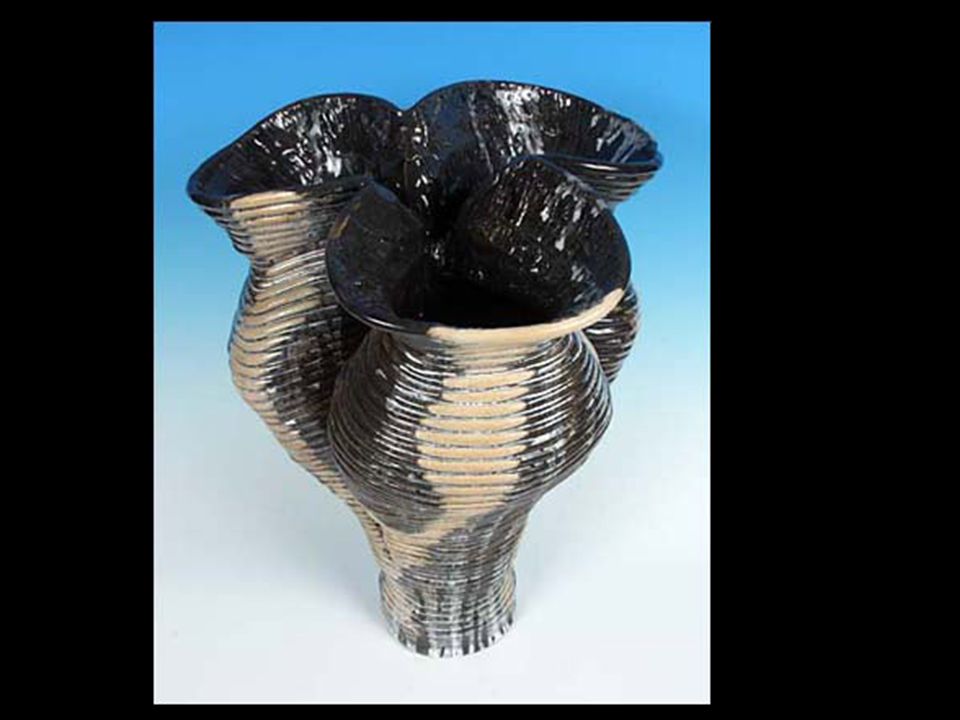
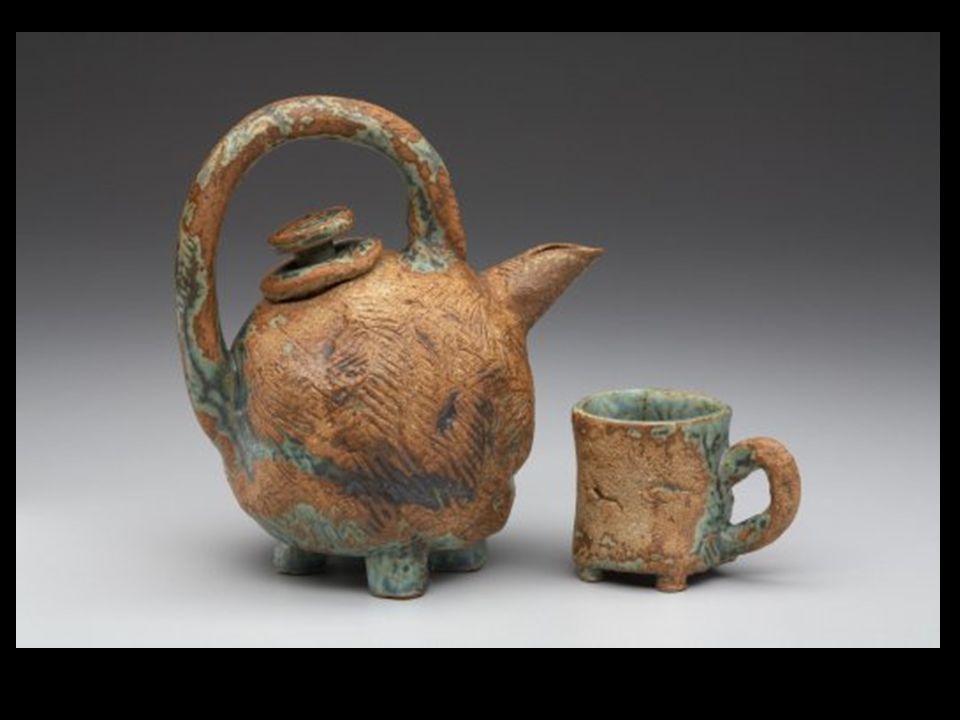
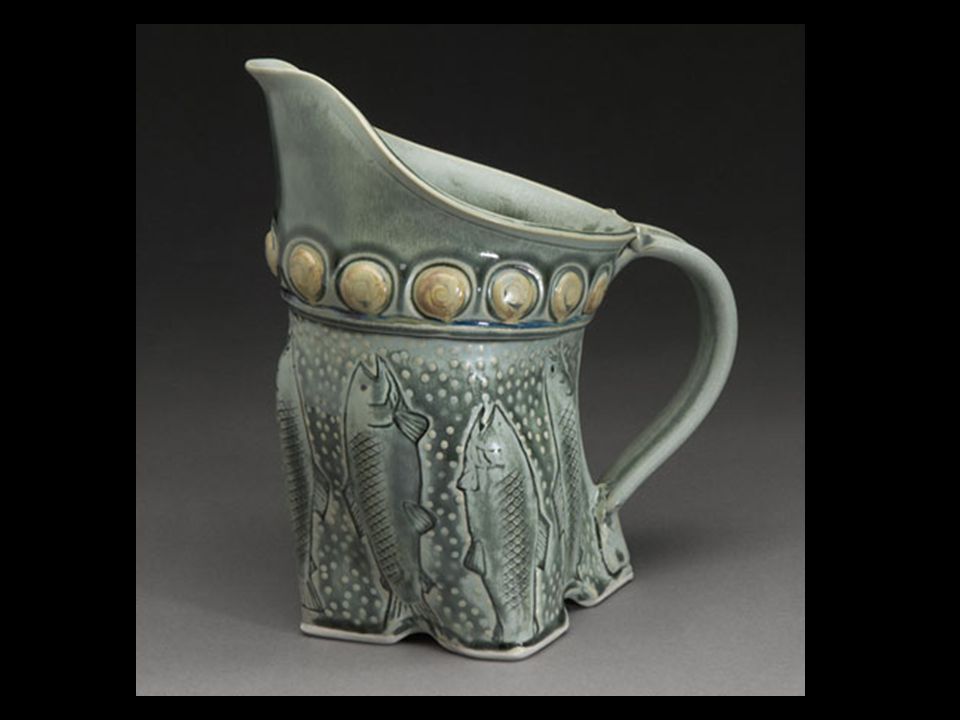
Coil Pots (This is the handbuilding technique you will use)
This is the technique of building ceramic forms by rolling out coils, or ropes, of clay and joining them together, one on top of the other, with the fingers or a tool.

18
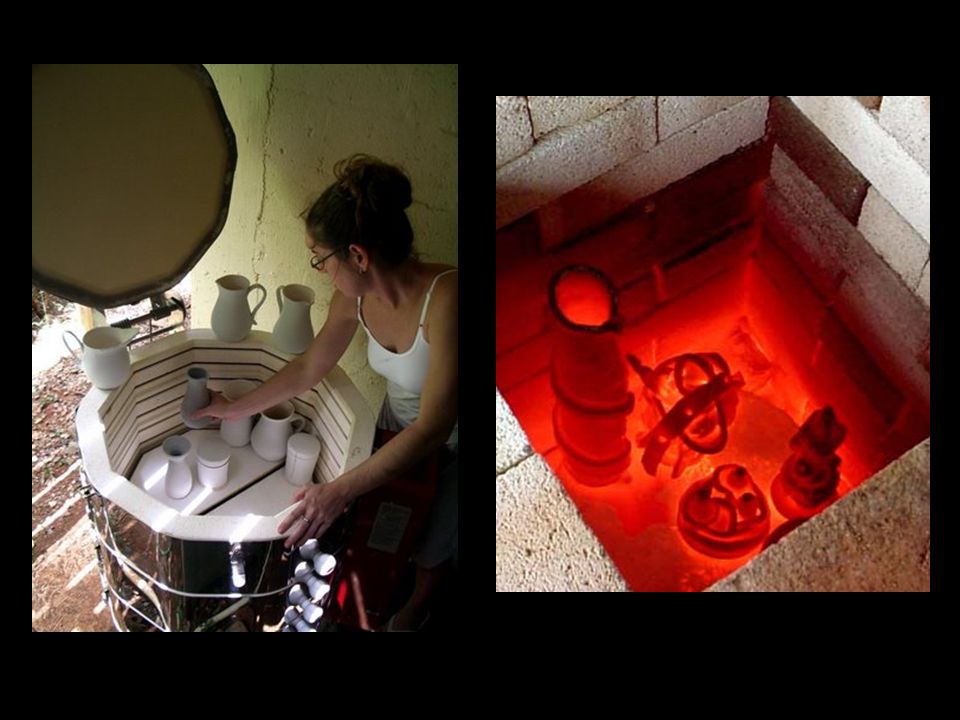
Firing your Pottery Once you have completed your pottery, it will be fired in a kiln. Firing is the process of heating the pottery to a specific temperature in order to bring about a particular change in the clay or the surface. A kiln is a furnace in which ceramic pieces and some other clay materials are baked, burned, dried or melted. The temperature in some kilns reaches more than 3000 degrees Fahrenheit. Potters fire or bake ceramics in kilns to give the pieces permanent shape.

20
Firing Processes Greenware: pottery that has not been fired
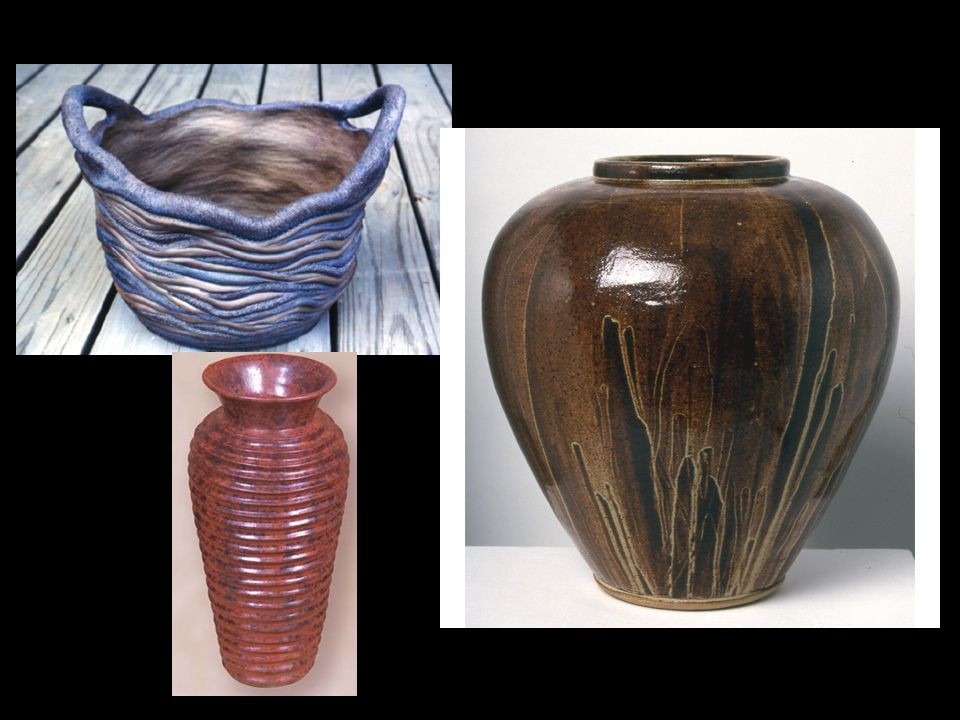
Bisqueware: Pottery that has been fired once, but not glazed. Glazeware: pottery that has been painted or dipped in glaze and fired. Glaze: Glazes are a finely ground mixture of mineral and man-made powders tuned to melt and flow at a specific temperature.

21
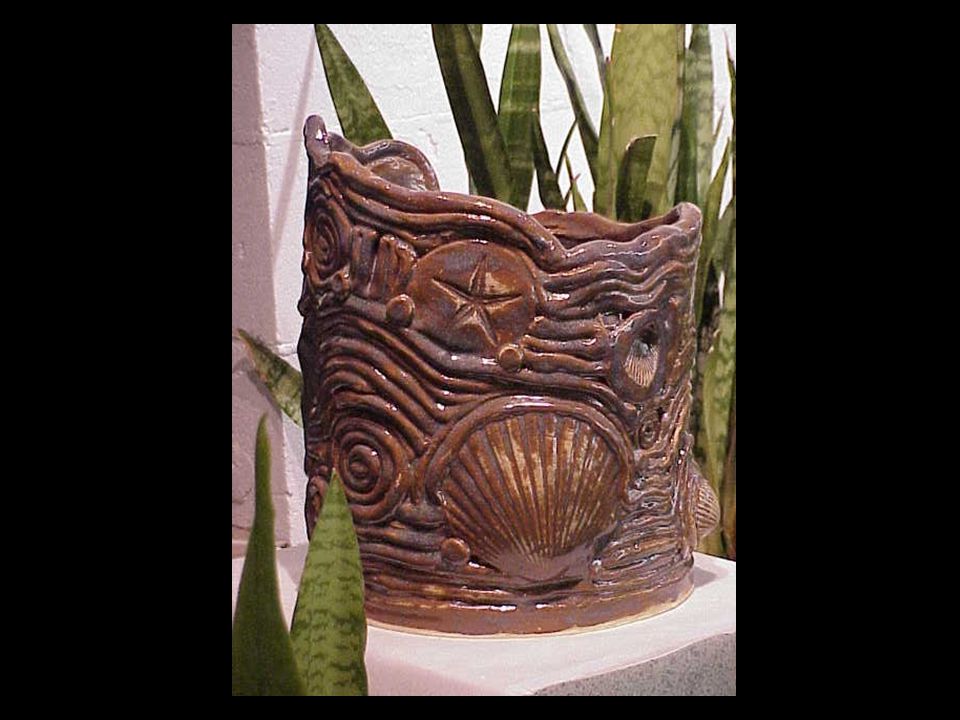
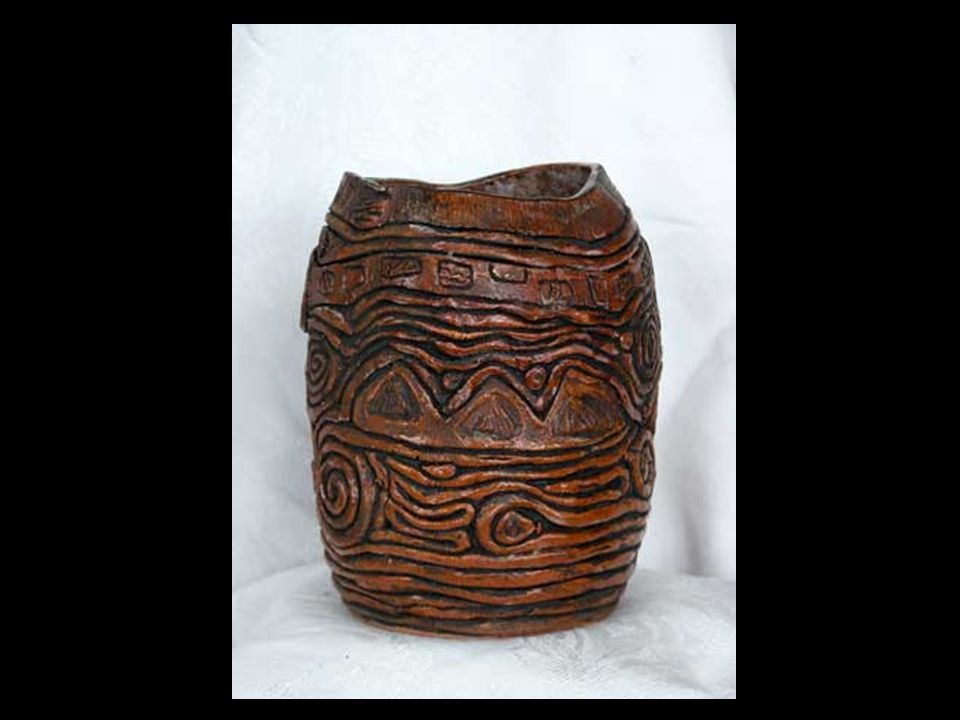
Art I Pottery Assignment
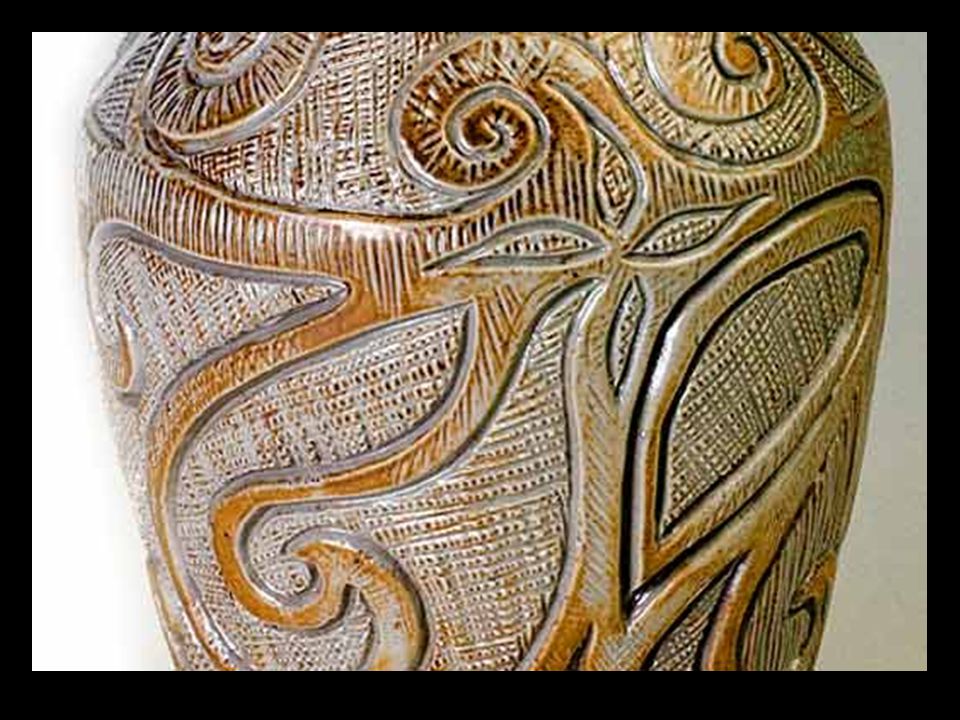
You must create a pot using the coil method. You Choose One of the following: Keep coil designs are part of the decoration. Smooth out the coils to create a smooth surface. You must attach a handle, lid or another type of attachment. You must add additional decorations. The vessel must be at least 5 inches tall. All finished pottery must be glazed (needs 3 coats before being fired). Vessel must be constructed neatly and be stable.
. Vessel must be constructed neatly and be stable.")
22
The First thing you have to do when you begin…wedge your clay
Wedging is preparing clay for you to be able to use and work with. The purpose of wedging: remove air bubbles add water removed excess water The lump of clay is repeatedly thrown down on a flat surface. You will knead it by rocking, in a spiral motion to create a uniform consistency.

23
Create the bottom of your pot by pressing out a pancake of clay then trimming it to size.

24
Roll a clay coil which you will use to create your pot.

25
Place the first coil on the base of your pot, then weld the coil and bottom piece together with your fingers.

26
Build your pottery up with pieces of coil
Build your pottery up with pieces of coil. Do not try to make the pieces too long.

27
When coil-building pottery, the last clay coil for the pot is slightly thinner and tapers to a point.

28
Use you fingers to weld the interior and upper seams of the coils, then smooth the top edge.

Similar presentations


)>")
 for holding something.>")


KV-TVR.>")

