Download presentation
Presentation is loading. Please wait.

1
Method to fix wall tiles

2
Preparation All wall tiles to be immersed in water for 3-4 hours for better results. Some gap in between the rows to allow the water penetrate freely into the tiles.

3
Step 1: Prepare the wall surface The wall surface should be clean, dry, flat and sound. The wall surface should be clean, dry, flat and sound. The floor should be free from oily/waxy or curing compounds.

4
Step 2: "Square-off" the walls This involves finding the appropriate horizontal and vertical lines on which to begin applying the tile. First, use the level to locate the lowest point of the wall you are tiling. Floors and tubs are often uneven. At this point, use the level to draw a perfectly horizontal line one full tile height above the floor or tub line. (Figure 1).
..")
5
You may choose to nail a very straight furring strip below and against this line to assist in the even application of tiles and to prevent tiles from slipping out of line and down the surface of the wall.

7
Step 3: Find the Center : Find the center of the wall. Lay tiles side by side along the floor from this point to the right corner or end of the area to be tiled (Figure 2).
..")
9
Step 4: Alternative Centre method This is not possible, mark off a strip of wood in tile widths (Figure 3) and use this to calculate the location of the tiles. If less than ½ a tile would be needed to finish the row, move the "center point" to the left 21/4". This adjustment will insure a larger piece of tile at either end, and thus a more attractive installation.

11
Step 5: Draw vertical line: Use your level or plumb line to draw an exactly vertical line at the "center point" from bottom to top of the area to be tiled (Figure 4)
")
13
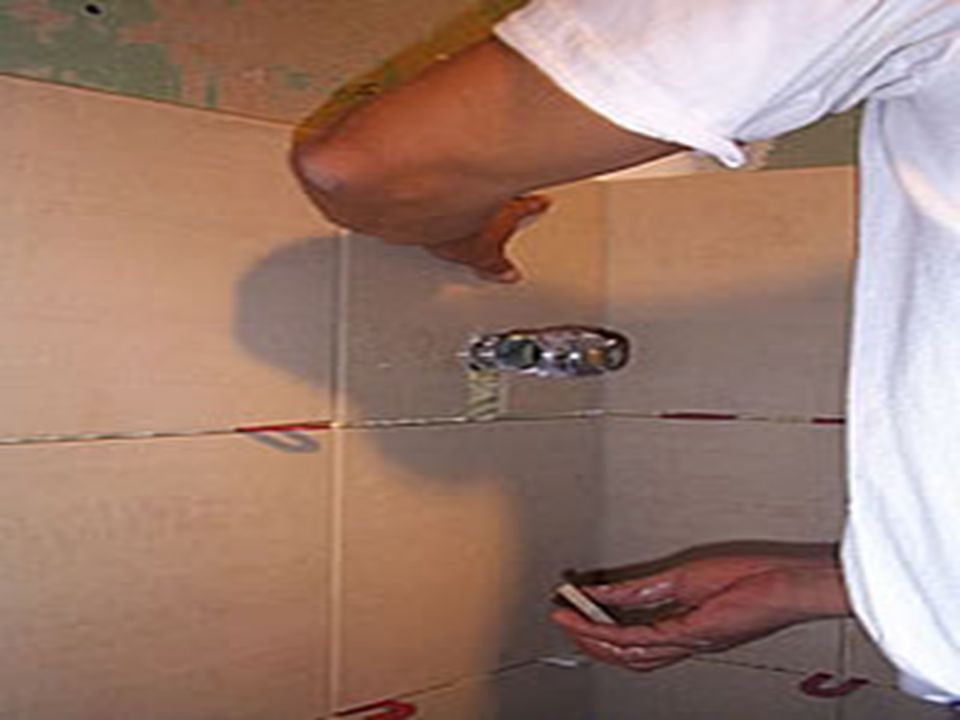
Step 6: Apply the tile to the wall: Decide where to start. If there is an outside corner or edge, start there and go to the inner corner. Otherwise, start at the "center point". Proceed in the order shown (Figure 5). Holding the notched trowel at a 30-450 angle, apply the mastic evenly.
. Holding the notched trowel at a angle, apply the mastic evenly..")
14
Cover only a few square feet at a time Figure 5 until you "get the hang of it." Apply no more than you can cover with tile in 30 minutes. For hard to reach areas, spread mastic on the back of each tile before placement.

17
Step 7: Place tiles: Place the tiles carefully, in the order shown (Figure 6). Either flop them up into position from the bottom edge, or press them into place with a slight twist. Too much sliding will force mastic up into the joints. Press firmly into place. Use the level often to check horizontal and vertical alignment of the tiles as you work.

18
After all whole tiles have been applied, wipe away any mastic in unoccupied spaces. Do not allow it to dry. Allow the tiles to set for 4-5 hours before removing the furring strips (if used) and applying the cut tiles.
 and applying the cut tiles..")
22
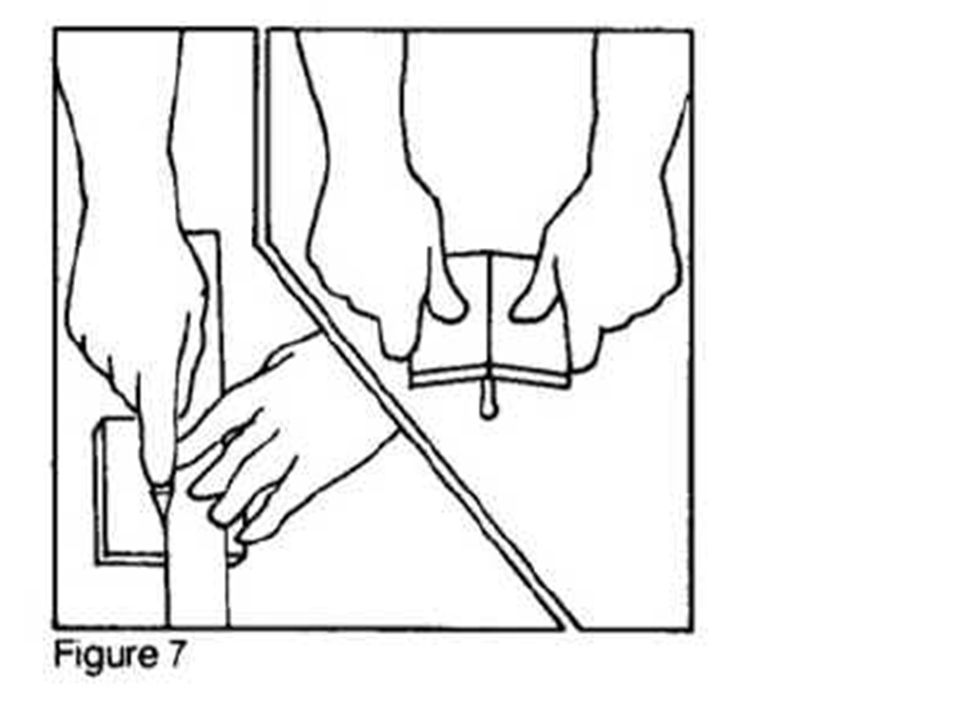
Step 8: Cutting Tiles: Cutting tiles is not difficult. If a tile cutter is not used, scratch the glazed tile surface with a glass cutter and a "straight edge" at the desired cutting line. With glazed side up, lay the tile on top of a dowel (a pencil or coat hanger wire will do). Press downward on both sides of tile for a clean break (Figure 7). Smooth cut edges with the whetstone. To make curved cuts or notches, mark area to be removed with a pencil. Use tile nippers or pliers to cautiously nip away the waste, a little at a time. If cuts are to be covered by fixture plates, perfection is not required.
. Press downward on both sides of tile for a clean break (Figure 7). Smooth cut edges with the whetstone. To make curved cuts or notches, mark area to be removed with a pencil. Use tile nippers or pliers to cautiously nip away the waste, a little at a time. If cuts are to be covered by fixture plates, perfection is not required..")
24
Step 9: Further Cuts & Cleanup: To apply a tile completely around a pipe, first cut tile in half, then nip away the space for the pipe (Figure 8). Remove any mastic on the face of the tiles with mastic solvent or a razor blade. Allow tiles to set at least 24 hours before proceeding with the next step.

31
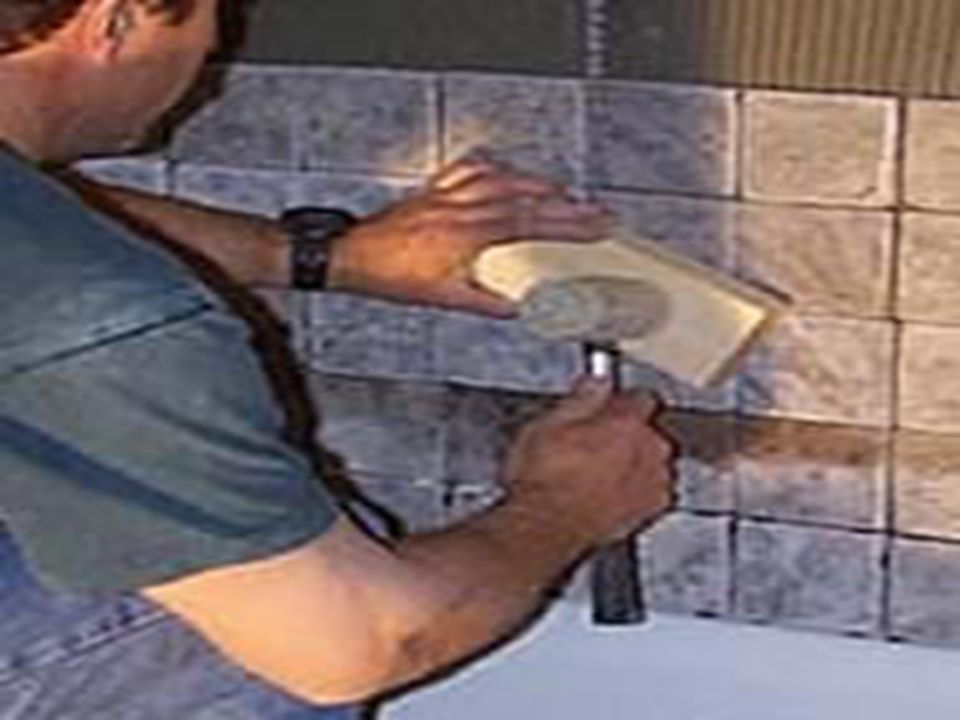
Step 10: Apply the Grout: Mix the grout according to package instructions. Use the rubber faced trowel, squeegee or firm sponge to spread grout diagonally across the face of the tile, and thus into the joints (Figure 9).
..")
34
Step 11: Finishing up: Wipe excess grout away with a clean damp sponge. Use a popsicle stick, eraser or toothbrush handle to remove excess grout from joints (Figure 10). Remove any grout that accumulates in the space between tub and tile. This space should be filled with tub caulking to insure a tight, waterproof seal. After the grout dries enough to form a haze on tile, polish the surface with a dry cloth. To insure the lasting beauty of your tile installation, coat the grout with a silicone sealer to protect it from dirt or discoloration.
. Remove any grout that accumulates in the space between tub and tile. This space should be filled with tub caulking to insure a tight, waterproof seal. After the grout dries enough to form a haze on tile, polish the surface with a dry cloth. To insure the lasting beauty of your tile installation, coat the grout with a silicone sealer to protect it from dirt or discoloration..")
Similar presentations


 930-4964 or (888) 797-8108>")
