Download presentation
Presentation is loading. Please wait.

2
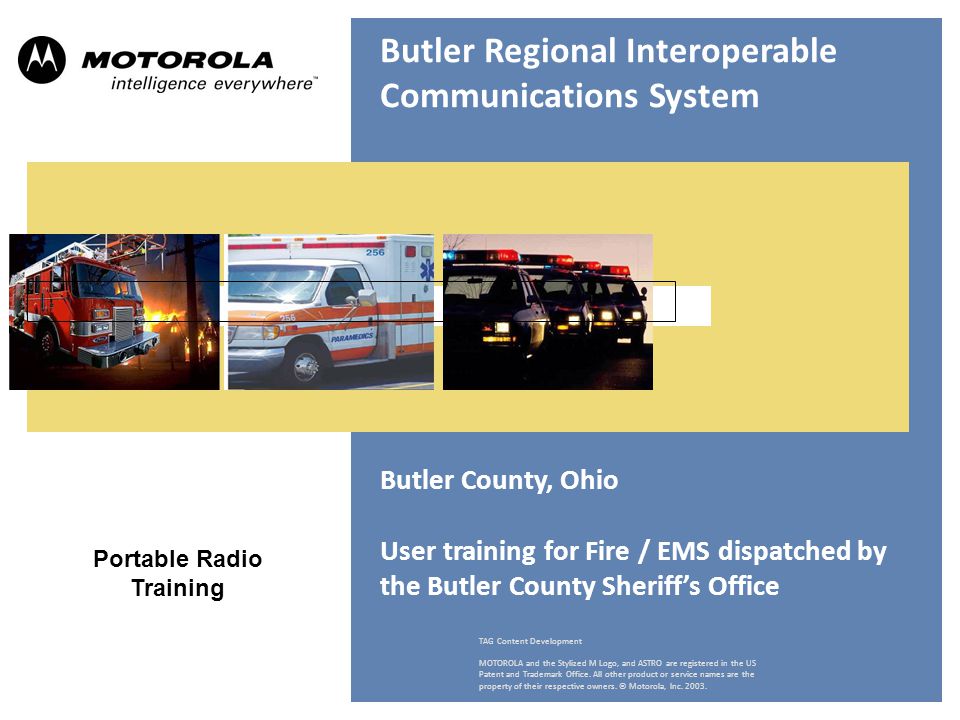
ASTRO ® XTL™ 5000 Digital Mobile Radio Model O5 Interactive End-User Training TAG Content Development MOTOROLA and the Stylized M Logo, and ASTRO are registered in the US Patent and Trademark Office. All other product or service names are the property of their respective owners. © Motorola, Inc. 2003. Butler Regional Interoperable Communications System Butler County, Ohio User training for Fire / EMS dispatched by the Butler County Sheriff’s Office Portable Radio Training

3
Status Symbols on Your Portable Signal Strength Direct/ TalkAround ScanBattery Status View Program Secure

4
3 Secure Transmissions: The radio will receive and transmit encrypted when a secure talkgroup is selected. The Display will show an ( ) when the radio is selected to an encrypted talkgroup. Clear Transmissions: The radio will receive and transmit clear when a clear talkgroup is selected. The Display will not show any icon when the radio is selected to a clear talkgroup. D BC PSTAC 2 ZONEMUTE PROG Secure Icon
 when the radio is selected to an encrypted talkgroup. Clear Transmissions: The radio will receive and transmit clear when a clear talkgroup is selected. The Display will not show any icon when the radio is selected to a clear talkgroup. D BC PSTAC 2 ZONEMUTE PROG Secure Icon.")
5
Status Symbols

6
Status Alert Tones Tone NameTone Information Button PressA valid key was pressed on the keypad Call AlertReceipt of a Call Alert page sent from a dispatcher EmergencyEmergency alarm was sent from your radio FailsoftRadio has lost communication with the central controller Low BatteryWeak battery indication ProhibitTalkgroup or channel is not accessible System BusyChannel, system or target radio is busy Talk PermitChannel is ready to use Time-out TimerTime-out timer limit has been reached

7
To install the battery: 1.Turn the radio off 2.Hold the radio with the back facing upward. 3.Align the three slots at the top of the battery with the three tabs on the back of the radio. 4.Push the battery down toward the radio until the battery clicks into place. To remove the battery: 1.Turn the radio off. 2.Hold the radio with the back of the radio facing upward. 3.Push the battery release button on the bottom of the radio. 4.Lift the battery away from the radio and remove. Battery

8
Smart Batteries Your portable radio comes with a “smart battery” called Impres, from Motorola. Butler County has all Impres batteries and Impres chargers. The battery stores information about its current charge and the history of its charge cycles. It sends that information to the radio and to the charger. You can’t burn the battery by leaving it on the charger. The charger will recondition the battery on its own when it thinks a reconditioning is needed. The batteries have shown to have a life of 12 to 15 hours of heavy use at the Butler County Jail.

9
To install the belt clip: 1.Remove the battery before installing or removing the belt clip. 2.Hold the battery with the back of the battery facing you. 3.Hold the belt clip with the top facing upward, and align the clip with the slots on the battery back. 4.Slide the belt clip downward into the slots until it clicks into place. To remove the belt clip: 1.Pull away the metal tab at the top of the battery clip from the battery. 2.Slide the clip upward until it comes away from the radio. Belt Clip 1 2

10
Zone Select with A-B-C Switch Zone Select Switch Zone Letter MUTEZONE PROG You can easily switch between Zones A, B and C with the switch on the top of the radio. To select a zone: 1.Toggle the Zone Select switch to select the desired zone. A SO FD MAIN 9218101

11
Zone Select from the Menu Zones beyond A, B and C can be accessed from the menu using the soft-key beneath ZONE. To select a zone: 1.Press the right side of the 4-way Navigation button until ZONE appears on the display. 2.Press the button directly below ZONE. The zone letter flashes on the display. 3.Press the right side of the 4-way Navigation button to find the zone you want. 4.Press the Home button to confirm the displayed zone and channel. OR Press the PTT button to transmit on the displayed zone/channel. Push-to-Talk (PTT) MUTEZONE PROG A SO FD MAIN 9218101 Zone Letter
 MUTEZONE PROG A SO FD MAIN Zone Letter.")
12
The channel knob lets you change between the talkgroups / channels within your selected zone. To select a channel/mode: Turn the Channel Select knob to select the desired channel/talkgroup. The new name will appear on the display. 16-Channel Select Knob Channel / Talkgroup Select Knob Channel / Talkgroup Name A SO FD MAIN 9218101 MUTEZONE PROG

13
To transmit: 1.Select the desired zone and talkgroup / channel. 2.Listen for ongoing conversations; if the channel becomes clear, proceed with your call. 3.Press and hold the PTT button to transmit and wait for the “Talk Permit” tone (chirp). The LED will light red. When speaking, keep the microphone 1-2" from your mouth. 4.Release the PTT button to receive (listen). Transmit and Receive LED Push-to-Talk (PTT)
. The LED will light red. When speaking, keep the microphone 1-2 from your mouth. 4.Release the PTT button to receive (listen). Transmit and Receive LED Push-to-Talk (PTT).")
14
Time-out Timer Your transmissions are limited to 60 seconds. 1.Hold down the PTT button longer than the programmed time. You will hear a low-pitched warning tone, the transmission will cut off, and the LED will go out until you release the PTT. 2.Release the PTT button. The LED will re-light and the timer will reset. 3.Press the PTT button to re-transmit. The time-out timer restarts. The timer will restart and the LED lights red. LED Push-to-Talk (PTT)
.")
15
To send an emergency alarm: 1.With the radio turned on, press the Emergency button. The current channel name is displayed alternately with EMERGENCY, the LED lights red, and you hear a group of short, medium-pitched tones. From any Butler County talkgroup, your radio will automatically revert to SO FD MAIN to send the alarm. Note: To exit emergency at any time, press and hold the Emergency button for about a second or turn the radio off and on. 2.Your radio will now be in emergency mode. All subsequent calls will be sent as an emergency call with the highest priority on the system, until the radio is reset. You will resume normal operation on your selected channel once the radio is reset. Sending an Emergency Alarm EMERGENCY Emergency Button LED MUTEZONE PROG

16
Channel Announcement If the selected channel has an audio channel announcement, you can press the top side button at any time to re- announce the name. Re-Announce the Channel Name A SO FD MAIN 9218101 MUTEZONE PROG

17
Display Light Light Button If poor light conditions make the display or channel numbers (around the channel knob) difficult to read: Turn on the radio’s backlights by pressing the Light button. These lights will remain on for a preprogrammed time before they turn off automatically. OR You can turn them off immediately by pressing the Light button again.

18
Call Response PAGE RECEIVD When a Call Alert page is received, you hear four repeating alert tones, the LED flashes green, the call received symbol ( ) flashes and PAGE RECEIVD Is displayed. To respond to a call : 1.Press the Call Response button. 2.Press the PTT button to talk; release it to listen. 3.Press the Home button to exit the call. LED Push-to-Talk (PTT) Call Response Button MUTEZONE PROG
 Call Response Button MUTEZONE PROG.")
19
Setting the Clock (1 of 2) Using this special feature, you can program the time and date as you might with other electronic devices. To edit the time and date: 1.Press the right side of the 4-way Navigation button until CLCK is displayed. 2.Press the button directly below CLCK. The current setting is displayed. 3.Press the button directly below EDIT. The first item flashes. LOCCLCK BATT 10 : 46AM A SO FD MAIN 9218101

20
19 Setting the Clock (2 of 2) 4.Press the up or down arrow of the 4-way Navigation button to change the selected item. Note: Press the Home button at any time to return to the home display without saving your changes. OR Press the right side of the 4-way Navigation button to move to an item you wish to change. 5.Press the up or down arrow of the 4-way Navigation button to change the selected item. 6.Press the right side of the 4-way Navigation button one or more times to move to an item in the date field. 7.Press the up or down arrow of the 4-way Navigation button to change the selected item. 8.When you have made all of your changes, press the button directly below SAVE to save your changes and return to the home display. Note: If a call arrives while the radio is in the clock-setting menu, the radio exits clock setting, your changes are lost, and the call information is displayed. SAVE 12HR 03:54AM MDY 10/31/01

21
Keypad Tones (Mute or Unmute) To turn the keypad tones on or off: 1.Press the right side of the 4-way Navigation button until MUTE is displayed. 2.Press the button directly below MUTE. The current state is shown – TONES OFF or TONES ON. 3.Press the button directly below OFF or ON. Note: Press the Home or the PTT button to exit without changing the setting. Note: Turning off keypad tones does not affect any other tones. Push-to-Talk (PTT) Push-to-Talk (PTT) A SO FD MAIN 9218101 MUTEZONE PROG
 Push-to-Talk (PTT) A SO FD MAIN MUTEZONE PROG.")
22
Scanning – Priority and Talkback Priority Your selected channel is always first priority. Your main dispatch talkgroup is always second priority. Non-priority scan list members are user selectable. “Talkback” scan is disabled. You will always key up on your selected channel, not a scanned channel with radio traffic.

23
Scanning – When? When can I scan? You can scan while on the dispatch talkgroups or your local government talkgroup (SO FD MAIN, SO FD OPS 2, SO FD OPS 3, GOV 4). You can not scan while on an incident talkgroup (e.g. Fireground, Mutual Aid, Public Safety Tactical)
. You can not scan while on an incident talkgroup (e.g. Fireground, Mutual Aid, Public Safety Tactical).")
24
Scanning between Systems Can I scan between systems? No. The radio can not scan between systems. Examples: ▪ You can not scan a Hamilton County talkgroup while you have a Butler County talkgroup selected, or vice-versa. ▪ You can not scan a Butler County talkgroup while you have a conventional mutual aid channel selected, or vice versa.

25
24 Scan List Edit (1 of 3) This feature lets you change scan list members. To edit the scan list: 1.Press the right side of the 4-way Navigation button until PROG is displayed. 2.Press the button directly below PROG You see the lists that can be changed. 3.Press the right side of the 4-way Navigation button until SCAN is displayed. 4.Press the button directly below SCAN. You see the first available item and the view/program ( ) symbol flashing, indicating the programming mode. You will also see SEL, DEL, and RCL displayed as possible selections. 5.Press the left or right side of the 4-way Navigation button to select the item to be changed. PROG A SO FD MAIN 9218101
 symbol flashing, indicating the programming mode. You will also see SEL, DEL, and RCL displayed as possible selections. 5.Press the left or right side of the 4-way Navigation button to select the item to be changed. PROG A SO FD MAIN")
26
25 Scan List Edit (2 of 3) 6.Press the button directly below SEL or DEL or RCL. SEL = add the currently displayed item to the scan list. DEL = delete the currently displayed item from the scan list. RCL = view the next available item. = this item is in the scan list. = priority two, your dispatch main talkgroup (dot flashing) = priority one, the selected talkgroup Note: You cannot delete a priority member. RCLSEL DEL A SO FD OPS 2 9218101
 = priority one, the selected talkgroup Note: You cannot delete a priority member. RCLSEL DEL A SO FD OPS")
27
Scan List Edit (3 of 3) 16-Position Select Knob 7.Press the left or right side of the 4-way Navigation button to select more items to be added or deleted. OR Use the 16-Position Select knob to select additional items to be added or deleted. 8.Press the Home button to exit scan list programming and return to the home display. A SO FD OPS 3 9218101

28
This feature allows you to view the condition of your Smart Battery. To access information about your battery: 1.Press the right side of the 4-way Navigation button until BATT is displayed. 2.Press the button directly below BATT. 3.Battery data is displayed as follows: CAPACITY indicates the current charge on the battery. INIT indicates the date of the initial use of the battery. EST CHGS indicates the estimated number of charges on the battery. Note: If a Smart Battery is not powering your radio, the display will read SMART BATT DATA NOT AVAILABLE. Smart Battery BATT A SO FD MAIN 9218101 Note: This information and the battery icon may not display until the battery has gone through it’s first or second cycle. This is normal.

Similar presentations


 Select/copy image from Photo LibraryPhoto Library 2) Insert and resize selected image to fill up this white area. 3) Right click.>")


