Download presentation
Presentation is loading. Please wait.

1
A digital lesson about mood, images and music 2005 Pearson Publishing

2
Artists have always used colour and shape in a huge variety of ways to create images, both pictures and objects, which communicate moods and feelings. This lesson explores these ideas by linking the effects of colour and shape with the sounds, rhythms and moods created when we listen to music. The idea that pictures can create mood and feeling as directly as music was very important to Wassily Kandinsky (1866–1944). The images in this presentation are inspired by his approach.
. The images in this presentation are inspired by his approach..")
3
This lesson continues from the presentation on images, mood and music using traditional art materials. This time, the images are developed using digital media. In each case, the starting point is a scan of the original handmade images. The principle is that digital media has been used to increase the effect of the relationship between the image and the music that inspired it. In other words, if the first one is jazzy at the start, filters and effects are used to make it even more jazzy!

4
The first piece of music is very energetic jazz, which has a strong rhythm and swirling saxophone.

5
This is how the picture turned out using traditional materials.

6
This is the picture inverted.

7
This shows the original image pasted as a new layer over the inversion. Next, I’ve used the selection tool to select sections of the top layer, and then deleted it to allow areas of the bottom layer to show through.

8
This is the effect.

9
My final jazz image uses the following steps: 1.The new image is copied and pasted as a new layer. 2.The new layer is set to 50% transparency. 3.The top transparency is moved using the mover tool to create the patterned effect that completes the image.

11
Let’s watch our jazz picture develop step by step, without the captions.

16
The second piece of music is chamber music, played by a string ensemble. It’s incredibly smooth and flowing, but very complex and layered.

17
This is how the picture turned out using traditional materials.

18
The first effect is created by using the smudge tool to increase the feel of flow and rhythm.

19
This effect is created by using the swirl distortion filter.

20
To complete, I’ve simply cropped the image to tighten the composition.

22
Let’s watch our chamber music picture develop step by step, without the captions.

27
The third piece of music is wild and explosive orchestral music. It’s full of sharp crashes from the percussion, and the repeated blasts of brass instruments.

28
This is how the picture turned out using traditional materials.

29
This effect is called dark strokes; it’s an artistic filter and makes the image look a little like it’s been painted.

30
This effect uses the following steps: 1.The new image is copied and pasted as a new layer. 2.The new layer is set to 50% transparency. 3.The top layer is moved using the mover tool to create the patterned effect where one image is seen through the other.

31
Here, I’ve cropped the image and heightened the contrast to create a more dramatic effect.

32
This final artistic filter is called angled strokes. I’ve set the angle to match the angle of the big shapes in the composition. This fills the design with the effects of fiery energy and movement.

34
Let’s watch our orchestral picture develop step by step, without the captions.

40
The last piece of music is computer-created dance music. Very rhythmic, very tuneful, and with loads of fizzing layers of sound that build up a beautiful music texture.

41
This is how the picture turned out using traditional materials.

42
The first step is to heighten the contrast to create a stronger effect; see how the colour has become more electric.

43
This patterning is created using an extrude filter. I like the way it suits the electronic dance music, which is full of complex rhythms.

44
Here, I’ve simply changed the colour balance to enhance the purples.

45
By experimenting with the curves graph across the red green blue (RGB) channels, I’ve completed the image. Now the design has become multicoloured!

47
Let’s watch our dance picture develop step by step, without the captions.

53
This is a great way to work. Maybe you could choose your own favourite music and try to recreate it as a visual image, and then use digital effects to take the idea further. Good luck! Thank you for following this lesson.

Similar presentations


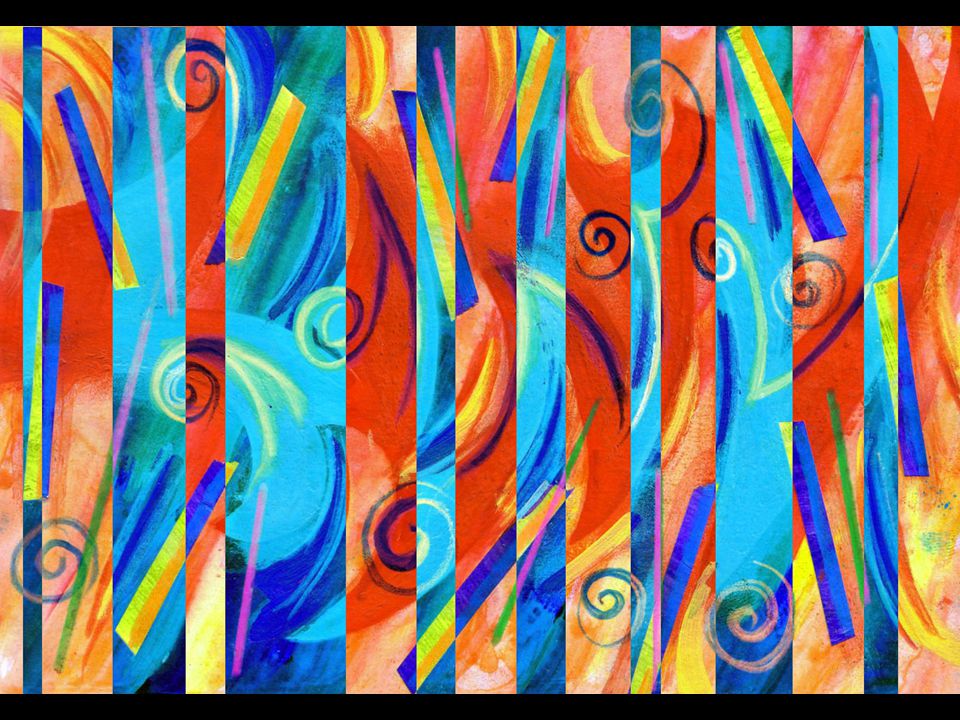
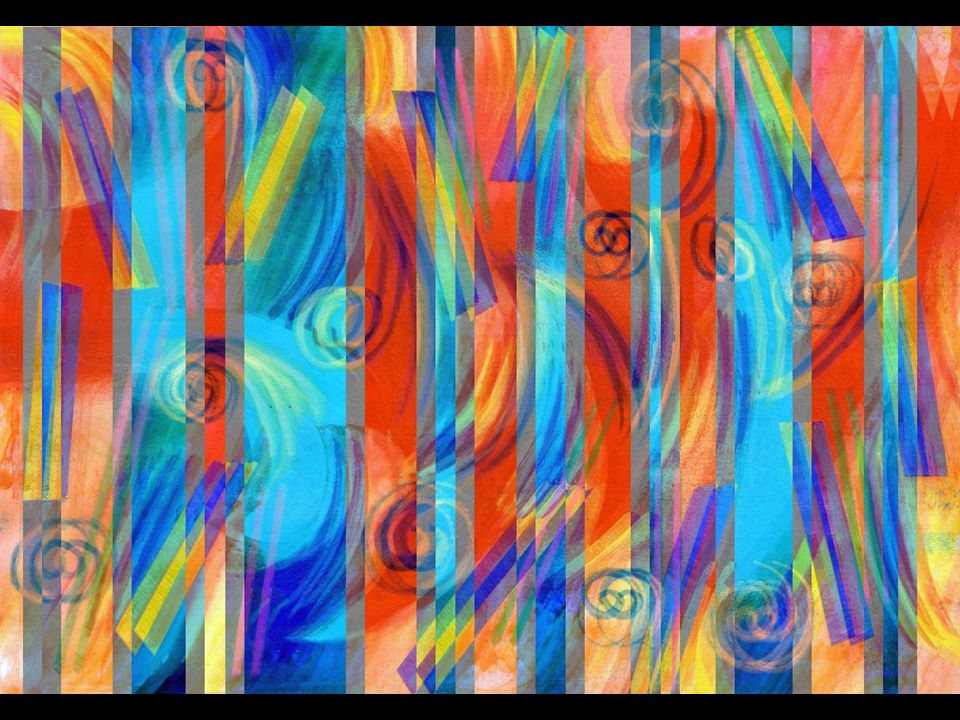

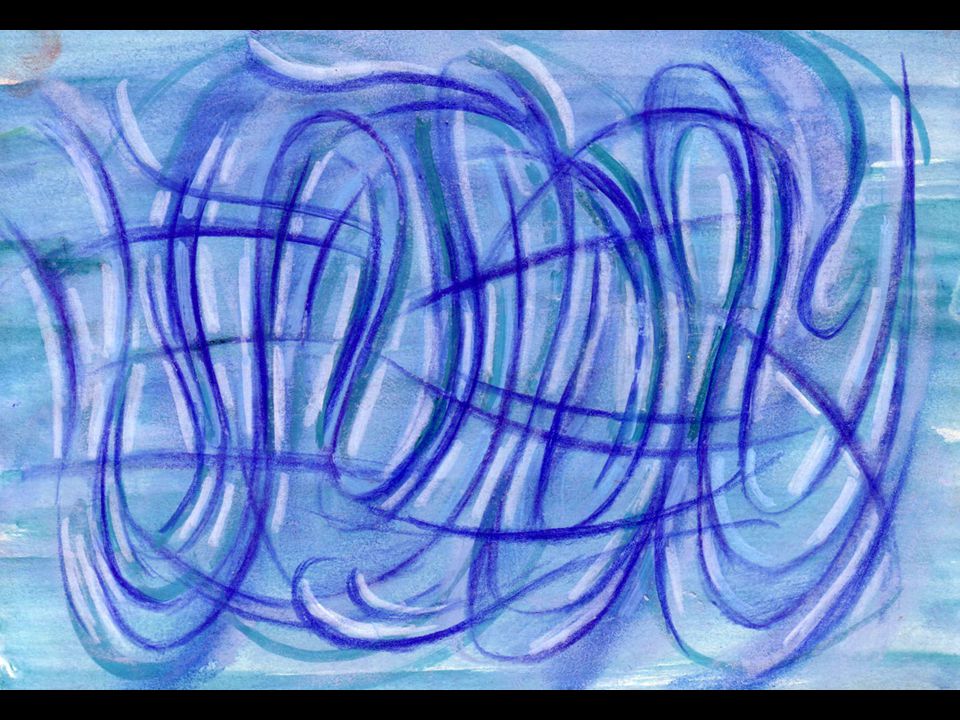


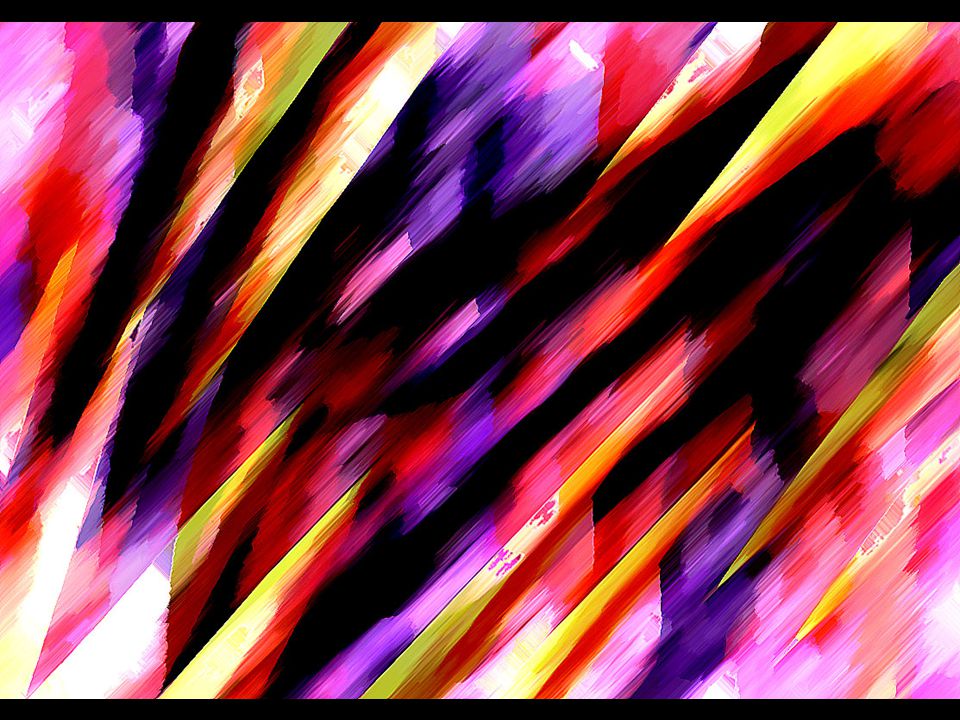


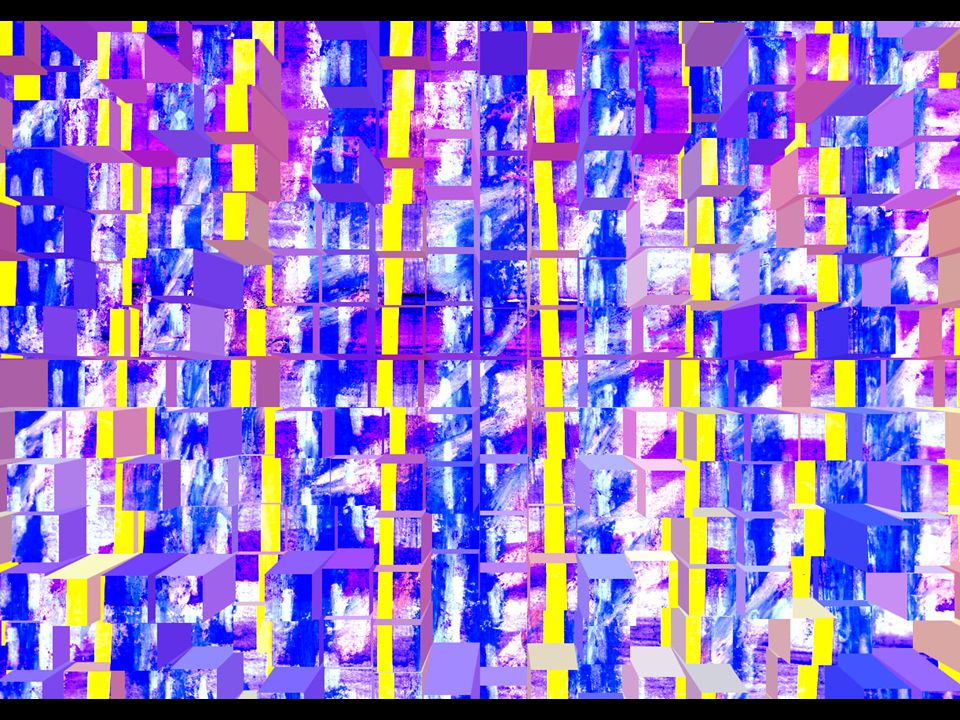


Image > Adjustments > Desaturate to remove color 2)Image > Adjustments > Color Balance 3)Move sliders (adding mostly red and yellow) to.>")

