Download presentation
Presentation is loading. Please wait.

1
SMART Board Basics Using Notebook Software 10 This and other resources available at Smart Technologies: http://smarttech.com/trainingcenter/tutorials.asp#

2
Notebook Software Basics Your Smart Board comes with the SMART Notebook Software. The latest version of the software is Notebook software 10.

3
The Notebook™ software toolbar gives you access to a number of tools to help you work with your Notebook file. By default, the toolbar appears at the top of the Notebook page.

5
You can type with your keyboard…

6
Or you can press the pen button to draw or write in the work area. Press the pointer button to select objects in the work area.

7
Once you select the drop- down menu, choose the word you need from the list. Press the pen button to continue working on your diagram. When finished you may save your work by pressing the save button and naming your file.

8
Objects in Notebook Software

9
Click on the Shapes Icon to select a shape.

10
To move an object, select it, then drag it anywhere in the work area.

11
Use the drop- down menu to make a copy of your object using the clone feature or changing the properties of your object.

12
Selecting the properties of an object allows you to change the color, line properties and transparency of the selected object.

13
Use objects in the Notebook software Gallery to interact with objects you have created.

14
Notebook Software Gallery Items in the gallery may be used to help you add graphic details to your lessons and presentations. Page Sorter tab Gallery tab Attachments tab Properties tab

15
Open the gallery and use the search function to find thousands of images, templates and Macromedia files that will allow you to create attractive and reusable lessons.

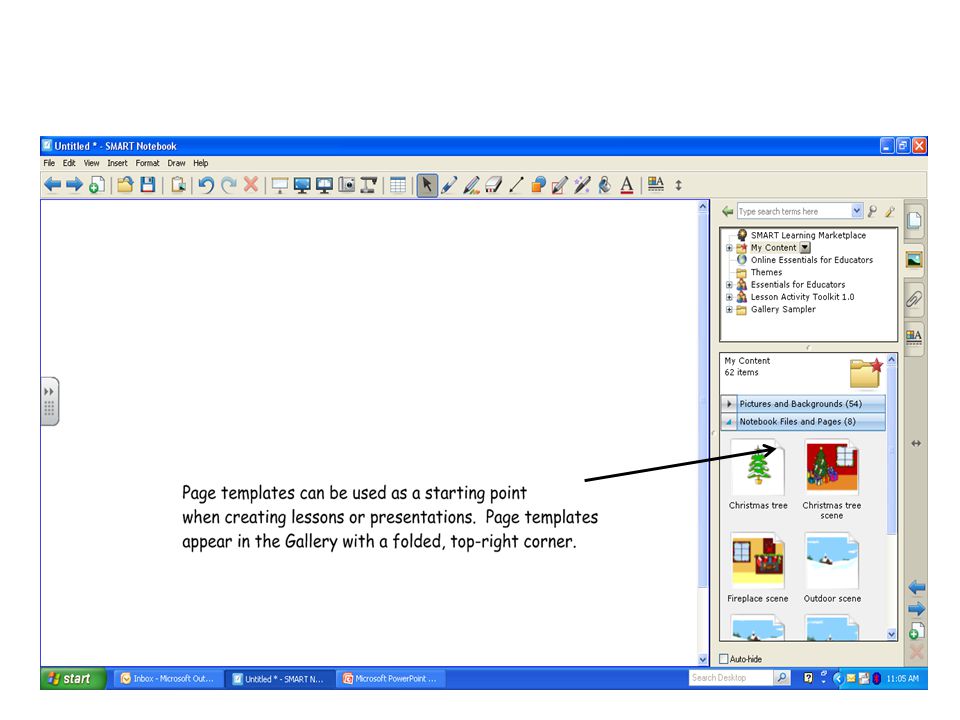
17
Double-click on a page template to add it to the work area. Other objects in the Gallery Collections can be moved anywhere on the active page.

18
Notebook Software Page Sorter Features: –Thumbnail drop-down menu lets you create an exact copy of the page using the clone page feature. –You can drag objects from page to page. –You can reorder page thumbnails. –Rename each individual thumbnail page to indicate the content on each.

19
The Page Sorter provides an overview of all the pages in a lesson or presentation. It also allows you to organize pages and move objects from one page to another.

20
To add a new page: Press the Blank Page to add a new page to your file.

21
The new page will become the active page. This and other resources available at Smart Technologies: http://smarttech.com/trainingcenter/tutorials.asp# You can create an exact copy of the current page using the drop- down menu on the active page and selecting Clone Page.

Similar presentations


>")

 n Combination of.>")


