Download presentation
Presentation is loading. Please wait.

1
Coil Vessel Vocabulary, Criteria, and Steps

2
Coil Pot Criteria… 20 pts each
Students will create a Coil Pot which… Is at least 9” in height by 4” in width. The base must be no smaller than 3” wide in the shape of a bottle. Is constructed completely of clay coils that have been slipped, scored, and blended together. Exhibits design elements and pattern created through manipulating coils. Additive process. Is smoothed entirely on the inside surface. Must be Neat clean, glazed properly with name and period on bottom

3
Coil Pot Design… The coils are both the medium of the piece and a large portion of the final design Things to consider: Shapes used Where used % Smoothed % Coiled Pattern Texture

4
Coil Pot Steps… Draw rough sketches of the shape of the pot you are going to create Pot form should relate to its function Jug, jar, bottle.

5
Coil Pot Steps… Based on your chosen sketch, create your template out of a large piece of sketchbook paper. *Hint*---If you draw one side of the template to scale you can fold the paper in half and trace it so you get a perfect match The template: Acts as a guide Visual reference Basis for coil design

6
Coil Pot Steps… The Base
Make a slab to a thickness of ½” (one-half inch) Draw and cut a circular template out of sketchbook paper that matches the diameter of the base of your piece (3”, 4”, 5”, etc.) Cut out the clay circle and then smooth the base using your rib Make sure to keep your template out on the table with you at all times during construction of the Coil Pot if you use it, so you maintain accuracy
 Draw and cut a circular template out of sketchbook paper that matches the diameter of the base of your piece (3 , 4 , 5 , etc.) Cut out the clay circle and then smooth the base using your rib. Make sure to keep your template out on the table with you at all times during construction of the Coil Pot if you use it, so you maintain accuracy.")
7
Coil Pot Steps… The Coils ALWAYS KEEP THEM IN A BAG SO THEY DRY OUT.
Prepare small lumps of clay into a WEDGED, rounded cylinder Only press an amount of coils that you will be able to use during the class period, otherwise the coils have a tendency to dry out quickly ALWAYS KEEP THEM IN A BAG SO THEY DRY OUT.

8
Lastly, Coil Pot Steps… Begin construction by slipping and scoring the first row/coil onto the top of the base Attach the coil to the base in the same way as for all previous projects paying close attention to the inside of the pot *Reminder*---Smooth the inside facing side of the coils as you add each level, the outside should maintain the rough coil appearance For each level of coils that you add, you must remember to slip and score the coils together to ensure the best possible adhesion and strength

9
STEPS CUT COILS AS ILLUSTRATED Pinch coil into slab on the inside
Merging coils using both hands

10
Do the same on the outside/Use a rib to smooth…
Place 2nd coil/ Smudge into lower coil

11
Pull the outside coil to the pot
Repeat with the next layer, and the next…

12
To build up To build straight up… stack coils DIRECTLY ON TOP OF ONE ANOTHER To make the vessel go OUT… move each coil toward the outside a little each time. To make the vessel go IN… move each coil toward the INSIDE a little each time.

13
Join coils at a different place
Use the same method as above to create the pot's rim. You may choose to leave the rim "un-smoothed" as illustrated below. If making a large pot, it might be too soft to hold it's full weight. Cover it and allow it to set for a while before proceeding. When starting again, the next coil added MUST be slip-and-scored to the existing pot.

14
Finished! Now Add something to it and make it AMAZING!

15
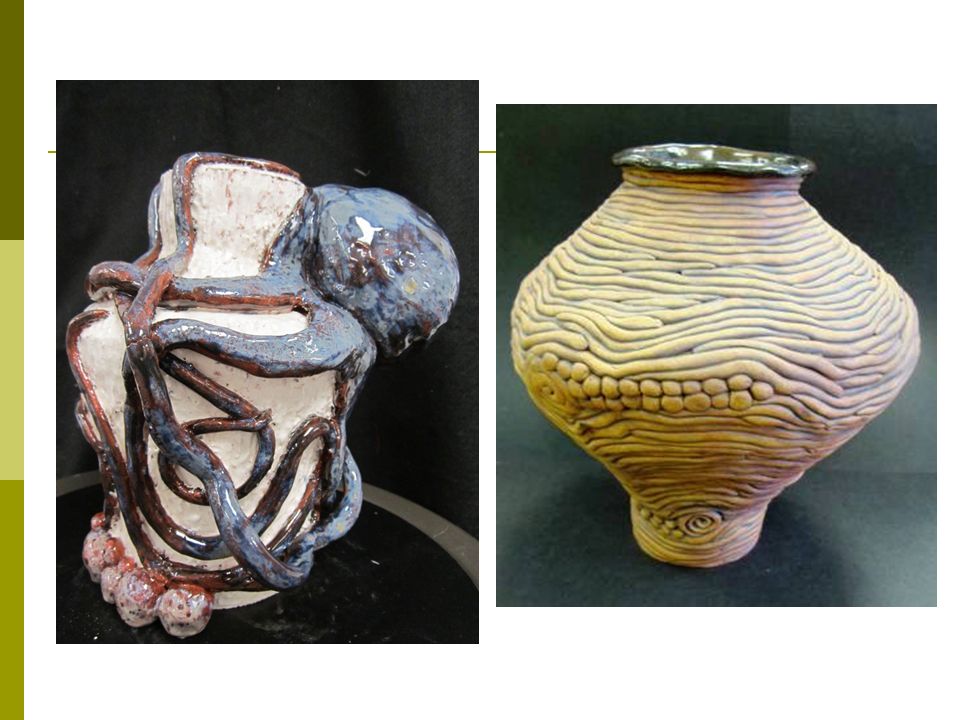
Examples:

Similar presentations


 Draw and label the following- Clay Wire cutter Banding Wheel Wooden Rib Needle Tool Fettling Knife Clay Sponge Wire Loop Tool.>")


. Create a paper template where you plan how you will use the stamps you have created. It will indicate the height and.>")


