Download presentation
Presentation is loading. Please wait.

2
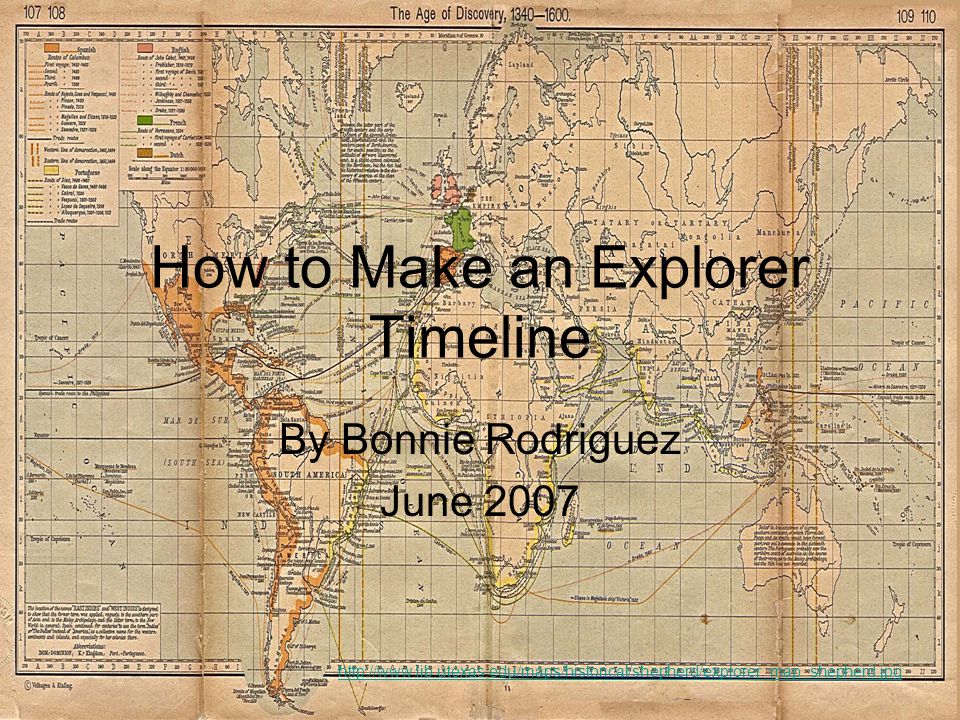
How to Make an Explorer Timeline By Bonnie Rodriguez June 2007 http://www.lib.utexas.edu/maps/historical/shepherd/explorer_map_shepherd.jpg

3
Organize! Using the organizer provided, write down what is going to be included on each of your slides. You must include: information on at least 3 explorers, why they came to California, missions, and why it was a hard or easy journey. Use the textbook or the Internet!Internet

4
Information Once you have your information, open up PowerPoint. Once you have your information, open up PowerPoint. Using the outline tab on the left hand side of the screen, type in the information on each slide. (Type all your slides before worrying about anything else!) Using the outline tab on the left hand side of the screen, type in the information on each slide. (Type all your slides before worrying about anything else!)
 Using the outline tab on the left hand side of the screen, type in the information on each slide. (Type all your slides before worrying about anything else!).")
5
Citing Your Work When you find information on the Internet or from a book, you must give the author credit. Copy and paste the website onto a word document as you use it. Write the name of the website and what information you got from it.word document

6
Layout After you have all the info typed in, go back and click on each slide. Decide if they layout works for that slide; do you need room for a picture? After you have all the info typed in, go back and click on each slide. Decide if they layout works for that slide; do you need room for a picture? If you need to change the layout, click on Format at the top of the screen and go to Slide Layout—then pick a more usable layout. If you need to change the layout, click on Format at the top of the screen and go to Slide Layout—then pick a more usable layout.

7
Pictures: Clip Art To use a picture from clip art, go up to Insert, go to Picture, and pick Clip Art. Type in a word and look at the choices; then double click on the picture you want. Move it around by grabbing and dragging the box or make it bigger or smaller by grabbing the corner or edge and dragging.

8
Pictures: From the Internet Go to the Internet and find the picture you want. Right click the picture and go to Copy. Go back to your PowerPoint and right click on the slide. Click Paste. Your picture should appear. Don’t forget to cite it! http://mobarrett.net/shadows/images/04_11_18_mission720.jpg

9
Fun Stuff Now you can go back and add cool stuff to your presentation! Go to Format: Slide Design—colors and background designs Background—color scheme Go to Slide Show: Slide transitions—moving text, sounds

10
Works Cited 1.Historical Maps http://www.lib.utexas.edu/maps/historical/shepherd/explorer_map_shepherd.jp g Historical map of the Age of Exploration 2. National Park Service: Cabrillo National Monument http://www.nps.gov/archive/cabr/juan.html Information on Cabrillo National Monument and a biography on Juan Rodriguez Cabrillo. http://www.nps.gov/archive/cabr/juan.html 3. Mo Barrett http://mobarrett.net/shadows/images/04_11_18_mission720.jpg Picture of Santa Barbara Mission.http://mobarrett.net/shadows/images/04_11_18_mission720.jpg

Similar presentations


 1. Before you start your project, you need: Completed project storyboard. Files with images, sound, or video already saved.>")


