Download presentation
Presentation is loading. Please wait.

1
PLEASE USE THE ENTER KEY OR RIGHT CLICK ON THE MOUSE TO ADVANCE

2
FIRST READ LESSON #10 – TOOLBARS Prior to viewing this presentation.

3
What are the names of the TOOLBARS?

4
Proficient Cad Operators have in-depth knowledge of the components that make-up their Cad System. It is important that Cad Students have the same in-depth understanding of Autocad. A graphical user interface is how information, options, and choices are displayed for you by the software. One of the major components of the Autocad Graphic User Interface (GUI) are TOOLBARS. TOOLBARS are part of the Autocad Graphic User Interface (GUI)
 are TOOLBARS. TOOLBARS are part of the Autocad Graphic User Interface (GUI).")
5
The names of the Toolbars will generally identify the principal use of the Icons contained with-in them. The Toolbars which appear as part of the standard student profile are: At the top - Layers, Properties Styles, Zoom, Text Object Snap, Modeling Draw, Modify, 3D Navigation At the left - UCS, Views, Visual Styles, Inquiry, Draw Order At the right - Solid Editing, Screen Menu THE TOOLBAR NAMES

6
A standard student profile has been established for you and is a file saved in the TECHSTAN directory called student_profile1.arg. At any time you need to refresh the profile because of adding toolbars to your drawing it will be easy to do. The STANDARD STUDENT PROFILE

7
The Toolbars on display as part of this Autocad Graphic Window are but a few of other choices. As the term progresses you will need to open and position other toolbars with-in the graphic window. As you move the cursor to any icon it will display its name. Lets take a closer look at other toolbars available in the toolbar list dialog box by right-clicking on any of the toolbars. A CLOSER LOOK AT THE TOOLBARS

8
Right-clicking on any of thetoolbars will display thistoolbar list.As you can see the listcontains many choices.Some items expand uponpresent toolbars such asLayers and Modify whileothers provide toolbars forspecial tasks.As you gain skills inAUTOCAD the use of theseother toolbars will becomeapparent. The checks indicateselected toolbars.

9
Lets move some toolbars from their docked locations to get a better look at their contents. All of the Toolbars shown will be described in later detail in individual presentations. THE TOOLBARS

10
THE DRAW TOOLBAR The Draw Toolbar contains the elements to draw any design or object. As you move from left to right along the icons representing the geometry used for drawing your designs and objects its name will be displayed. They Icons are: Line, Construction Line, Multiline, Polyline, Polygon, Rectangle, Arc, Circle, Spline, Ellipse.

11
THE DRAW TOOLBAR In addition the following commands are also part of the toolbar: Insert Flyout, Make Block, Point, Hatch, Region, Table and Multiline Text… These commands and others within the Draw Toolbar will be explained in detail in a later individual presentation.

12
THE MODIFY TOOLBAR The Modify Toolbar contains the tools to edit the design or object being drawn. As you move from left to right along the icons the name of the editing command will be displayed. They include: Erase, Copy Object, Mirror, Offset, Array, Move, Rotate, Scale, Stretch, Trim, Extend, Break, Join, Chamfer, Fillet, and Explode.

13
THE MODIFY TOOLBAR The Modify Toolbar will be most useful in shaping your designs and objects. Students should make every effect to use many of the commands from the Modify Toolbar in order to become more efficient in editing. The Modify Toolbar will be explained later in an individual presentation.

14
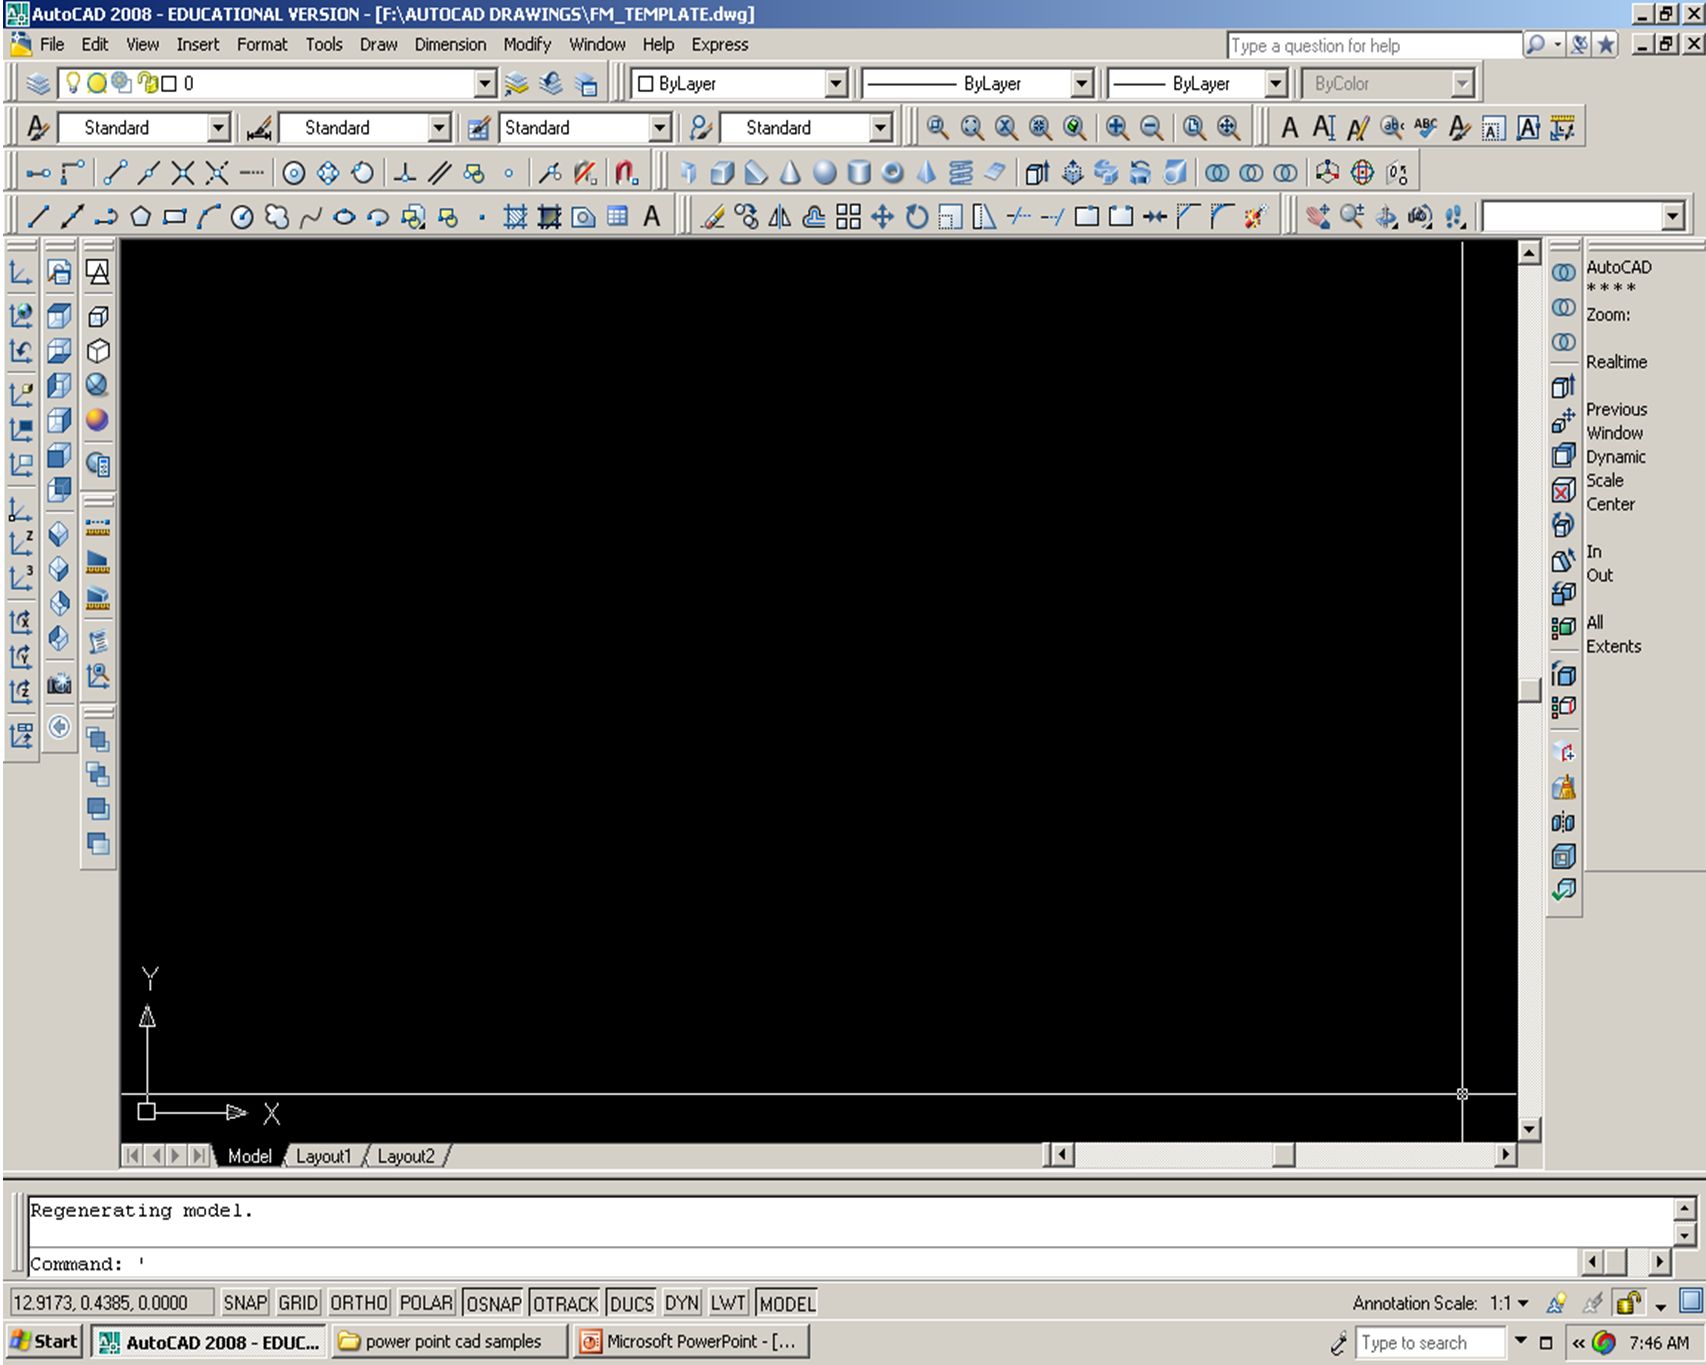
THE ZOOM TOOLBAR The Zoom Toolbar is used to magnify any portion of your design or object by several magnification settings. The design can be either enlarged or reduced. PLEASE SEE THE DRAWING DISPLAY OPTIONS PRESENTATION FOR ADDITIONAL INFORMATION ON THE ZOOM TOOLBAR

15
THE VIEW TOOLBAR The View Toolbar is used to display any of the preset orthographic and isometric views of your design or object. PLEASE SEE THE DRAWING DISPLAY OPTIONS PRESENTATION FOR ADDITIONAL INFORMATION ON THE VIEW TOOLBAR

16
THE OBJECT SNAP TOOLBAR The Object Snap Toolbar is used to accurately select exact points on any part of your design or object. The Cad Operator simply selects an icon from the OSNAP Toolbar after an initial drawing command is chosen such as Line and then moves the cursor to the location the line will be placed.

17
THE OBJECT SNAP TOOLBAR The OSNAP feature will identify the point and display its point location such as Endpoint, Midpoint, Intersection or any of the other running presets selected within the Object Snap Tab in the Drafting Settings Dialog box which are checked off.

18
THE OBJECT SNAP TOOLBAR

20
The Object Snap Toolbar will be explained later in an individual presentation.

21
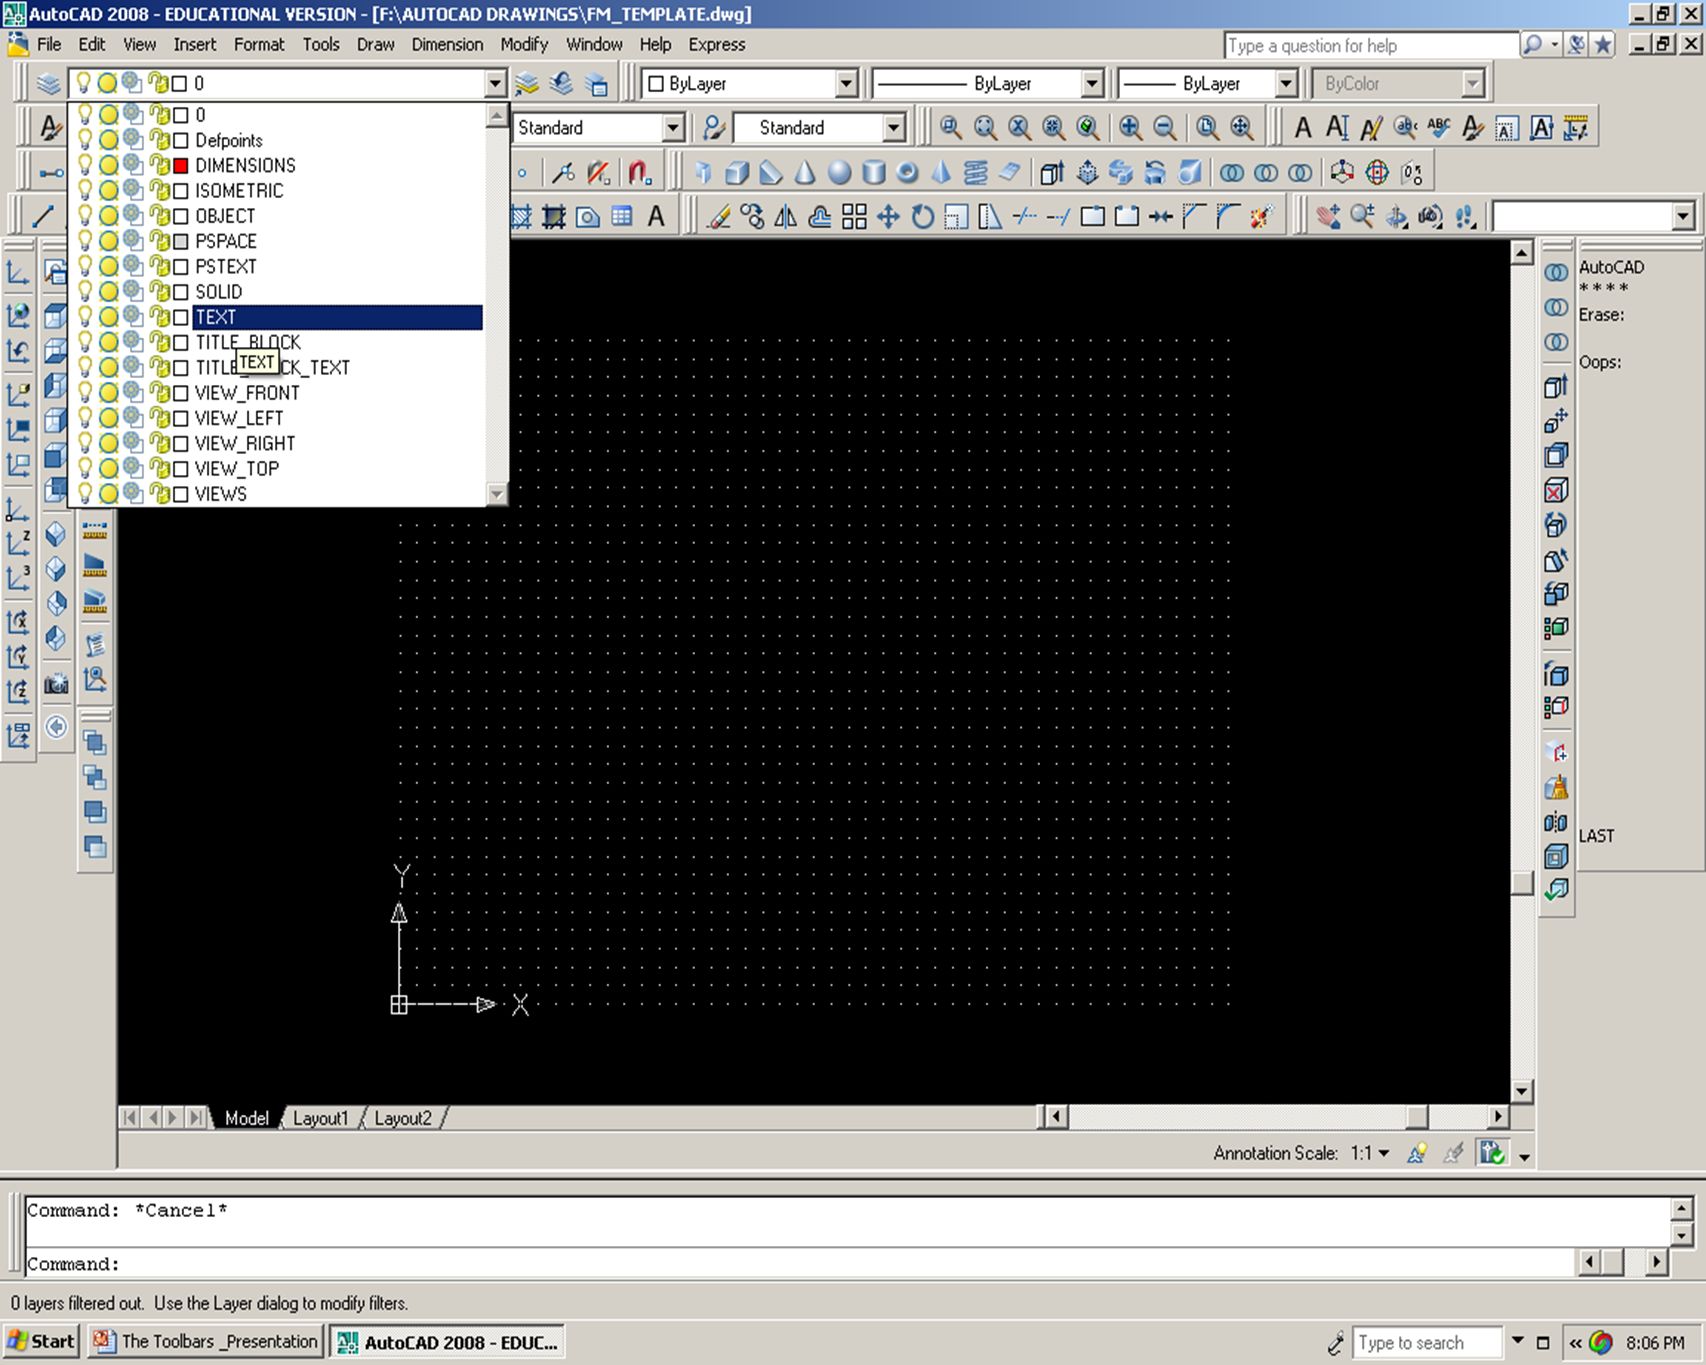
THE LAYERS TOOLBAR The example left shows LAYERS added to the Layer Properties Manager Layers are basically pages of a book.

22
THE LAYERS TOOLBAR LAYERS can be active together or independently of each other

23
THE LAYERS TOOLBAR The current Layer can beselected by moving thecursor to the LAYERToolbar and picking thelayer of choice.The current Layer is thelayer in which you areworking in.

25
CURRENT WORKING LAYER

26
THE LAYERS TOOLBAR The LAYERS TOOLBAR will be explained in a later individual presentation.

27
THE INQUIRY TOOLBAR The INQUIRY Toolbar is used to quickly provide information while drawing. The most frequently used commands within the toolbar are DISTANCE, AREA and LIST. The INQUIRY Toolbar will be explained in a later presentation.

28
THE DRAW ORDER TOOLBAR The DRAW ORDER Toolbar is used to reposition Objects as they relate to each other. The icon selected will either bring to front the image or send to back the selected image. Lets take a look.

29
The blue circle is sitting on top of the white square. Selecting the send to back icon in the DRAW ORDER Toolbar Will position the blue circle below the white square.

30
PICK CIRCLE SEND TO BACK

31
BLUE CIRCLE PICKED

32
BLUE CIRCLE SENT TO BACK

33
THESE ARE BUT A FEW OF THE MANY TOOLBARS AVAILABLE TO YOU WHILE WORKING IN AUTOCAD. REVIEW AS MANY OF THEM DURING CLASS And See Individual Toolbar Presentations

Similar presentations