Download presentation
Presentation is loading. Please wait.

1
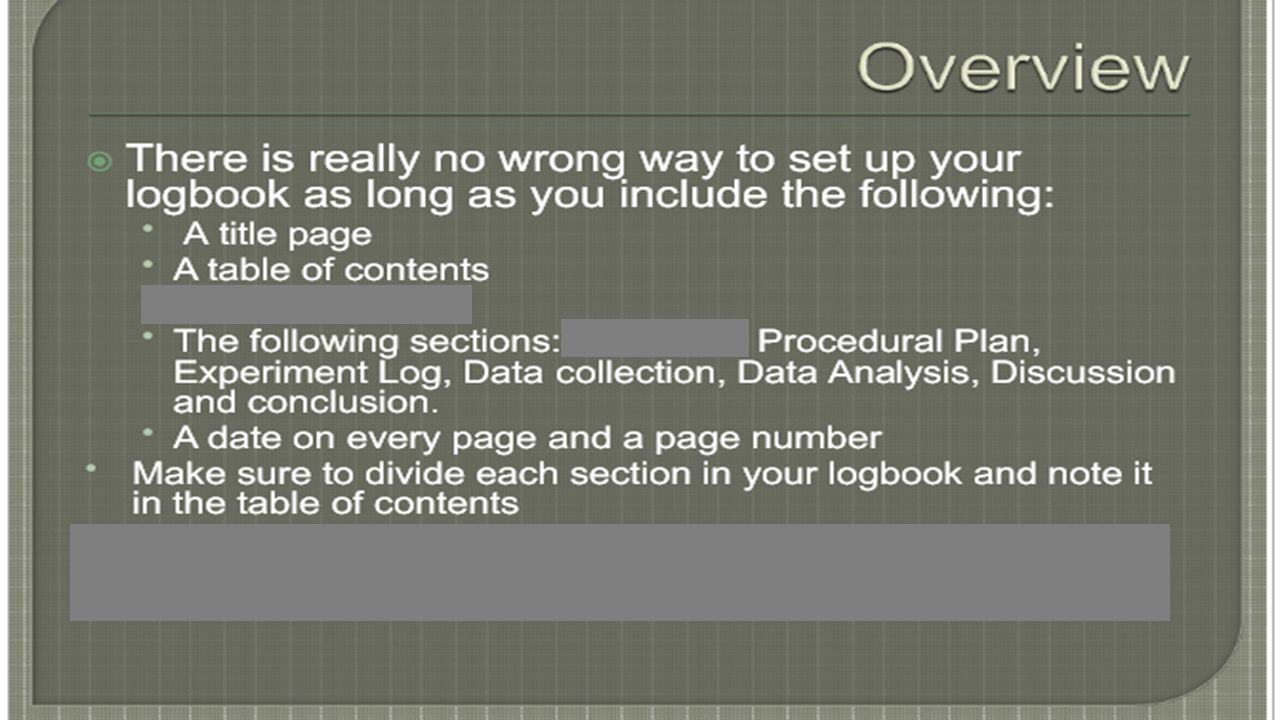
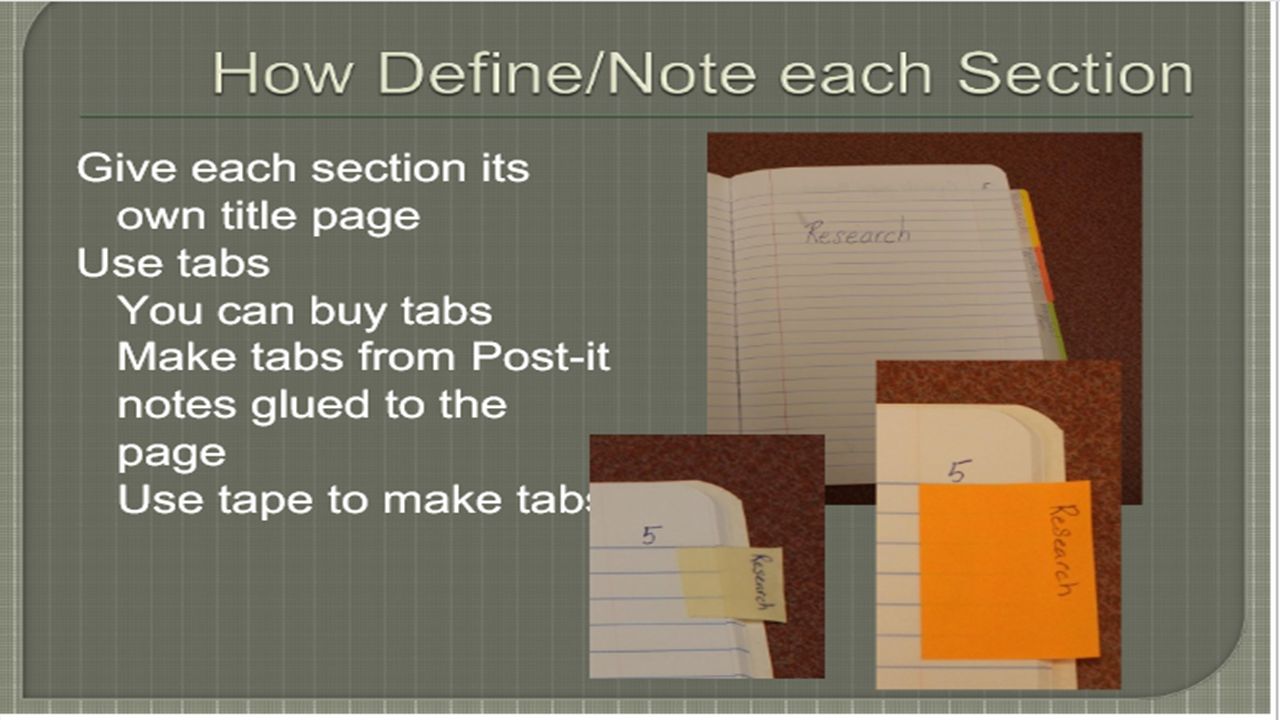
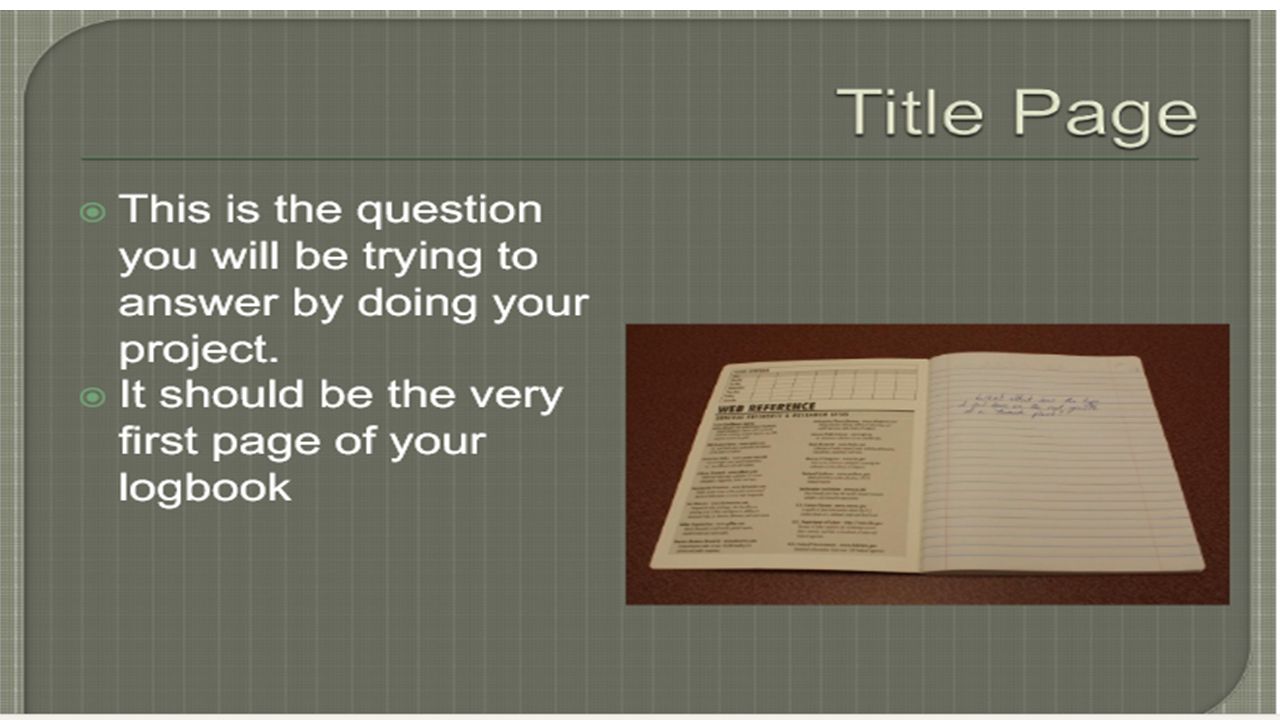
Science Log Book

9
Data Collection/ Analysis

12
Presentation Binder

13
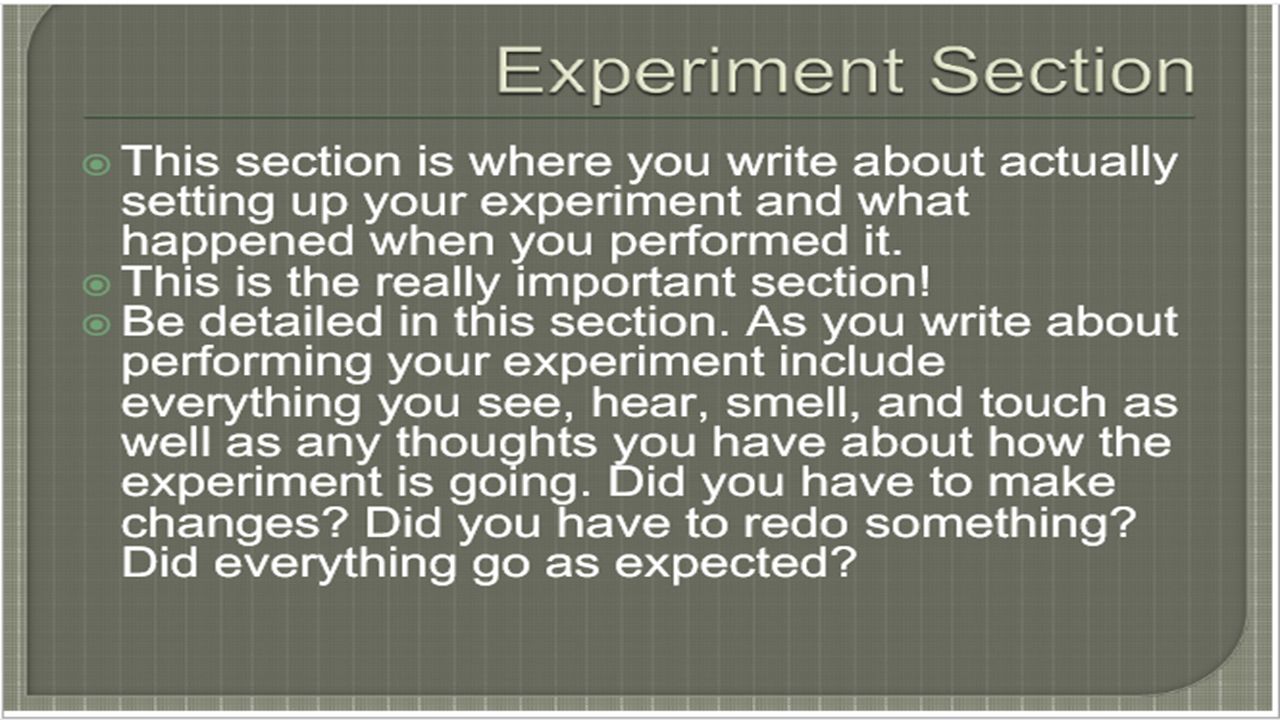
Abstract The abstract can only be 250 words and must be written in 3rd person. The following will explain to you exactly what should be included in your abstract. You may also refer to the sample located online at http://sciserv.org/isef/teachers/abstract.asp or the example provided at the end of this section. http://sciserv.org/isef/teachers/abstract.asp Use the online form to write your abstract at https://member.societyforscience.org/document.doc?id=24https://member.societyforscience.org/document.doc?id=24 Save your abstract after you have typed it on your flash drive or computer Make two copies of the abstract. One will go into your presentation binder and one on your backboard. The abstract body should include: Purpose: The purpose is a statement about what you are attempting to find out by doing the experiment. A good format is to start out with “The purpose of this project was to answer the question……….” And then restate the problem. Hypothesis: State your hypothesis by writing “The hypothesis for this experiment was….” Experimentation: Summarize your procedures; explain how you kept the conditions controlled; identify the variables and control group; explain how data was collected and measured and state how many trials were conducted. Results: Explain your observations and report the mean results of each experimental group. Which test group changed most, least, etc. Conclusion: The conclusion should compare your hypothesis and results. State your conclusion then restate the hypothesis and whether or not it was supported by the data or not supported by the data.

14
A science fair quality project includes: 1) A science binder with three dividers separating the typed version of your project into the required sections 2) A display board that puts the essentials of your project into a pleasing, easy to read visual display 3) Your original logbook must be placed in the front of your binder for review by judges. 4) The Clay County Science Fair Project Approval Form and ISEF paperwork completed in the back of your binder The following pages will give you the guidelines to follow to complete these parts of your project. Project Presentation Binder The project binder is considered the final draft of your science fair project. Much of the binder is going to end up being reprinted in larger fonts to post on your backboard/display board later.
 The Clay County Science Fair Project Approval Form and ISEF paperwork completed in the back of your binder The following pages will give you the guidelines to follow to complete these parts of your project. Project Presentation Binder The project binder is considered the final draft of your science fair project. Much of the binder is going to end up being reprinted in larger fonts to post on your backboard/display board later..")
15
General Guidelines for the Binder: 1. One inch three ring binder with a clear front view cover. 2. Three tab dividers labeled in the following order: Introduction, Experiment, and Conclusion. 3. Use black ink and choose only one font to use for the entire notebook. Use only fonts Arial, Verdana, Times New Roman or Calibri. 4. You may use larger or bolded font for page titles, but for the general “writing” please use 12 point font. 5. Use one inch margins throughout the notebook. 6. Double space all typing in the project notebook 7. Place the page number on the bottom right of each page. 8. In the front pocket place your research/ log book. 9. In the back pocket place all of your signed paperwork.

16
Project Binder Required Contents **Must be in the following order: Notice: There are no page numbers on these first pages and in your table of contents the page numbers may be different. This is only an example.

17
Project Binder Required Contents Divider 1: Introduction

18
Project Binder Required Contents

19
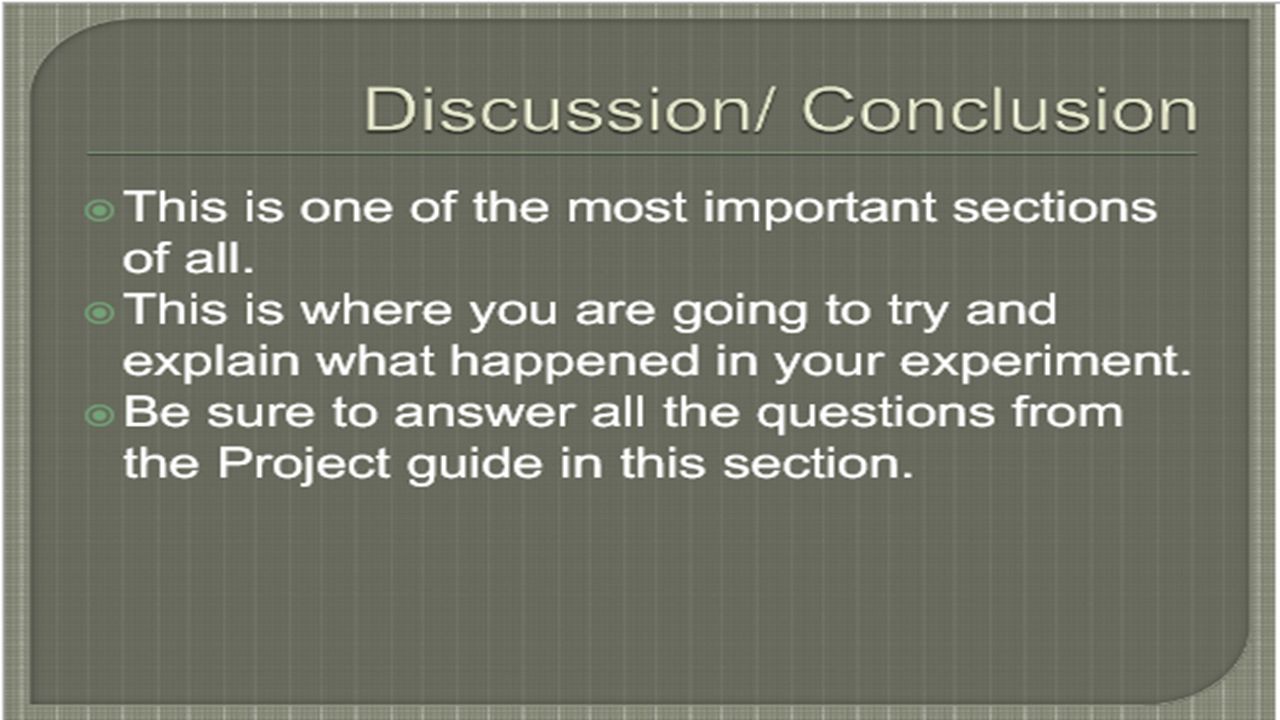
Divider 3: Analysis and Conclusions

20
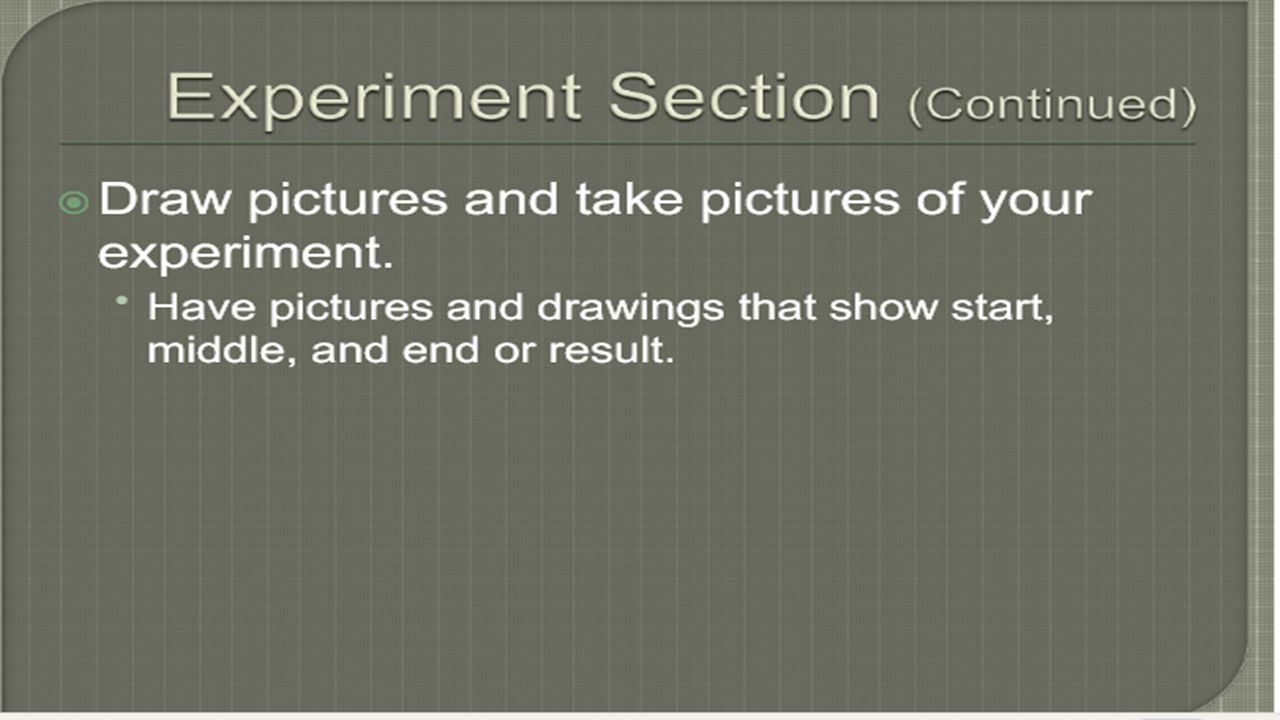
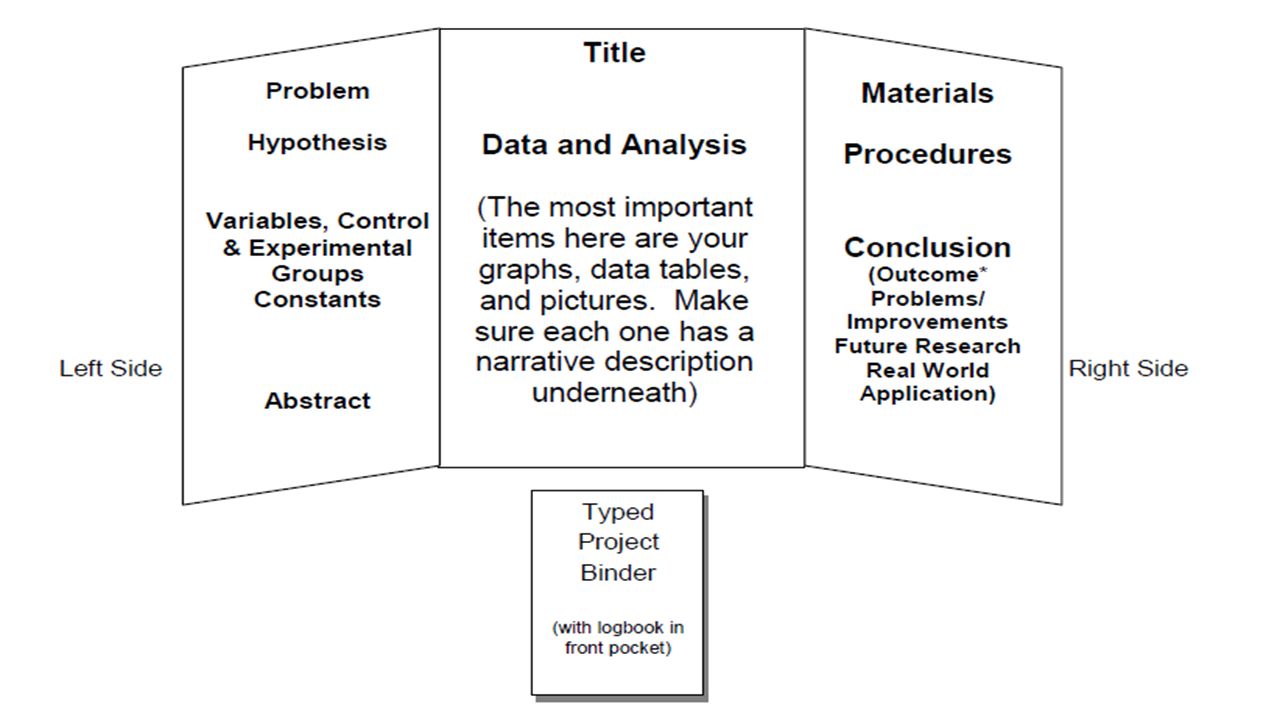
Science Fair Project Display Boards Requirements: 1. Maximum dimensions: Depth: 30 inches, Width: 48 inches, Height: 108 inches (Minimum: Depth: 12 in., Width/center section: 24 in., Height: 36 in.; standard tri-fold backboard) 2. Your abstract should be displayed either pasted to the bottom left corner of your board, or displayed in a Plexiglas frame in front of your project. 3. You must identify who took any of the pictures displayed in your project. If all the pictures were taken by the same person, you can include a small “tag” that says “All photos by:____”. Otherwise, every picture will need to include the name of the photographer. 4. On the back of the board (top of right panel): your name, Science Teacher’s name, and class period should be written. Do this prior to turning your project into your science teacher.
 2. Your abstract should be displayed either pasted to the bottom left corner of your board, or displayed in a Plexiglas frame in front of your project. 3. You must identify who took any of the pictures displayed in your project. If all the pictures were taken by the same person, you can include a small tag that says All photos by:____ . Otherwise, every picture will need to include the name of the photographer. 4. On the back of the board (top of right panel): your name, Science Teacher’s name, and class period should be written. Do this prior to turning your project into your science teacher..")
21
Restrictions (what cannot be on your board or in your display area): No organisms, including plants (living, dead or preserved) No soil, rock or waste samples even if permanently encased No human food or animal food No chemicals allowed including water No dry ice No sharp objects (knives, needles, etc...) No flames or highly flammable materials No batteries with open top cells No awards, metals, flags, business cards or logos No glass or glass objects Avoid photographs showing people’s faces (Any person in a picture under the age of 18 must have documented parental permission.)
: No organisms, including plants (living, dead or preserved) No soil, rock or waste samples even if permanently encased No human food or animal food No chemicals allowed including water No dry ice No sharp objects (knives, needles, etc...) No flames or highly flammable materials No batteries with open top cells No awards, metals, flags, business cards or logos No glass or glass objects Avoid photographs showing people’s faces (Any person in a picture under the age of 18 must have documented parental permission.)")
Similar presentations


 March 21st, 2013 Science Fair (April 20) in less than a month!>")


