Download presentation
Presentation is loading. Please wait.

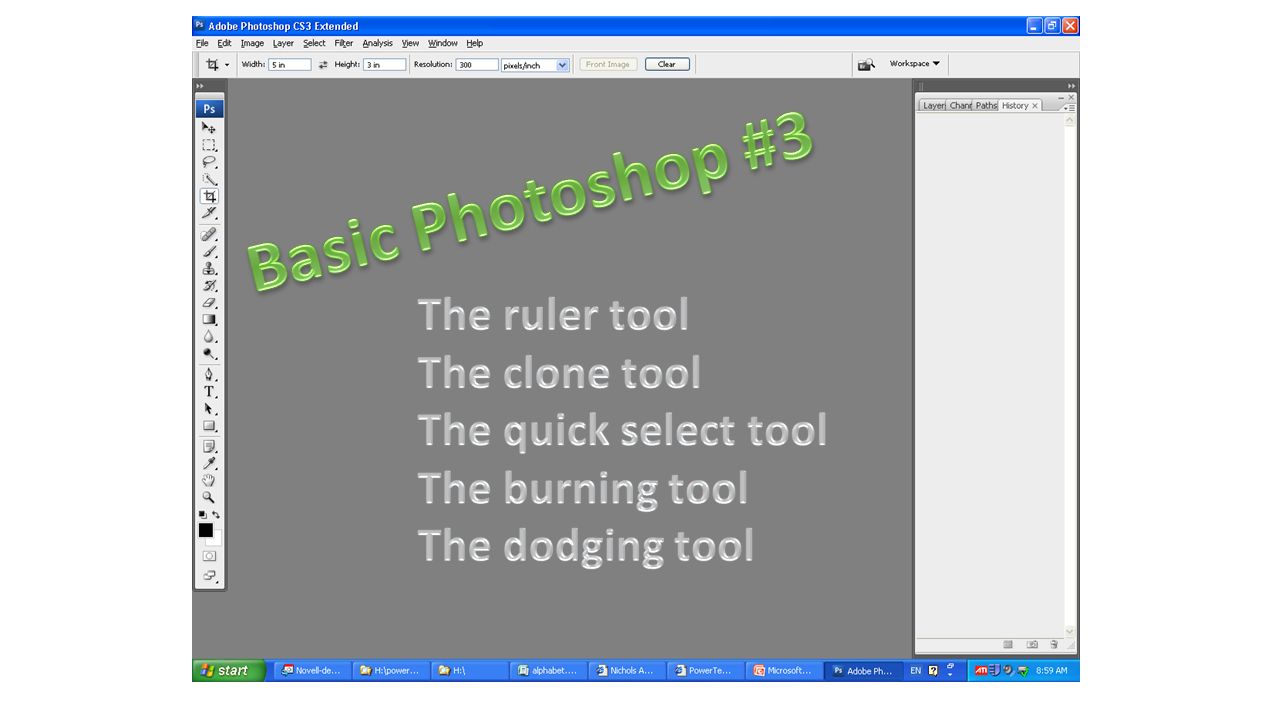
2
What’s the matter with this picture?

3
This picture was not level when it was taken, and this should be fixed.

4
The Ruler Tool This tool allows the user to draw a new horizon line, and then rotate the photograph so that it is perfectly horizontal. This can also be used vertically, using the side of buildings, windows, doorways, ect….

5
The “ruler tool” is located under the eyedropper tool Click and drag a line across the new horizon line.

6
Image Rotate Canvas Arbitrary

7
The Ruler tool will immediately find the exact angle for the horizon.

8
The picture now needs to be re- cropped. Make sure that the with and height numbers are correct.

9
Click on the arrows in order to switch Height and Width

10
Sometimes you need to remove specific portions of a picture.

11
The Clone Stamp Tool This tool allows the user to “copy” specific areas of a photograph and “paste” them in order to cover up whatever is unwanted.

12
The clone stamp tool is a brush, and all brushes can be manipulated in the same way.

13
Master Diameter: The size of the area that will be affected. Hardness: How “fuzzy” or sharp the outside line will be.

14
Find the portion to be copied and press the “Alt” key. This icon will appear in order to show that you are coping.

15
Wherever you click, that area is covered. If “Aligned” is checked, the original “copy” area is moved whenever you move your mouse. Uncheck it.

16
BAD Obvious repeating textures Obvious tone change

17
Good!

18
Change copy location s as well as the opacity.

19
Quick Selection Tool. Grabs specific areas of your photograph. So that they can be manipulated separately. Located under the “Magic Wand Tool”

21
Select Deselect When done

22
+ will add to the area being selected. - will take away from the area

23
This area is the only one affected by the levels change.

24
Burn tool. This tool darkens portions of your photograph

25
Dodge tool. This tool lightens portions of your photograph Burn and Dodge tool located under each other on the tool bar.

26
Expectations: Open “tools.jpg” under the Andreasen Handout folder. Use all 5 tools to manipulate this photo. Create this folder and save it there: Lastname.1A.photoshop Do not turn this in yet…

Similar presentations