Download presentation
Presentation is loading. Please wait.

1
Raptor University Front Office Staff Module Palm Beach County Instructors: Judee Cabrera and Michael Raikis

2
Volunteer Module Creating a volunteer Scanning an ID

3
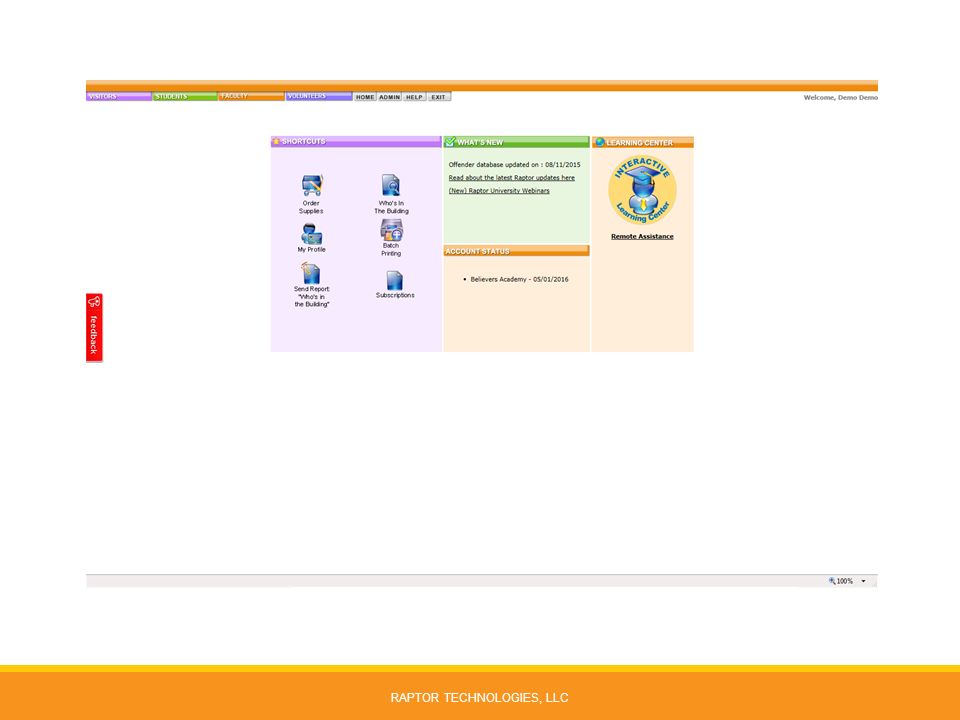
To access “raptor” please enter the following address into Google Chrome’s address bar https://apps.raptorware.com/vsoft https://apps.raptorware.com/vsoft RAPTOR TECHNOLOGIES, LLC

5
Scanning Visitor ID into Raptor 1.From the Visitors drop-down menu, select Sign In Visitor. 2.Insert the visitor's government-issued ID into the scanner. For the 800DX scanner, the license must be inserted face up, flat on the scanner bed, and aligned to the far right side (as shown below). 3.On the Sign In Visitor screen, click Scan.
. 3.On the Sign In Visitor screen, click Scan..")
6
Scanning Visitor ID, cont. into Raptor The fields on the Visitor Sign In form are automatically populated with First Name, Last Name, Date of Birth, ID Number and Photo. 4.Carefully verify that the information on the screen matches the information on the ID. Some IDs may not scan properly due to cracks, holograms, etc. 5.Double-click in the Notes field and type in or select a reason for the visit from the drop-down menu. 6.Click Submit to enter the information without printing a badge.

7
Creating a Volunteer 1.The Volunteer MUST be signed in as a visitor first using a valid form of Identification. See page 5 for scanning instructions. Scanning a visitor/volunteer ID or doing a manual entry will activate the background check in the “raptor” system – THIS IS ESSENTIAL! 2. Ask the prospective volunteer if they are exempt from public record. 3.If NO, direct them to the Kiosk to fill out a Volunteer Application. Once completed they are approved and ready to begin volunteering. Note: They must enter their name in the volunteer application exactly as it appears on the ID they used to scan in as a visitor. 4.If YES, direct them to the Kiosk to fill out a Volunteer Application then come back to front desk to answer a few additional questions pertaining to their exempt status. 5.For exempt volunteers, once volunteer application is completed: 1.From the Volunteers drop-down menu, select Sign In Volunteer.

8
Creating a Volunteer Cont’d 6.On the Sign In Volunteer screen, type the volunteer’s First Name, Last Name or Full Name in the Quick Find text box. 7.Click Find. If the exact name is found, the volunteer information is populated in the fields on the screen. If there are multiple matches, select the name from the Quick Find dialog box to populate the fields. 8.Click on Edit Volunteer to begin completing the answers to the six (6) exempt questions.
 exempt questions..")
9
Creating a Volunteer Cont’d 7.Once the fields have been completed, Click on the Submit button (bottom left side of screen). 8.Confirm that all the fields were completed properly.

10
Volunteer Module Volunteer Sign-In Volunteer Sign-Out

11
Volunteer Sign-In into Raptor Volunteers can be signed in only after they have been created and approved (see Volunteer Module 102 to learn to create and approve volunteers). 1.From the Volunteers drop-down menu, select Sign In Volunteer. 2.On the Sign In Volunteer screen, type the volunteer’s First Name, Last Name or Full Name in the Quick Find text box. You can also type the first few letters of their name or their ID number (license number). 3.Click Find.
. 3.Click Find..")
12
Volunteer Sign-In, Cont. 4.If the exact name is found, the volunteer information is populated in the fields on the screen. If there are multiple matches, select the name from the Quick Find dialog box to populate the fields. 5.In the Task Information area, on the right side, select the Function, Affiliation and Organization for the volunteer from the drop-down menus. Note: these fields are REQUIRED to Submit a volunteer. 6.Click Submit & Print to print a volunteer badge or click Submit to enter the information without printing a badge. The volunteer hours for that visit will begin to be counted once the volunteer has been submitted.

13
Volunteer Sign-Out into Raptor When volunteers leave your campus, you can sign them out in a variety of ways. You can also sign out multiple volunteers at one time. 1.From the Volunteers drop-down menu, select View Volunteers. or On the Volunteer Sign In screen, click the View Volunteers button.

14
Volunteer Sign-Out, cont. into Raptor 2.On the View Volunteers screen: Click Sign Out under the Functions options for that volunteer on the right-hand side of the screen. or Select the check box next to the volunteer’s name and then click Sign Out. More than one volunteer check box can be selected for multiple volunteer sign out. 3.If you want to sign out ALL volunteers at one time, click the Sign Out All button in the upper right-hand corner of the screen.

15
Volunteer Reports into Raptor Use the Volunteer Reports to generate a report of your volunteers. 1.From the Volunteers drop-down menu, select Volunteer Reports. 2.Select the type of report you want to generate.

16
Understanding Alerts Understanding Alerts Sex Offender Alerts Private Alerts Emergency Alerts Instant Alerts

17
Understanding Alerts Alerts are used to flag specific individuals on your campus and to notify relevant response personnel. Types of alerts: Sex Offender Alerts Private Alerts Emergency Alerts Instant Alerts

18
Sex Offender Alerts Each time a volunteer is Raptored, the name and date of birth are compared to the sex offender databases in all 50 states. If there is a match or there are multiple matches on these criteria, then a “Possible” Offender Alert is displayed. There can be a false positive match based on name and date of birth that is not the same person. Users need to compare the pictures and the detailed offender information to determine if it is an actual match. If it is an actual match, then choose “Yes” and silent alerts will be sent via email and/or text to the customized recipient list. If it is not a match, choose “No”. For positive matches, follow the proper procedures set up by your school or district.

19
Private Alerts Common uses for private alerts include: Custody issues Restraining orders Banned volunteers If there is a match or there are multiple matches on these criteria, then a “Private Alert” will be displayed. There can be a false positive match that is not the same person. Users must compare the pictures and the comments to determine if it is an actual match. If it is an actual match, then choose “Yes” and silent alerts will be sent via email and/or text to the customized recipient list. If it is not a match, choose “No”. For positive matches, follow the proper procedures set up by your school or district.

20
Emergency Alerts If the Emergency Alerts feature is turned on for a school or for the district as a whole, an Emergency button will appear in the bottom right corner of each page. By clicking the Emergency button, a customizable emergency message will be sent via text, email, and/or text-to-voice phone calls to a customized recipient list. You have 5 seconds to click Undo to cancel the emergency alert.

21
Instant Alerts Instant Alerts are used to send an alert to all buildings. The alert displays in the lower portion of the screen for all buildings. Users with Administrator permissions can create instant alerts in the ADMIN menu. The alert displays on the screen in all buildings immediately after it has been created. It will stay visible until midnight on the date of expiration.

22
CONTACT S Michael Raikis michael.raikis@palmbeachschools.org Call: 561-969-5898 (PX-45898) James Prestinari jim.prestinari@palmbeachschools.org Call: 561-357-5965 (PX-25965)
 James Prestinari Call: (PX-25965)")
Similar presentations
.>")


 Community Based Abstinence Education September, 2009.>")


