Download presentation
Presentation is loading. Please wait.

1
Photography The art of taking pictures of our fishy friends Constructed and all photos by: Leslie James

2
Before you start: Clean your glass. Microfiber towels from the Dollar Store work perfectly! If you find yourself facing hard water spots, you can use a little secret of mine. Cream of Tartar. – Get a rag or microfiber towel/cloth and damp, but not dripping wet. – Using your finger with the towel over it, dip the towel in the cream of tartar. – In small swirling motions wax over the stains and keep going over them till they are gone. If you need more use more. – Then with a clean part of the towel wipe the glass clear. – The glass should be sparkling clear.

3
If you have a tripod – use it! If you don’t, no big deal, you can also get clear pictures without one.

4
Pay attention to your lighting. The best pictures are taken in beautiful high natural light. The more lighting you have focused on the tank, the less reflections from your surrounding room. Use anything, lamps without shades work well. You can even pull your hood forward to bring the light to the front of the tank – This is especially useful in the later hours of the day. The photo to the right was taken in natural sunlight that was coming through the front door.

5
Watch For Reflections

6
This is a problem in just about any light, day or night. To avoid this, angle the line of site slightly upwards to the fish. Or Hang a dark sheet and dress in darker clothes, all sorts of options can be used, be creative. Make sure you aren’t too low or the view will distort the fish as too high bodied. If you find yourself having problems with reflections. Some cameras can support an anti-glare lens, which will remove the glare from just about anything. You will have to research your camera, and you can usually find them pretty cheap on eBay

7
Pay Attention to Where You and Your Camera are Placed. As you can see, the flash back is off both the back and sides of the tank.

8
This is to avoid flash glare or, AKA, flashback. It will throw off your entire picture, especially in the evening and night hours. When using a flash its best to stand facing the tank at a 45* angle. Wait for the fish to turn its best side to you. The side of the fish should be at a 90* angle to the line of sight of your camera. This position avoids an elongated distortion of your fish

9
Another example of how a picture can be taken. The flash is used remotely from the SLR camera. Placed directly over the fish. This picture is courtesy of BigBen from TAFII

10
The Macro Setting This helps to get very crisp details. Symbolized by a flower – sometimes coupled with the landscape setting. That is symbolized by one or two mountains or hills If you don’t have macro settings on the camera, and if you have the means, research your camera model to see if you can put Macro lenses to it. You’ll be surprised what you find.

11
Other Options to Consider Pictures too dark or too washed out, or whited out? – Check your exposure – Symbolized with +/- – The number that is below 0.0 the darker the exposure, the higher, the brighter If you set your camera with the lowest setting (-2.0) The Exposure Bias can lessen the glare back from the fishes’ scales.
 The Exposure Bias can lessen the glare back from the fishes’ scales..")
12
Taking pictures of any kind of fish is difficult. I won’t kid you on that one. But be patient and take lots of shots of your favorite fish. Even when that wiggly fish won't stand still, Keep Trying. You will get that shot you’re looking for. This shot was taken looking up at the surface of the water, only the room light on and tank light off. The reflection is not computer generated, it’s the surface of the water.

13
Pictures of Eggs and Wigglers These pictures are easier taken when you have pulled them from their parents. Another thing to think about is getting a magnifying glass. – When used with a camera, hold in in front of the lens – It will work much like reading glasses, especially when the camera is having trouble focusing on the subject.

14
As you can see from the picture above I set the camera to Shutter speed priority. That is the (S) on the dial to the right. Dialed the timing to 1 second shutter speed. Meaning the shutter exposes the photo for exactly one second of time. – That is the second number from the left. – This is where it's handy to have a tripod. For this shutter speed the camera will pick up any little movement you make. – In this picture I braced the camera against the tank glass, It only took 5 pictures to keep from blurring it. Turned down the Exposure bias ([+/-]) to -2.0 Making sure the camera is set to Marco with the little flower. (its not on this screen as I did it after I photographed this.) I also turned off the flash.
 on the dial to the right. Dialed the timing to 1 second shutter speed. Meaning the shutter exposes the photo for exactly one second of time. – That is the second number from the left. – This is where it s handy to have a tripod. For this shutter speed the camera will pick up any little movement you make. – In this picture I braced the camera against the tank glass, It only took 5 pictures to keep from blurring it. Turned down the Exposure bias ([+/-]) to -2.0 Making sure the camera is set to Marco with the little flower. (its not on this screen as I did it after I photographed this.) I also turned off the flash..")
15
With FlashWithout flash Because the eggs are mostly translucent. Taking the picture with the flash on is rather difficult, as it makes the eggs blend into the slate or what ever they have been laid on.

16
More Macro Examples

17
Cropping Photos Now that you know the basics of how to capture your fish, choose the photo you will want to crop down to show the best of your fish. The example will be of a tiny free swimming angel. In this section, Photo Shop Elements 8.0 will be exhibited. But there are many other programs that can be used. Every photo editing program has a cropping tool available. Just look for the symbol.

18
As you can see there are is a lot of wasted or dead space around the baby in the middle.

22
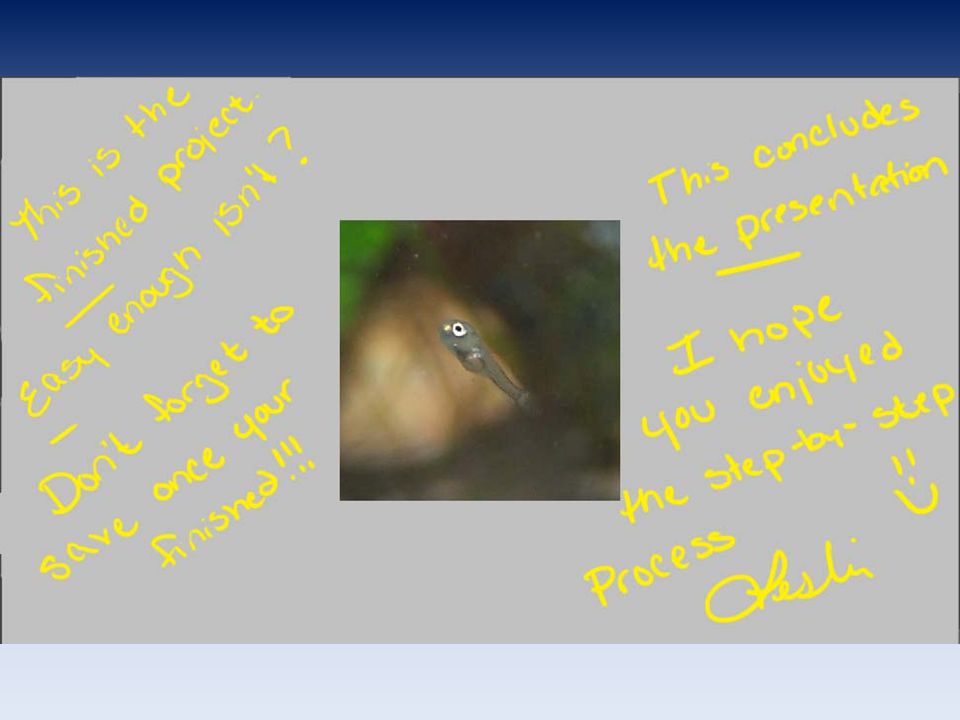
Now get Started!!!

Similar presentations


. Before we get started… - These are only very simple explanations - I could be wrong! - Mainly aimed at digital users.>")


![[intensive] getting the picture THE CAMERA. Let there be light! All photography is based on light Exposure is the total amount of light allowed to fall.](/20/6004849/big_thumb.jpg "[intensive] getting the picture THE CAMERA. Let there be light! All photography is based on light Exposure is the total amount of light allowed to fall.>")


