Download presentation
Presentation is loading. Please wait.

1
Basic Pen Strokes for Ink Drawing
Pen and Ink Hatching, Crosshatching, & Scumbling

2
Drawing the Nose with Cross Hatching

3
Ways to show value: Hatching: series of parallel lines used for shading Crosshatching: crossed lines used for shading

5
Hatching The most basic method of creating value in ink drawing is linear hatching. Fine parallel lines fill an area, so that from just a slight distance, we have the illusion of value. The closer the lines are, the less white paper shows, and the darker the value appears. Heavier line weight (pressing more firmly or using a bigger nib) also gives a darker appearance.
 also gives a darker appearance.")
7
2 – shading One common use of line in drawing is to shade using hatching and/or cross-hatching Hatch lines are multiple lines that all go more or less in one direction and represent value in an area. The closer together the lines are the darker the shading.

8
Cross-hatching uses lines that cross on two or more directions
Cross-hatching uses lines that cross on two or more directions. These types of shading are used in ink drawings and some kinds of printing techniques.

9
Crosshatching Crosshatching uses layers of hatching placed at an angle. Usually, the first layer would be vertical, the next horizontal, the next at forty-five degrees, and so on. This methodical approach can look a little mechanical, so artists often use variation in direction to add interest.

11
Hatching, Cross-hatching, stippling
The last general modeling technique involves things commonly used for prints and later in 20th century art will be utilized in paintings. Hatching – Areas of closely spaced parallel lines Cross-hatching – 2nd set of lines across the first. Up close it looks strange but they seem to average out with the light paper into shades of gray. Effect of vision called optical mixing. Stippling – areas of dots to suggest value through their density. More dots crowded in an area – the darker it appears. Example – Homer, Husking the Corn in New England

12
Contour Hatching Hatching placed at a slight angle creates a moiré like effect, the diamond-shaped fragments of white paper enlivening the denser areas of value. This technique is often used in figure drawing, with the direction of line helping to suggest the cross-contours of the body. Hatching which follows a contour can also help to make objects appear more three-dimensional.

13
1 - Create a VALUE SCALE 10 Steps - start with white and end with black… should see an even “jump” in value from one step to the next. you will use this to create a Full-range of value in your still life

14
Ways to Create Value (SHADING)
")
15
Inking techniques Use weighted lines to capture light, shade, and perspective. Weighted Unweighted

16
Additional inking techniques
For transparency strengthen when outside, then weaken the object as it passes below.

17
Eyelashing

18
Scumbling & Random Hatching
Scumbling, often called the 'brillo pad' technique, uses layers of small calligraphic, scribbled marks to build up value and texture. Varying the direction and shape adds more interest than a simple circular scribble. Random hatching uses layers of short, straight marks. Various textures result depending on whether these short hatches are applied vertically, at right angles, following a contour or at random angles.

19
Stippling Stippling uses tiny dots to create value. The closer together the dots, the darker the tone. Larger dots create a denser tonal value more quickly, but can look coarse.

20
What are Cross Contours?
Cross contours are lines which travel, as the name suggests, across the form. They may be horizontal or vertical, as on the right side of the example, or both. Often, in more complex forms, cross-contours will be drawn at varying angles. In this rather lumpy example, the grid of cross-contours looks a bit like the gridlines on a globe or a diagram of a Black Hole in space.

21
Cross Contours on a Complex Surface
Often cross-contours look like the contour lines on a map of rough terrain. Usually, we don't draw them this mechanically, but use the understanding of cross-contours to help us describe the form with more subtle line or shading. They help us understand the three-dimensional form and describe it on a two-dimensional surface. Contours wrap around a form and obey linear perspective.

22
Applying Cross Contours in Line Drawing
In this example, the basic contour drawing is developed with some hints of cross-contour to suggest the form. The brain needs surprisingly little information to create a three-dimensional image from a simple drawing.

23
Using Cross Contours Expressively
Cross-contours don't need to be mechanical unless you are drawing a topographic map - you can use your understanding of the cross contour to create expressive marks. This interpretation of the subject using contour and cross-contour is more free and expressive, using a relaxed line but still paying attention to the observed form.

24
Using Cross Contours in Hatching and Shading
Cross-contours are often used when hatching. They may be carried all the way around the form, or used in small sections, curved, or straight, as in this example. The angle of the hatching as it moves around the form changes. Even if you are using shading, and attempting to create a smooth surface, being aware of the flow of cross-contours as you draw can help you create a shaded surface that follows and enhances the three-dimensional form, rather than fighting against it.

26
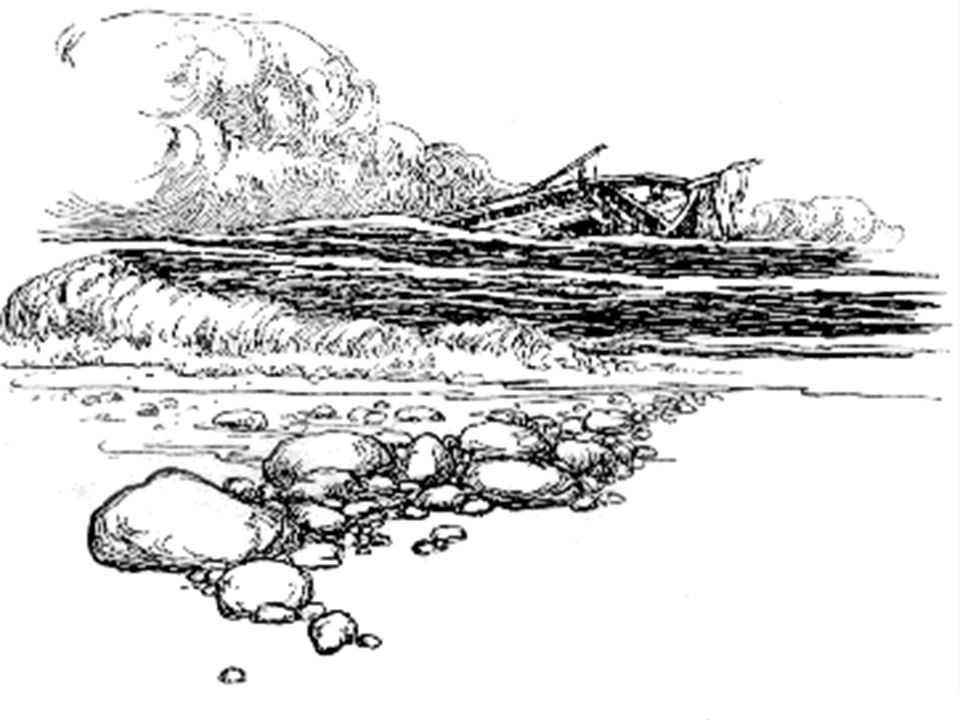
Before the Rain

27
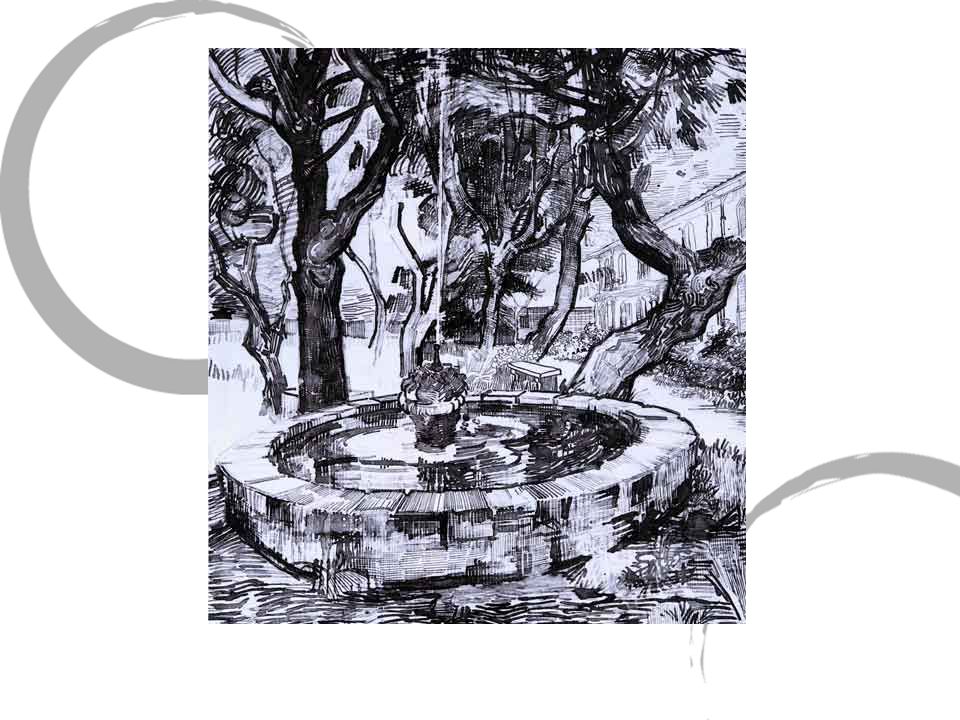
Solitude

28
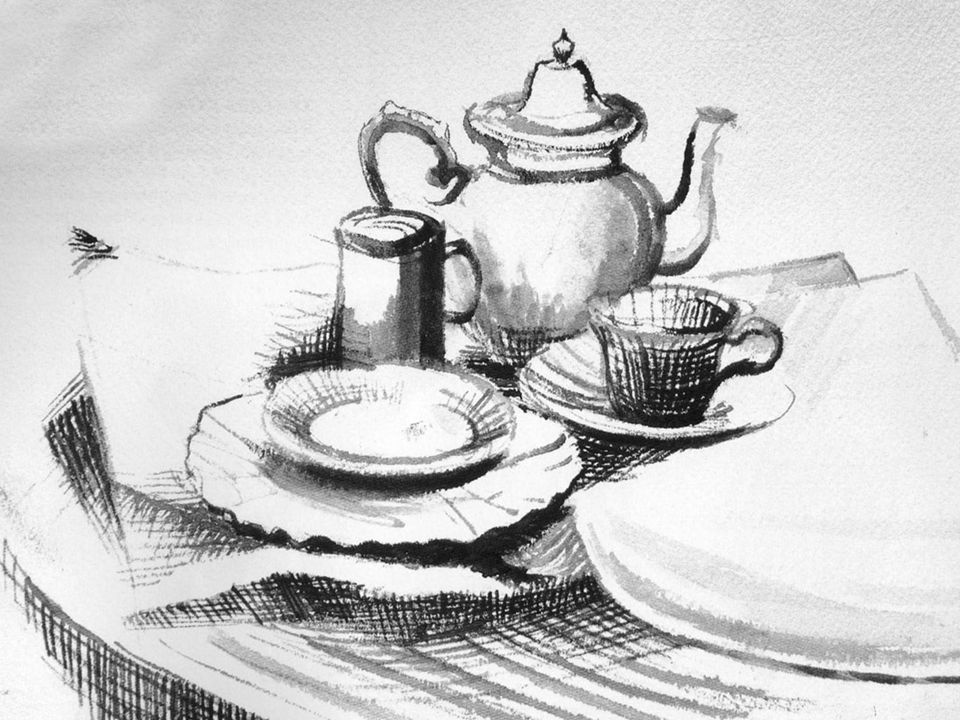
The Playground

29
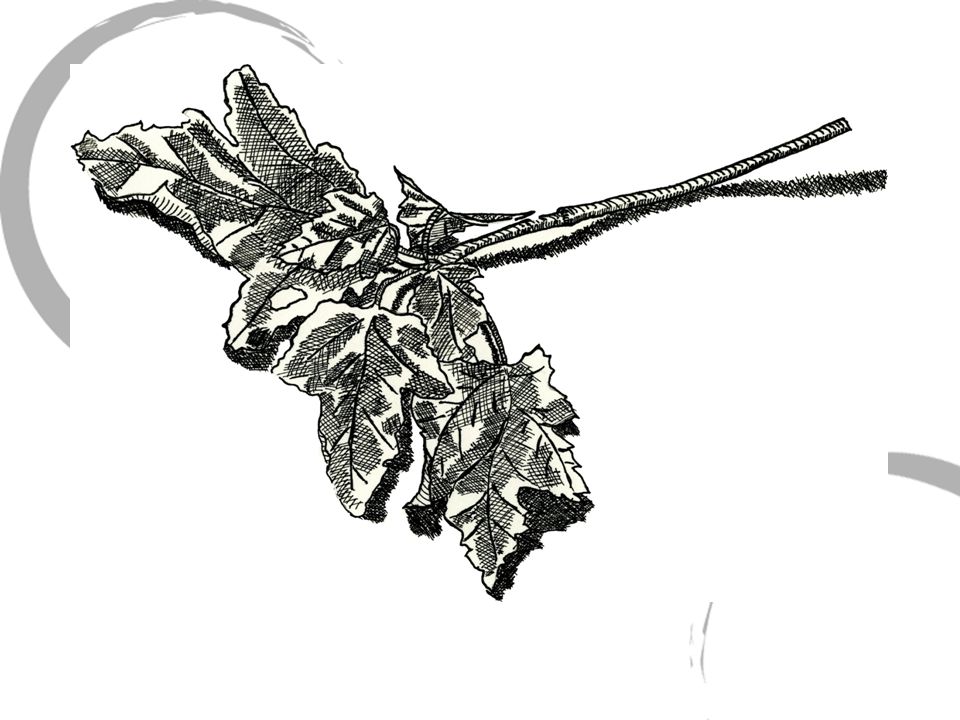
Example

30
Detail

44
Hatching Generally faster than stippling
Traditional pen works well for weighted hatches Plan hatches in pencil first Avoid “hooking” ends, except to indicate indentations or creases Follow contours where appropriate Increase density or use cross hatching for shadow or darker areas Avoid 90° intersections, cross-hatch at acute angle

45
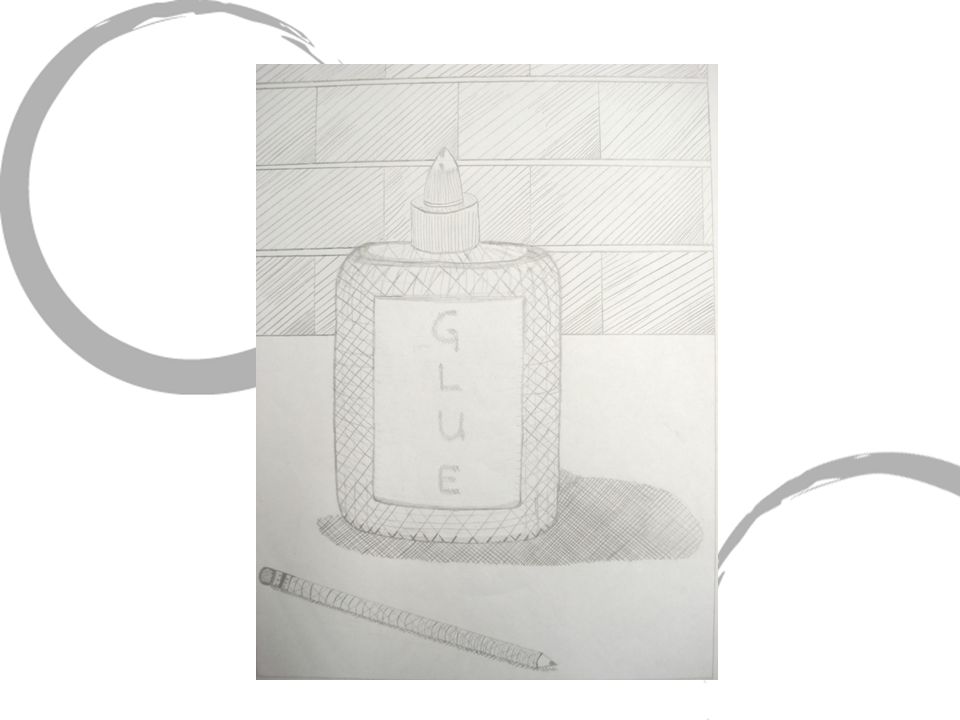
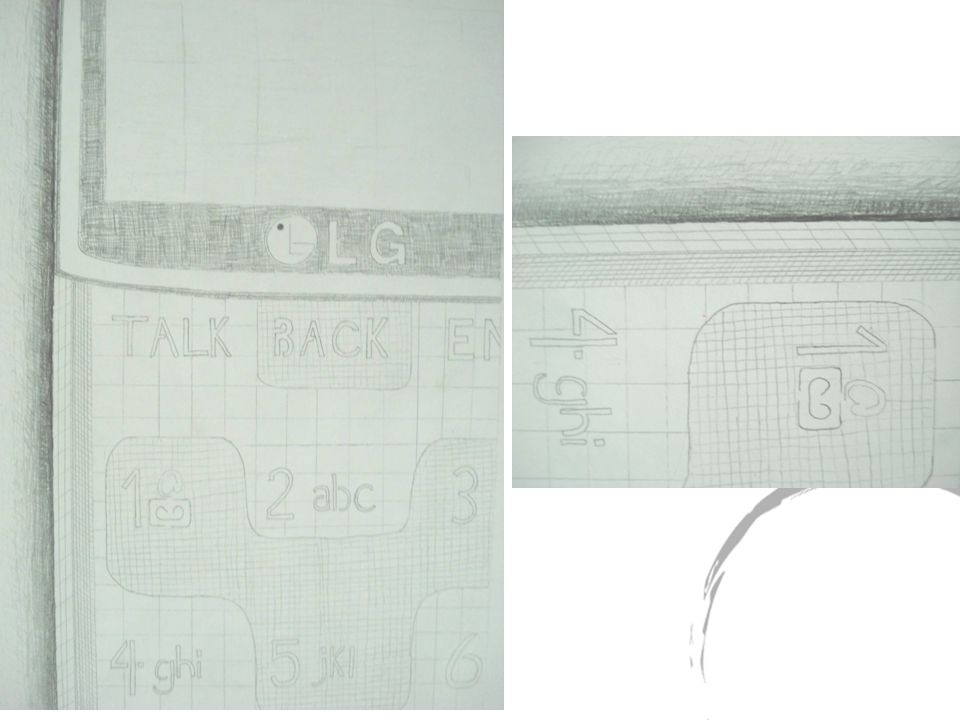
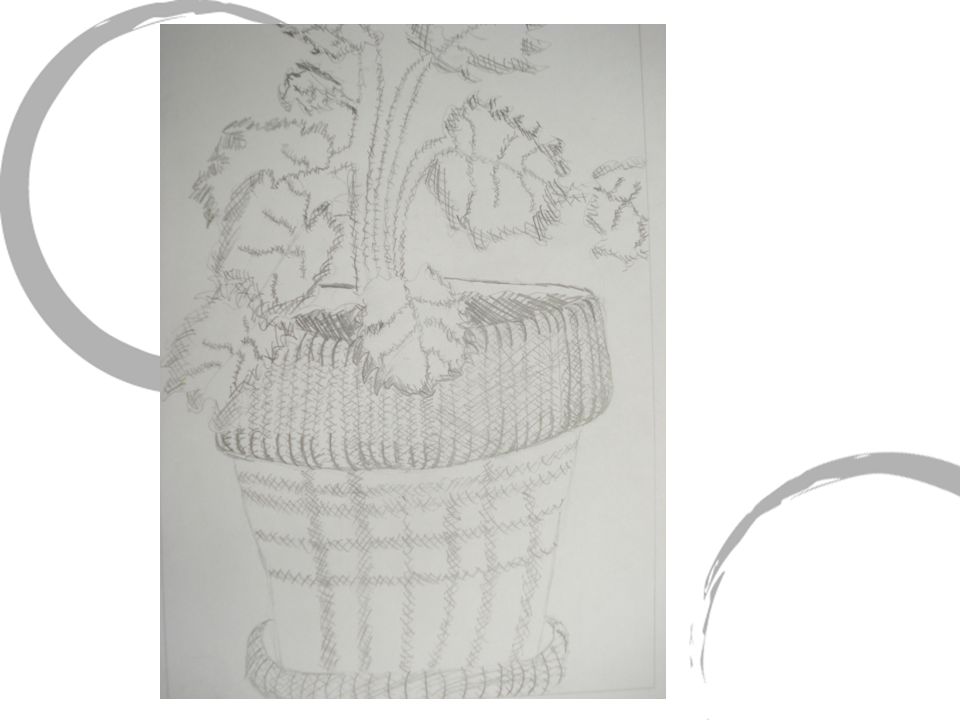
Assignment Draw one object Object should be large
Show value using Cross Hatching ONLY

Similar presentations