Download presentation
Presentation is loading. Please wait.

2
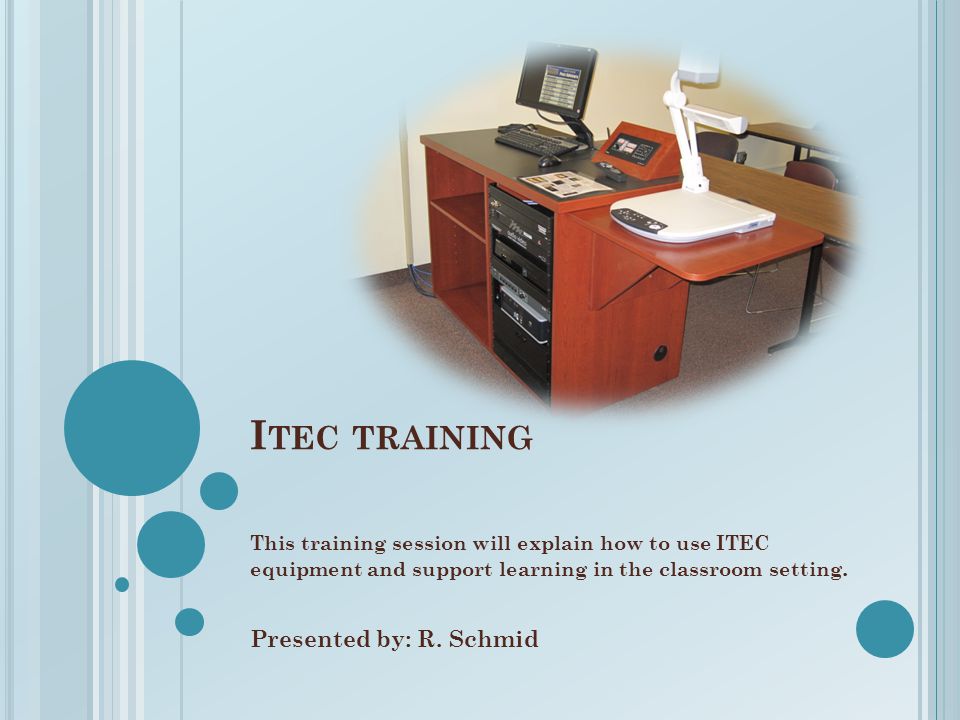
I TEC TRAINING This training session will explain how to use ITEC equipment and support learning in the classroom setting. Presented by: R. Schmid

3
T ABLE OF CONTENTS 1. LCD Projector LCD Projector 2. Select audio/video source Select audio/video source 3. Power Screen Power Screen 4. Volume Control Volume Control 5. Picture Mute Picture Mute 6. DVD/VCR Control Panel DVD/VCR Control Panel 7. Document Camera Document Camera 8. Laptop setup Laptop setup 9. Touch Screen Panel Touch Screen Panel 10. OIT Help Desk OIT Help Desk The intended use of this tutorial is to help you learn how to use all of the ITEC Equipment on SJFC campus.

4
S TEP 1: T URN ON LCD P ROJECTOR From the control panel, within the Display Section, press the ON or OFF button. Button will flash while it is warming up or cooling down. Flashing stops, LCD projector is ready for use—select a source to display. ** Remember to turn off the projector when finished using**

5
S TEP 3: POWERED PROJECTION SCREEN In classrooms with a powered projection screen, the screen control switch can be located on the wall behind the presenter’s station.

6
S TEP 4: V OLUME CONTROL Use the volume knob on the control panel to adjust the volume of the selected device. Troubleshooting steps….

7
N O SOUND ??? If using a PC or Laptop: From the task bar, click on the sound icon Ensure that Mute isn’t checked Raise or lower the volume control bar to adjust the sound

8
W HAT IS P ICTURE M UTE ? To mute or “hide” what is being displayed through the projector. Press the PIC MUTE button, located in the middle of the control panel.

9
DVD/ VCR C ONTROL P ANEL After selecting DVD or VCR as your source, use this control panel just like you would a remote control.

10
S TEP 2: D ISPLAY DEVICE THROUGH LCD PROJECTOR From the input button section, select device to be displayed. Showing a DVD to your class, press the DVD button

11
C HOOSE A MODEL Three different models on campus, click on the picture for instructions.

12
S TEP 1 OF 4: P OWER ON Power on, hold down button until the red light flashes. Ready to use when the light turns green. Step 2Back

13
S TEP 2 OF 4: S ELECT DOC CAM AS SOURCE From the control panel, press the DOC CAM button. Step 3Back

14
S TEP 3 OF 4: F OCUS AND Z OOM Press the AF button to Auto Focus Digital Zoom press the Zoom + or – button Manual Zoom raise the camera neck to position the camera BackStep 4

15
S TEP 4 OF 4: P OWER O FF Hold down the Power button until the green light flashes, light turns red when the document camera is off. Back Choose a model

16
S TEP 1 OF 4: P OWER ON Slide the POWER button up or down. Ready to use when the light is on. BackStep 2

17
S TEP 2 OF 4: S ELECT DOC CAM AS SOURCE From the control panel, press the DOC CAM button. BackStep 3

18
S TEP 3 OF 4: Z OOM Digital Zoom sliding your finger across the zoom wheel, you can zoom in or out. Back Step 4

19
S TEP 4 OF 4: P OWER O FF Slide the Power button down to turn off. Back Choose a model

20
S TEP 1 OF 4: P OWER ON Power on, hold down button until the red light flashes. Ready to use when the light turns green. Back Step 2

21
S TEP 2 OF 4: S ELECT DOC CAM AS SOURCE From the control panel, press the DOC CAM button. Back Step 3

22
S TEP 3 OF 4: Z OOM AND B RIGHTNESS Press the Zoom + or – button to zoom in or out. With the arm lights on, press the Brightness + or – button. BackStep 4

23
S TEP 4 OF 4: P OWER O FF Hold down the Power button until the green light flashes. The document camera is off when the light turns red. Back Choose a model

24
H OW DO I CONNECT A L APTOP ? Attach the VGA and audio cables if necessary to your laptop. Enable the Monitor Out Function on your laptopMonitor Out Function

25
M ONITOR OUT FUNCTION On your laptop use the “Monitor Out” key in conjunction with the Function Button (Fn). The Monitor Out key is usually labeled with a “| |”symbol or says CRT/LCD” and is usually the F4, F5, or F8 key

26
T OUCH S CREEN P ANEL The projector will power on once a source is selected. All sources are located on the left of the touch screen. Note: The projector will take about 30 seconds for the lamp to warm up. Sources Volume Help

27
N EED A SSISTANCE – C ONTACT HELP DESK Contact the OIT Help Desk By phone: 385-8016 –please feel free to leave a message By e-mail: helpdesk@sjfc.edu In person: Kearney 053 (adjacent to the computer lab) ITEC classrooms on SJFC campus - View pictures and instructions online at http://oit.sjfc.edu/Labs/lab_intro.asp http://oit.sjfc.edu/Labs/lab_intro.asp
 ITEC classrooms on SJFC campus - View pictures and instructions online at")
Similar presentations


 Control.>")


 Help Desk CSITS Help Desk: (248) 370 2461 Emergency: (248) 370 3331 or 911 Key user information:>")


