Download presentation
Presentation is loading. Please wait.

1
One Point Perspective Interior
Assignment 2 Draw an interior of a room in one point perspective. All objects and the wall should be parallel with you point of view. Included at least 15 objects in your room. Your room should also have a minimum of the following;

3
One Point Perspective Interior
One Point Perspective Interior Requirements Back Wall Two Doorways One Set of Stairs One Window One Painting or picture One Table One Chair Hardwood Floor or Tile Floor Suspended Ceiling or Hardwood Ceiling Three additional Objects drawn in perspective, such as TV Desk Bar Sofa Ceiling Fan Track Lighting Etc.

4
X

5
X

6
X

7
ERASE WHISPER LINES X

8
X

13
Draw the cuboid shape, the basic shape of the dressing table.
Construct the draws remembering to project all guidelines back to the vanishing point. Add simple door handles and a mirror on the top. Notice how the door handles line up vertically.

17
Door

18
Window

19
Rug

20
Skylight

21
Wood Floor

22
Ceiling Tile

23
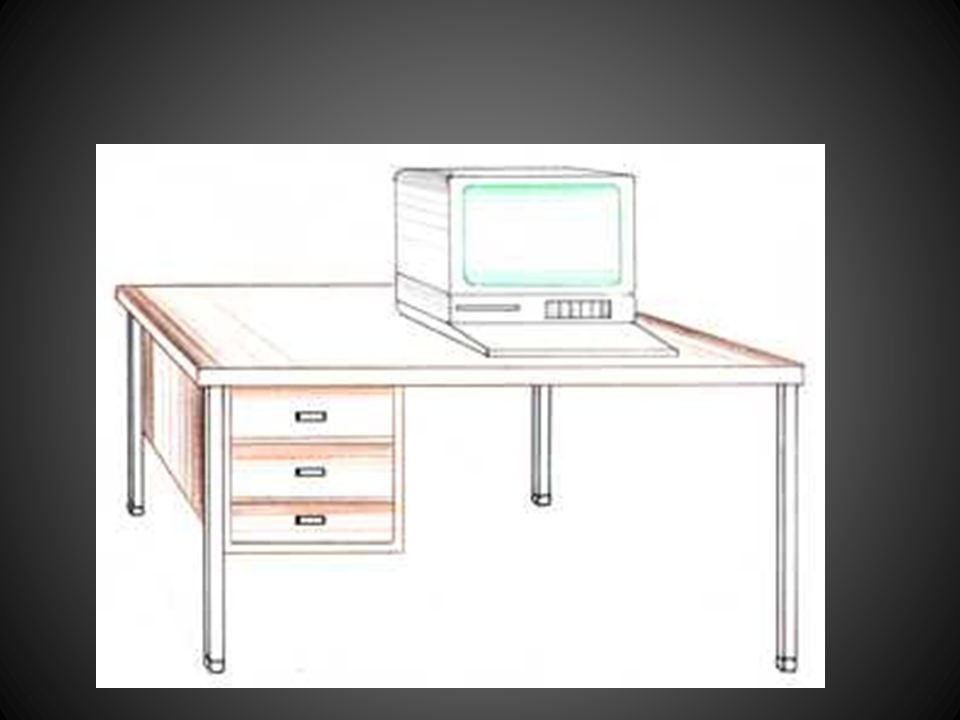
TV

24
Bed

25
Table

28
DRAWING A TABLE IN SINGLE POINT PERSPECTIVE
A three dimensional view of a traditional wood kitchen table is seen below. Draw the table or a similar one in single point perspective.

29
1. Draw a side of the table and the position of the vanishing point
1. Draw a side of the table and the position of the vanishing point. Positioning the vanishing point high on the left or right hand side means that one side of the table will be seen when the drawing of the table is completed.

30
Starting with the table top, project guidelines back to the vanishing point and complete drawing the top. Then project more guidelines for each of the front legs, adding thickness to each one.

31
The most difficult part is ensuring that the back legs line up with the front legs. One way of ensuring that this happens is to project faint lines as shown on the drawing below.

32
When you have completed the drawing add some shade
When you have completed the drawing add some shade. On this example a grey felt pen has be used for most of the background color, a black pen for the darker edges and for the grain of the wood.

33
TRADITIONAL CHAIR IN SINGLE
POINT PERSPECTIVE

37
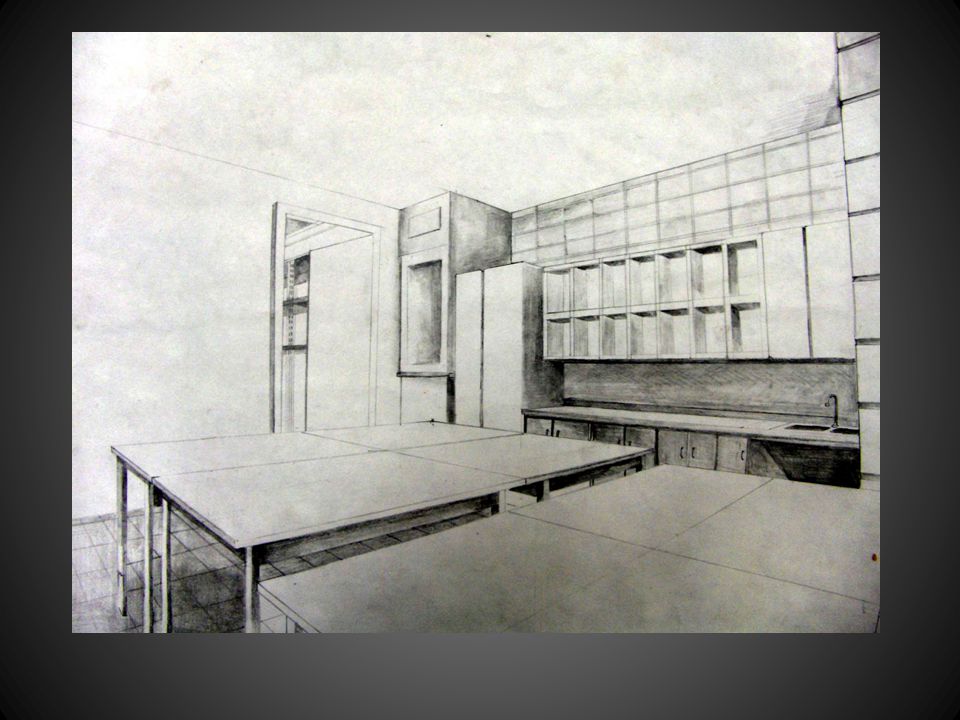
Once you have mastered drawing individual pieces of furniture in single point perspective you will be ready to design a simple room which includes basic furniture. The same techniques are used whether drawing the skeleton of a room or the pieces of furniture going inside it. Use a single vanishing point and project guidelines back to it.

38
Draw a rectangle and project the corners back to a vanishing point
Draw a rectangle and project the corners back to a vanishing point. Remember, all lines should be faint at this stage.

39
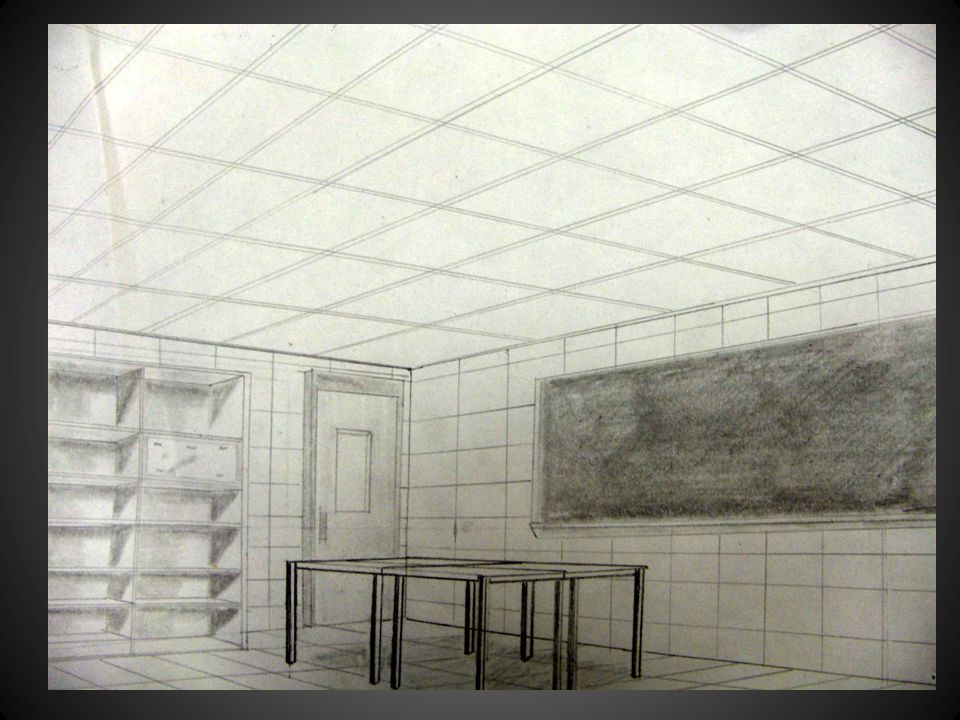
Draw a rectangle which represents the back of the room
Draw a rectangle which represents the back of the room. This must line up with the guidelines projected back to the vanishing point from the front rectangle.

40
Complete the basic room by rubbing out line ‘A’ and darkening the outline of the entire room.

Similar presentations