Download presentation
Presentation is loading. Please wait.

1
THE HARD DRIVE DESTRUCTION PROCESS – WHAT THE STEPS ARE AND HOW TO DIY

2
It is important that you wipe your hard drive clean of personal data before dropping it off. This ensures that your personal information will not fall into the hands of the wrong person who could use it illegally. http://www.allgreenrecycling.com

3
The Hard Drive Destruction Process at Recycling Plants 3 2 1 The recycling technicians will separate the hard drive from the computer. The hard drive’s non data related items such as metals or plastics are separated into smaller parts so that they can be recycled. The hard drive will then be processed with some type of advanced equipment that reduces the drive to particles so small that the data is unrecognizable. http://www.allgreenrecycling.com

4
DEGAUSSINGHARD DRIVE SHREDDING Degausing can be combined with hard drive shredding. It is a magnetic process that is applied to the hard drives that ensures that all of the data will be removed magnetically. http://www.allgreenrecycling.com

5
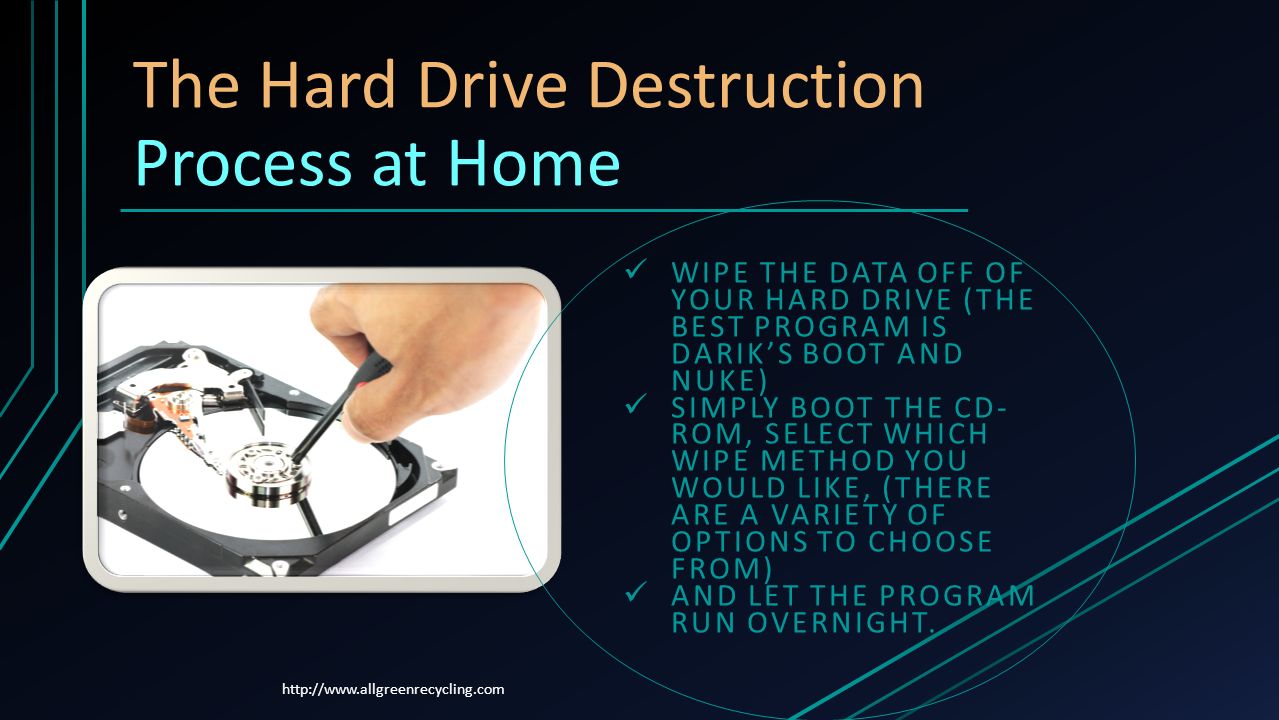
The Hard Drive Destruction Process at Home WIPE THE DATA OFF OF YOUR HARD DRIVE (THE BEST PROGRAM IS DARIK’S BOOT AND NUKE) SIMPLY BOOT THE CD- ROM, SELECT WHICH WIPE METHOD YOU WOULD LIKE, (THERE ARE A VARIETY OF OPTIONS TO CHOOSE FROM) AND LET THE PROGRAM RUN OVERNIGHT. http://www.allgreenrecycling.com
6
The Hard Drive Destruction Process at Home REMOVE ALL OF THE SCREWS ON THE TOP CASING OF THE DRIVE REMOVE THE SCREWS THAT ARE AROUND THE OUTSIDE OF YOUR DRIVE THEN REMOVE ALL OF THE LABELS AND STICKERS FROM THE DRIVE, AND LOOSEN ANY ADDITIONAL SCREWS THAT ARE HIDING UNDER THE LABEL. REMOVE THE TOP MAGNET WITH A SCREWDRIVER AND PLIERS http://www.allgreenrecycling.com

7
The Hard Drive Destruction Process at Home REMOVE THE LOWER MAGNET. YOU’LL HAVE TO POP THE ARRAY ON TOP OF IT, OR IF YOU CAN’T USE YOUR PLIERS TO REMOVE IT REMOVE THE PLATTERS WITH YOUR TORX BITS. UNSCREW THE CAP. ONCE YOU’VE GOTTEN TO THE PLATTERS, USE THE MAGNETS YOU REMOVED TO DO YOUR OWN DEGAUSSING OF YOUR HARD DRIVE. http://www.allgreenrecycling.com

8
The Hard Drive Destruction Process at Home RUN THE MAGNETS BACK AND FORTH OVER THE PLATTERS A FEW TIMES. THE MAGNETS ARE EXTREMELY STRONG, AND WILL WIPE ANY DATA YOU HAVE LEFT OFF. NOW YOU GET TO BREAK YOUR HARD DRIVE INTO LITTLE PIECES. (USE A SLEDGEHAMMER, RUN IT OVER WITH A CAR, IT DOESN’T MATTER HOW YOU DO IT) http://www.allgreenrecycling.com
")
9
CONTACT US All Green Electronics Recycling All Green Electronics Recycling ADDRESS 15561 Del Amo Ave. Tustin, CA 92780 PHONE (714) 782-1485 EMAIL info@allgreenrecycling.com http://www.allgreenrecycling.com
")
Similar presentations


 Cover your work surface with a newspaper, vinyl, or plastic. Plaster casting is a bit messy.>")


>")


 Columbus, MS 39704 Office: 662-327-5202 x2009 Step 1: Select the.>")

 to bring up Mail.>")