Download presentation
Presentation is loading. Please wait.

1
Op Art - The Art of Optical Illusion
Bridget Riley Op Art - The Art of Optical Illusion

2
What is “Op” Art? “Op” is short for optical. Optical means having to do with the eye. You may have heard of an optometrist. An optometrist is an eye doctor.

3
Op Art began in the 1960’s Optical Art is a mathematically-themed form of Abstract art. Abstract meaning it doesn’t have to look like something. The point of optical art is to confuse the eye.

4
Bridget Riley Bridget Riley was born in 1931 in London.
Bridget Riley is a well known creator of Op Art. Her work is characterized by its intensity and its often disorientating effect.

5
Movement in Squares, 1961 Tempera
Bridget Riley In 1960, she began working initially in black and white She evolved a style in which she explored the dynamic effects of optical phenomena or Op art. Movement in Squares, Tempera

6
Bridget Riley Bridget Riley Blaze 1, Emulsion on Hardboard, 43x43 in.

7
Bridget Riley Bridget Riley Descending, Emulsion on Hardboard, 36x36 in.

8
Bridget Riley Bridget Riley Arrest 1, Emulsion on Canvas, 70x681/4 in.

9
Bridget Riley Bridget Riley Cataract 3, PVA on Canvas, 87x873/4 in.

10
Bridget Riley Bridget Riley Orient 4, Acrylic on Canvas, 88x127 in.

11
Bridget Riley Around the 1980’s her extensive exploration of color and contrast began. Dominance Portfolio, Blue, 1977

12
Bridget Riley Orphean Elegy I (1978)
")
13
Bridget Riley Ease (1987)
")
14
Bridget Riley Echo (2000) Silkscreen
 Silkscreen")
15
Bridget Riley Carnival (2000) Silkscreen
 Silkscreen")
16
Is the ball moving?

17
Are the intersections white or gray?

19
Here’s more “Op Art.”

23
Look at this picture again…
In Op art, the dark colors recede while the light colors advance.

26
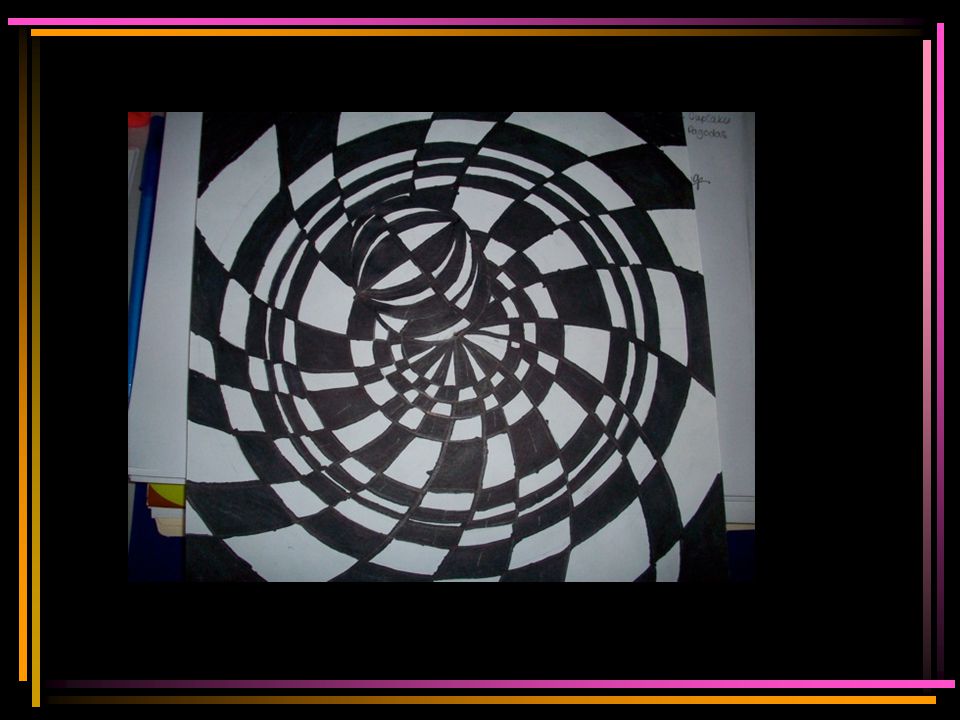
Student Created Op Art

31
6th Grade Mini Lesson

33
Step One: Draw 3-4 circles of varying sizes
Step Two: Draw a line vertically down the middle, then add curved lines to each side, make it symmetrical.

34
Step Three: Using a ruler, measure out a checkerboard design for the background. Don’t be skimpy.
HINT: DO NOT draw too many lines, it will take forever to color!

35
The Complementary should be memorized!
Step Four: Choose two colors of colored pencil; high contrasting colors or complementary colors Kids should color the THREE circles with the THREE complementary color sets each. Black and white background. The Complementary should be memorized! R-G B-O Y-V HINT: Now, use your darker color of marker/cp and mark a small dot in every second square so you know where to use that color. DO BACKGROUND AND FOREGROUND (circles) SEPERATELY!
 SEPERATELY!")
36
Color, Color, Color!

37
Step Five: For the last magical step, use a piece of charcoal and outline/shade around one half of the sphere, blending it out with your finger. ***This helps give the illusion of the sphere 'popping' out of the background

Similar presentations


 E.g pavement art and crazy patterns.>")


 because.>")


 She studied with Artist Frans Hals, in Holland.>")


