Download presentation
Presentation is loading. Please wait.

2
Moodle with Style Integrating new technologies to empower learning and transform leadership

3
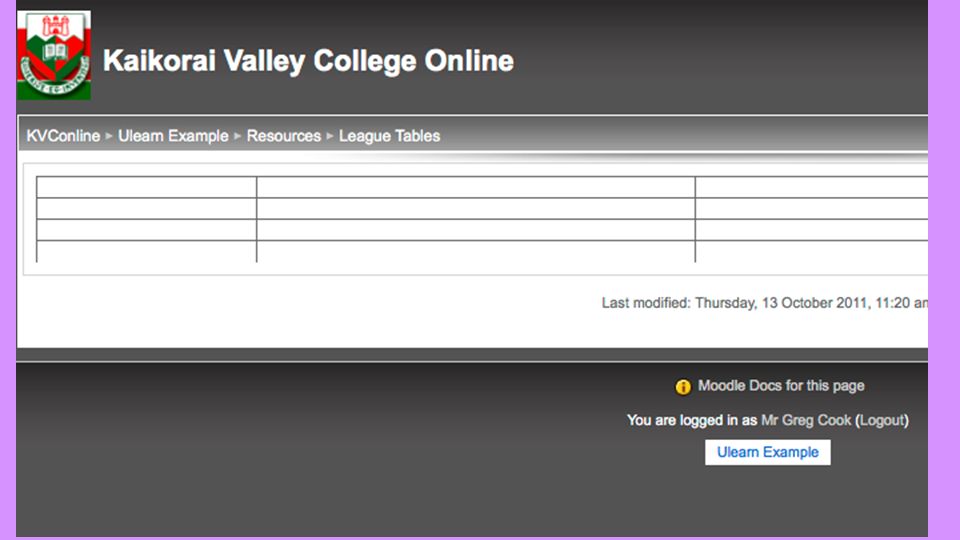
Standard Moodle Lists of resources and activities.

4
Style Moodle Layered Pages of activities and resources

5
Log on to KVC Moodle Click on Ulearn 2011

6
Log in using the username given on the worksheet. Your password is the same as your username

7
or 1. Turn editing on 2. Click on edit “pencil” icon to add a header to this box

8
3. Click on insert picture button

9
Use this section to locate an image on your computer to upload. Once you have the image you want click on it to select it. Check that the Width and Height are the values you want. Add some alternative text to help identify the picture.

10
Click on OK Then click on Save Changes Your page now has a header

12
1. Click on edit “pencil” icon in topic box 1. 2. Click on insert table icon.

13
Set Rows to 5 to allow space between icons Set Cols to 3 Set Border thickness to 0 Press OK

14
Click on fullscreen editor to give a better view and more options.

15
Click in first cell. Center the CellInsert Picture Size should be around 80 to 100

16
Repeat steps to insert 5 more images so you have 3 in the first row and 3 in the fourth row.

17
Add Names under each icon. These can be formatted in the normal way.

18
Close Fullscreen Editor and then click on Save Changes

20
Click on the “Jump to..” button on the bottom of the page and select 2. Click on the edit pencil and type in Books and Pages in the text box. Then click save changes.

21
Click on add resources and select “Compose a web page.” Add a name from one of your icons, add some text in the text box and then click on “Save and return to course”

22
Click on add resources and select “Compose a web page.” Add a name from one of your icons, add some text in the text box and then click on “Save and return to course”

23
Repeat this process 2 more times to create 3 pages for 3 of the course icons

24
Select “Book” from Add a resource. Type in the Name of one of your remaining icons, some text in the text box and click on “Save and Display”

25
This will take you to Chapters Editor. Type in Index in chapter title and click on Save changes at the bottom. Then click on page name in top left hand corner to take you back.

27
Open a new tab. This will be your browsing tab, allowing you to locate website addresses. Begin by copying and pasting you page address in to the browser tab.

28
Click on the pencil “edit” button. Select the Icon (or words) you want to make the link from. Editing Tab Browsing Tab

29
Right Click on the page or book you want to link to and select “Copy Link Location” or your systems equivalent option Switch to the Browsing Tab and “Jump to” Books and Pages.

30
Paste address in to URL box and then click OK Switch back to the Editing Tab and click on link icon.

31
Copy the URL address, switch back to the editing tab and link this address to the desired icon. Switch to the Browsing Tab and use it to find an appropriate website.

32
Now go back to your page and upload this document in to your files folder. Switch to the Browsing Tab. Navigate to the Ulearn example page and click on the download icon to download a copy of Moodle with style. Use right click to copy address and switch to editing tab to link to required icon.

34
Choose 1 row and 4 cols and then click OK. Open up a one of your pages by clicking on the icon. Then click Update this resource. Click on the insert table icon.

35
Alter the Width % of each column to get the desired sizes. Use the HTML toggle to check what it looks like. Click on the HTML toggle. The code for a row begins with a and ends with a. Each column is automatically given an even amount of the width (25% each).
..")
36
Once you have the sizes correct, highlight the first row and copy it. Then paste this code repeatedly to give the number of rows you want for the table.

37
Click HTML toggle to get back to the table and fullscreen editor to get a full screen table. This will give many other table options like insert, delete, merge cells and split cells. When finished click Save and Display

Similar presentations


 FrontPage 2002 Level I (Intro & Training)>")

 software Other similar tools: Dreamweaver, Googlepages.>")