Download presentation
Presentation is loading. Please wait.

1
HMA Construction Program Module 7 – Joint Construction

2
The theme for this module is preparation, care, and teamwork. All pavements have one internal weakness–joints Joints probably cause more problems than any other area. The final appearance and quality of the joints determines the overall appearance and quality of the finished mat. Fortunately, it is easier and quicker to construct a good joint than a bad one. It just requires teamwork. Good joints are a measure of a construction crew’s skill. Corps and FAA have joint specifications.

3
Module 7 Objectives Objective of Joint ConstructionObjective of Joint Construction Types of Transverse Joint Construction MethodsTypes of Transverse Joint Construction Methods Types of Longitudinal Joint Construction MethodsTypes of Longitudinal Joint Construction Methods Proper Joint LutingProper Joint Luting

4
After introducing objectives, Ask: What is your biggest problem with constructing joints? Which is easier to build, longitudinal or transverse? Are there many joint-related failures in your state? It may be beneficial to write any problems down, and address how to improve upon them at the appropriate time during the module.

6
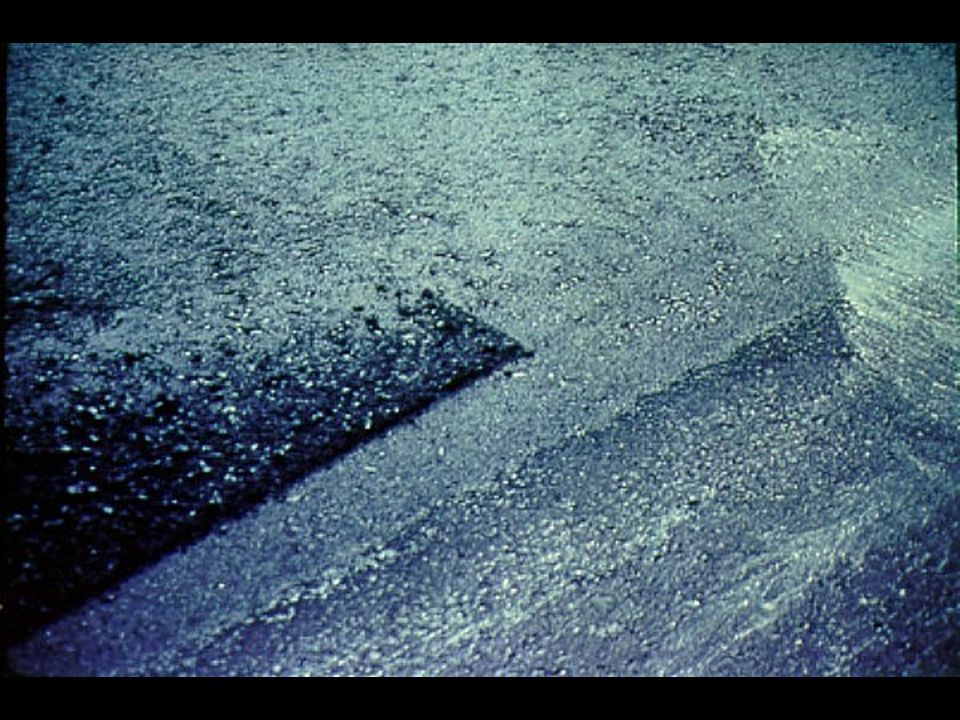
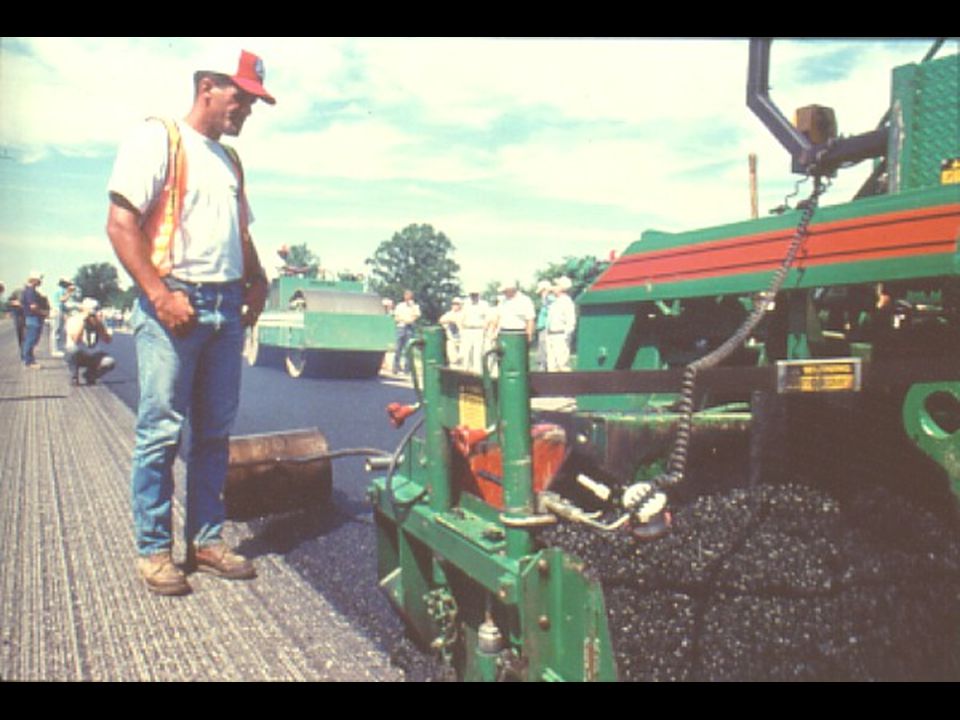
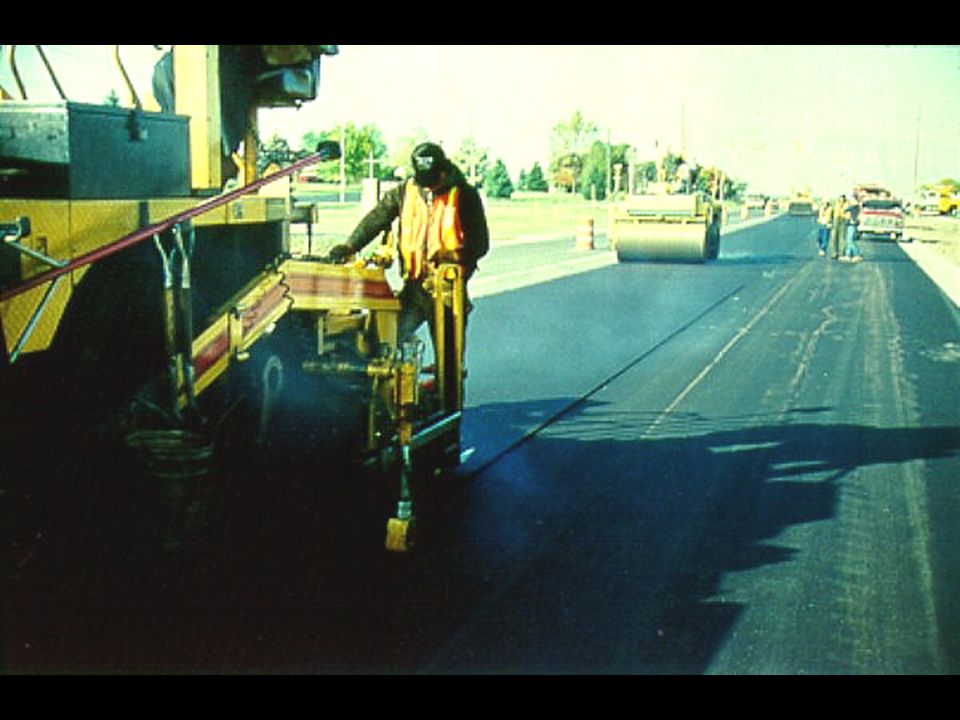
A transverse joint must be constructed across the pavement whenever paving is being suspended (for the day, at the end of the job). This joint is being constructed at the end of the job, and must smoothly match the grade of the existing pavement. When ending paving (for the day or the job), run the paver in normal fashion right up to where the transverse joint is being constructed. While commonly done, do not run the paver dry right at the joint. Keep a full head of material in front of the screed to the end. (This practice can be seen in this photo–a smooth mat to the end.)
, run the paver in normal fashion right up to where the transverse joint is being constructed. While commonly done, do not run the paver dry right at the joint. Keep a full head of material in front of the screed to the end. (This practice can be seen in this photo–a smooth mat to the end.).")
8
Tying into the existing pavement requires skill to ensure a smooth transition. There will almost always be some handwork necessary to complete the joint. Do not get carried away with overworking the mix. Notice how the paver finish comes right up to the joint. When handworking mix, “leave the mix high” to allow compaction. Handworked mix is looser than paver-laid mix. Leave about 10 mm per 25 mm of mix laid. Compact this immediately. Handworking (and the time to do it) results in a cooler mix.
 results in a cooler mix..")
9
Butt Joint

10
Several types of temporary transverse joints are used. Terms may vary locally, and there are pros and cons to each. A butt joint can be used when traffic will not be passing over the joint. There are several ways to construct this. A joint location is selected, and the upstream side is not touched. The downstream side is raked away, and boards are laid lengthwise to allow the roller to compact the edge without rolling it over. This style places a board at the end of the mat, and then builds a small ramp for getting equipment off of the mat.

11
Rolled Mat New Mat Paper Papered Transverse Joint Removepaper & ramp

12
Instead of a board, a paper transition can be used. Again, at a point where the mat is still uniform in thickness and density, the paver is stopped and pulled away. Mix is shoveled away from the joint location, and treated paper is placed downstream of the joint. Mix is shoveled onto the paper, formed into a ramp, and then the mat and the transition are compacted. Using sand instead of paper is not recommended.

14
Another option is to run out the paver, and feather the joint into the existing mat. The joint location will be upstream of the taper, where the mat thickness and density match the specs. Ask: Which types of transverse joints have you constructed? Preferences? Problems? When ready to continue, this slide begins the “start of paving” issues. When starting up again, the transition point must be found, if a butt or paper joint was not used. Use a straightedge to determine where the pavement thickness began decreasing…

16
… and mark the joint location. Even if using a butt or papered joint, it must be straightedged to ensure that it was smooth up to the transition. If the mat is not level at the formed transition, the joint must be moved back.

18
Once the joint location is determined, the material downstream of the joint is removed. For a papered joint, there is no bond between the paper and pavement, and the taper is easily removed. For a butt or nonformed taper joint, the mix will have bonded to the existing pavement, so a mechanical device must be used to remove the mix.

20
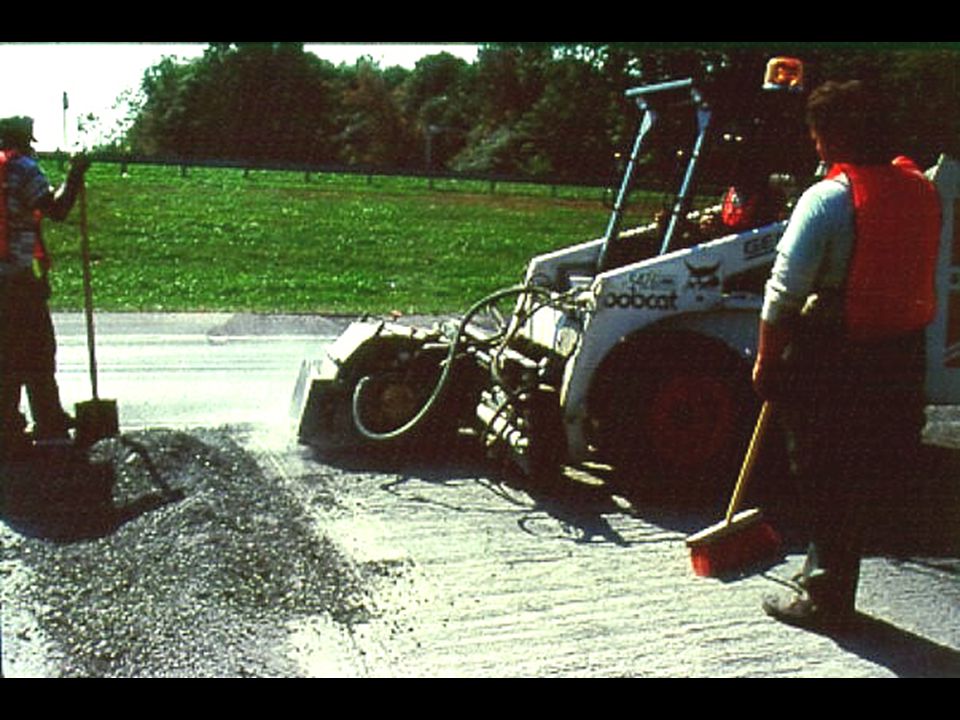
This contractor is using a small milling machine to remove the taper. The milling machine could also have been used to create the vertical edge. A front-end loader can also be used to pry loose the mix. Care must be taken to create a clean, vertical transition for re-starting the paving operation.

22
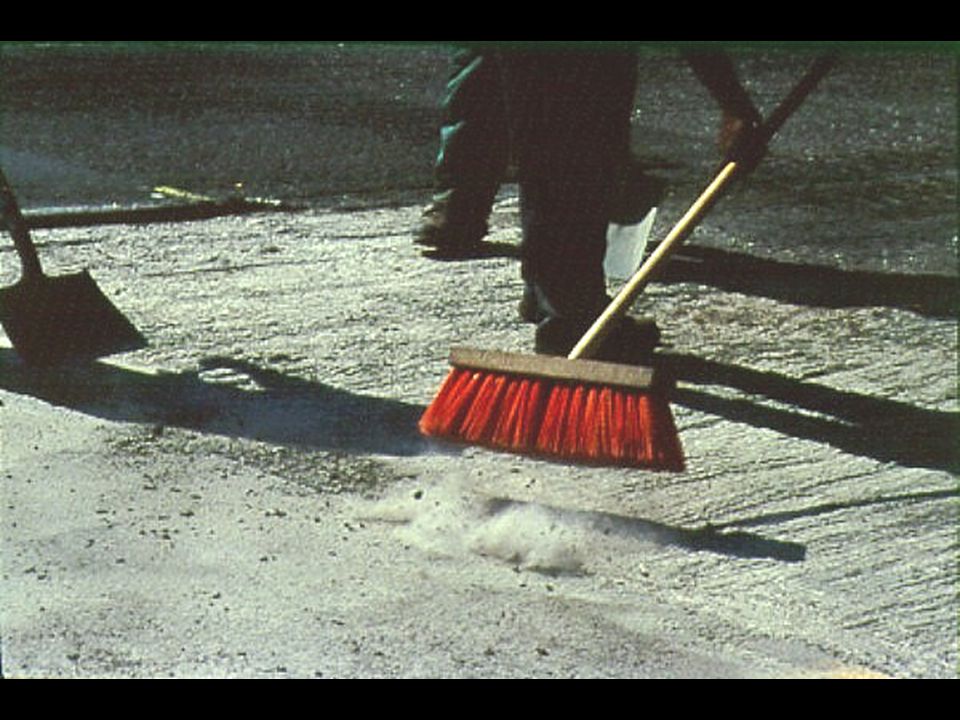
After the transition has been removed, the exposed joint area must be thoroughly cleaned, removing any mix and dust.

24
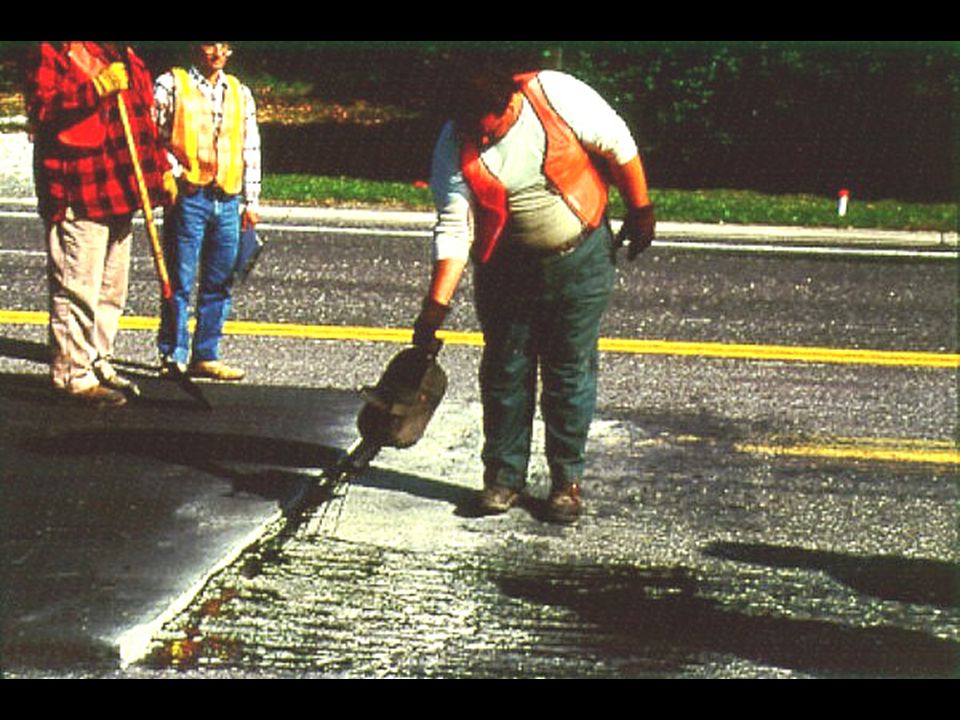
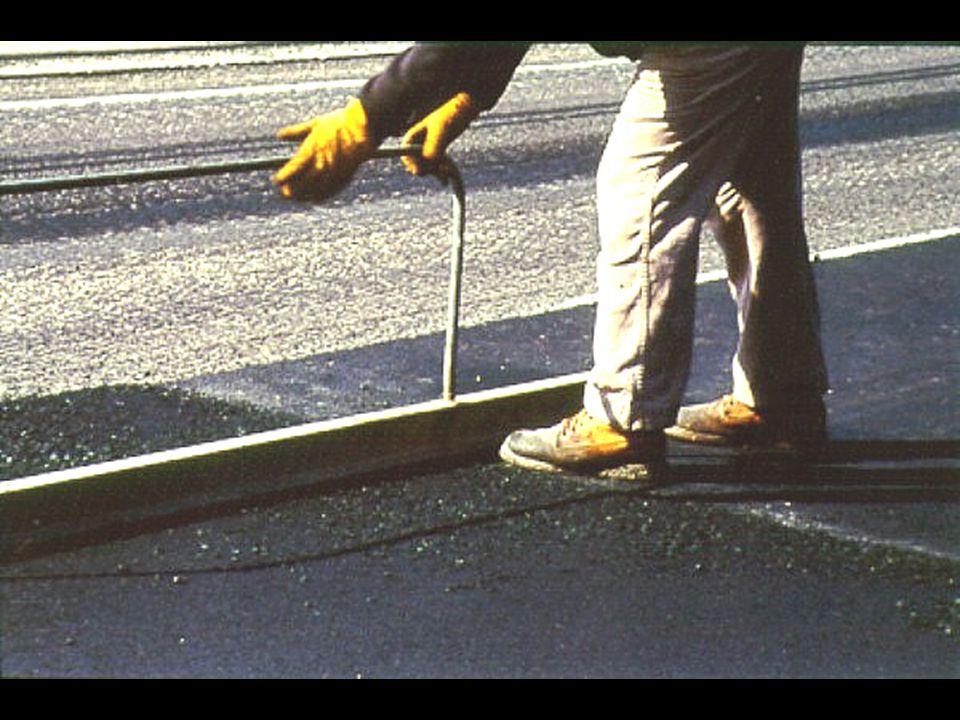
The joint must be properly tack coated to ensure a good bond between the mix and the existing pavement.

25
A good rule of thumb is to raise the screed 20 percent more than the compacted thickness.

26
Remember that boards must be placed on the upstream side of the joint to raise the screed to allow for mix compaction at the joint. Rolldown will typically range from 5 to 8 mm per 25 mm of mix placed, depending on the mix. This will differ for Superpave mixes, SMA mixes, and other non-dense-graded mixes.

28
After the screed is set on the blocks, remember all of the paver start-up procedures: – –Null the screed, – –induce the angle of attack, – –flood the hopper with mix, – –fill the auger chamber with a full head of material, – –turn on any automatic material, grade, and slope sensors, and – –pull off the blocks and bring the paver up to the laydown speed. For a screed with extensions, we need more blocks.

30
If the transverse joint is constructed properly up to this point, there should be minimal luting necessary. If the paver starts out on the blocks and the screed begins with a full head of material, the thickness of the downstream mat will be correct. There is never a reason to lute a transverse joint excessively. Remove and recycle any excess coarse aggregate left from luting the joint. The appearance of the final mat is very important and should be as uniform as possible. Shouldn’t broadcast material back onto the mat.

32
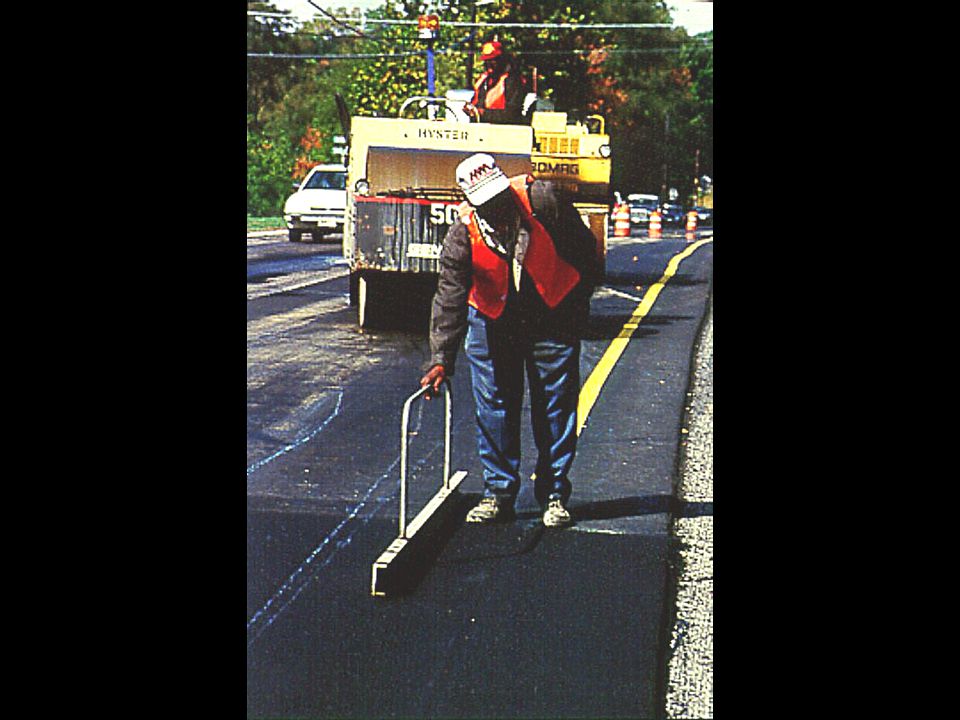
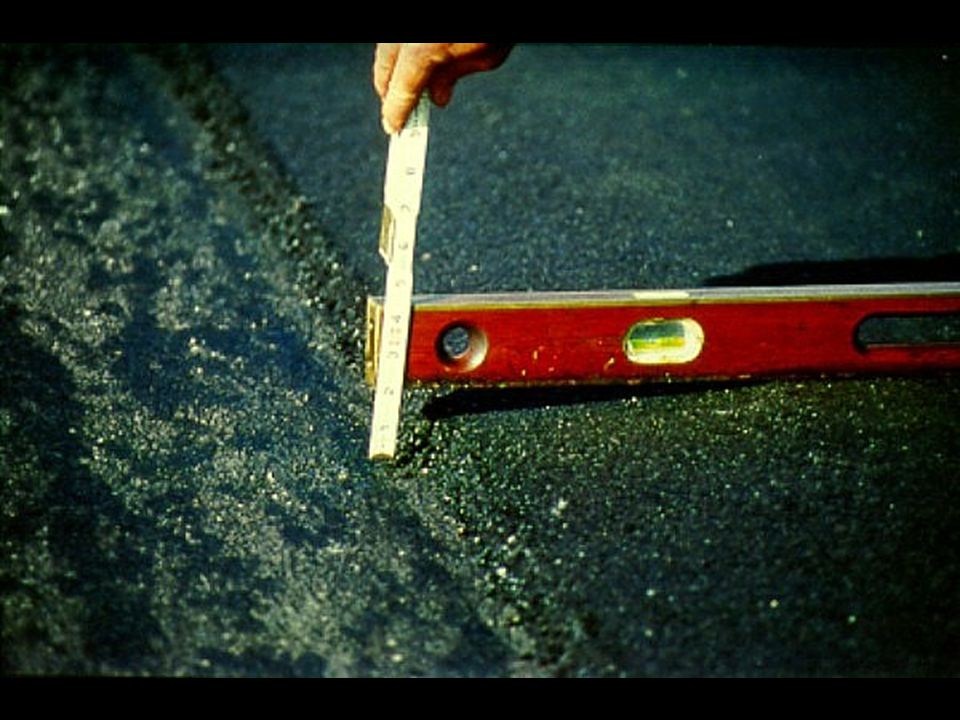
Before the downstream joint is compacted, its smoothness should be checked prior to compaction. As the straightedge rests on the uncompacted mat, it should extend over the compacted mat and be above this mat by the thickness of the boards used when pulling off the joint.

34
Ideally, a transverse joint should be compacted in the transverse direction. If traffic allows, use boards to allow the roller to make the first pass in the transverse direction. Some debate as to whether this happens or not, but it is in the HMA Handbook.

36
Here, the joint has been pinched in the transverse direction, and the first longitudinal pass has been made.

38
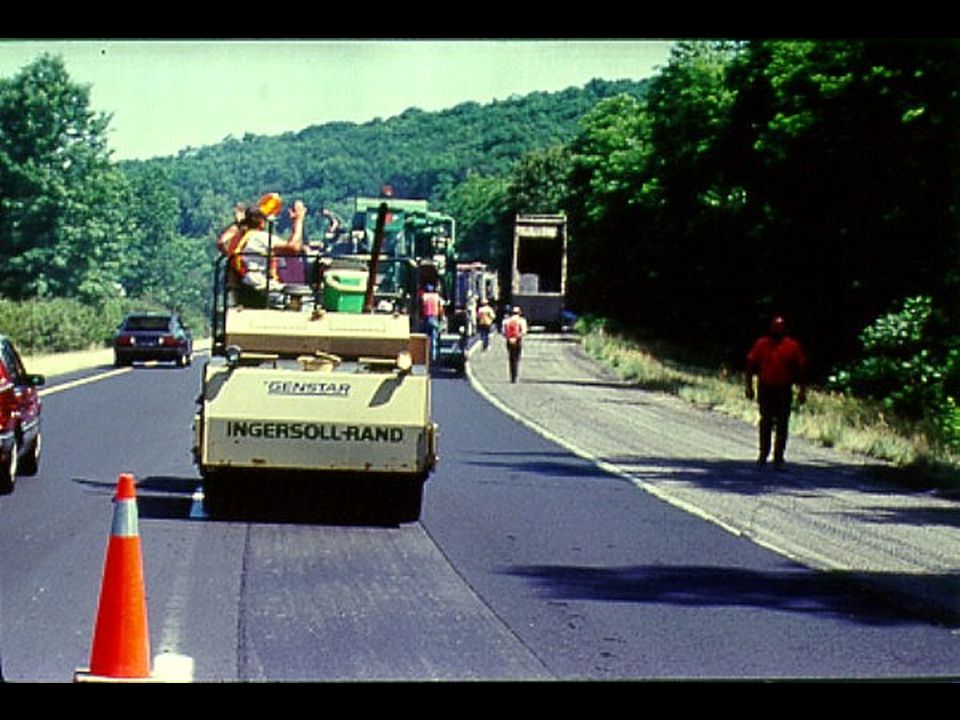
Typically, various restrictions (traffic here, as well as steep side slopes, guard rails) prohibit rolling transversely. If required to roll longitudinally, get the breakdown roller on the mat as soon as the paver is gone. Have the roller pass slowly and completely onto the mat before reversing direction. If the joint is constructed properly, the compactive effort needed will be no different than that needed for the rest of the mat.

40
After compaction is complete and before the mix has cooled, straightedge the mat again to check the level of the joint. In colder temperatures, might consider starting with the third truck or so, so that the mix is warmer.

42
A longitudinal joint is formed when a new mat is placed against an existing mat. The first pull of the paver almost always leaves an unsupported longitudinal edge in the mat. This joint will be a potential weakness in the finished pavement, and it must be handled carefully to minimize problems. Construction of good longitudinal joints is especially important with coarse mixes and SMA. Good density and joint appearance are still possible, but poor construction will be even more obvious.

43
Staggered Paving Joints

44
When building multiple layers of HMA, longitudinal joints must be staggered so a single vertical joint does not run the full depth of the pavement. Should be greater than 6 in.

46
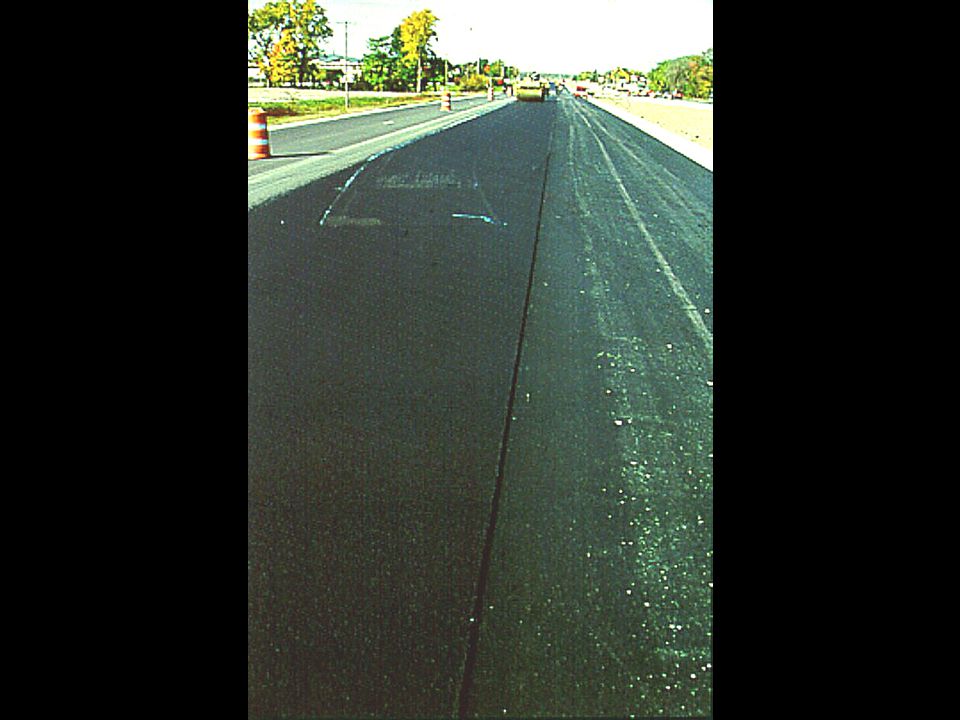
A conventional, unconfined longitudinal joint is common. The joint is formed by mix extruded under the screed and restrained by the edge plate. The tendency is for this edge to have less density than the middle of the mat, which has adequate confinement from all directions. Construct longitudinal joints as cleanly and as straight as possible. Matching a clean, straight joint has a much higher success rate than matching a meandering joint. (Here, a longitudinal joint was eliminated at the shoulder.)
.")
48
States have been researching whether performance and increased safety can be derived from tapered joints. This style of taper is excellent for fine mixes. Michigan wedge—allows traffic to run on it. The problem is coming back to pave up against it. NCAT’s study showed the cut joint was best, but that this is the next best. Cut joints cost more.

50
Some feel the taper produces more surface area for bonding with the next, hot mat. Some believe this joint is less likely to crack in the future. Others believe this style of joint can be more easily passed over at highway speeds. An edge plate forms the wedge joint, and a small roller compacts the wedge. Ask: Has anyone used this joint technique? Successes? Problems?

52
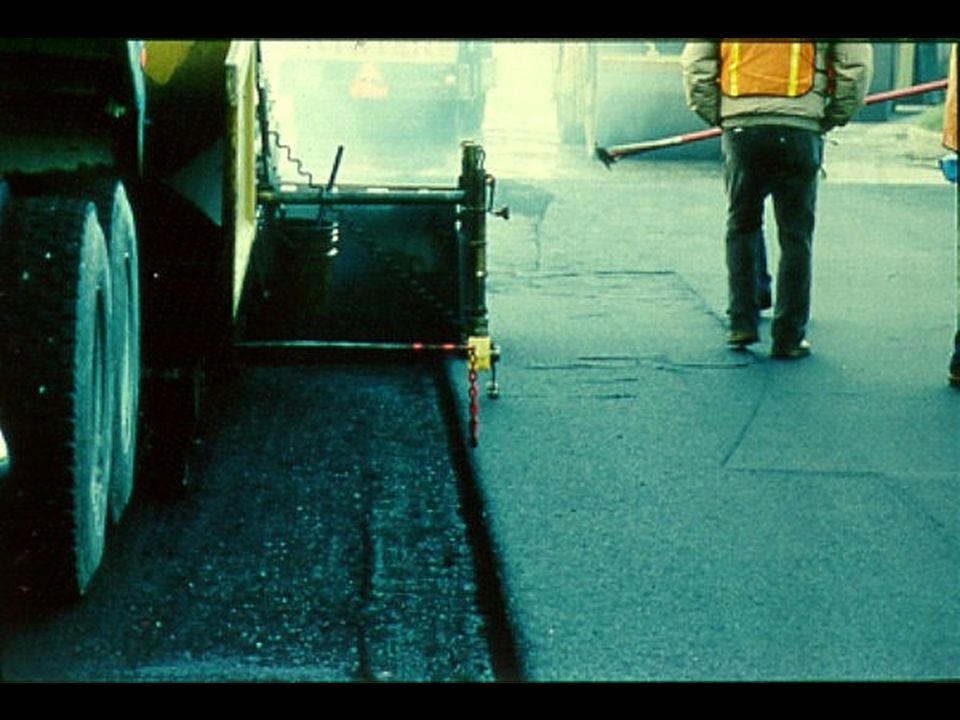
There are a variety of ways to compact a longitudinal joint. One way is to hang the edge of the drum 150 mm over the unsupported edge to provide some confinement.

54
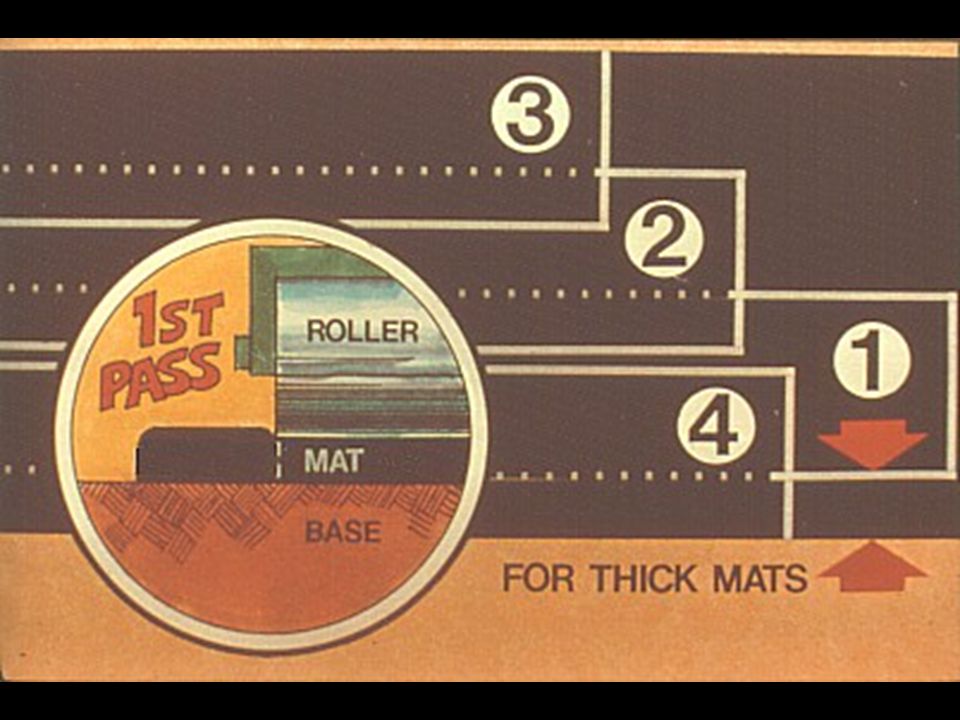
On thicker lifts, another technique is to keep the first pass of the roller 0.3 m inside the unconfined edge, and make the second pass over the remaining strip. With the roller coming back here on the fourth pass, lateral displacement is also reduced since the mix is cooler. (Compaction is covered in greater detail in Module 8.)
.")
56
To prepare the cold joint for the next mat, clean the joint area, and apply a tack coat if needed. Some specs require the joint to be “cut back” 25 to 50 mm before the next mat is placed. This can be done with a saw, or a cutting wheel attached to a grader or loader. The purpose of this is to remove the part of the mat that may have less density than the rest of the mat due to lack of confinement during compaction. If traffic will not be passing over the mat, cutting back the joint while the mix is still warm requires less effort. Cutting back definitely requires a tack coat.

58
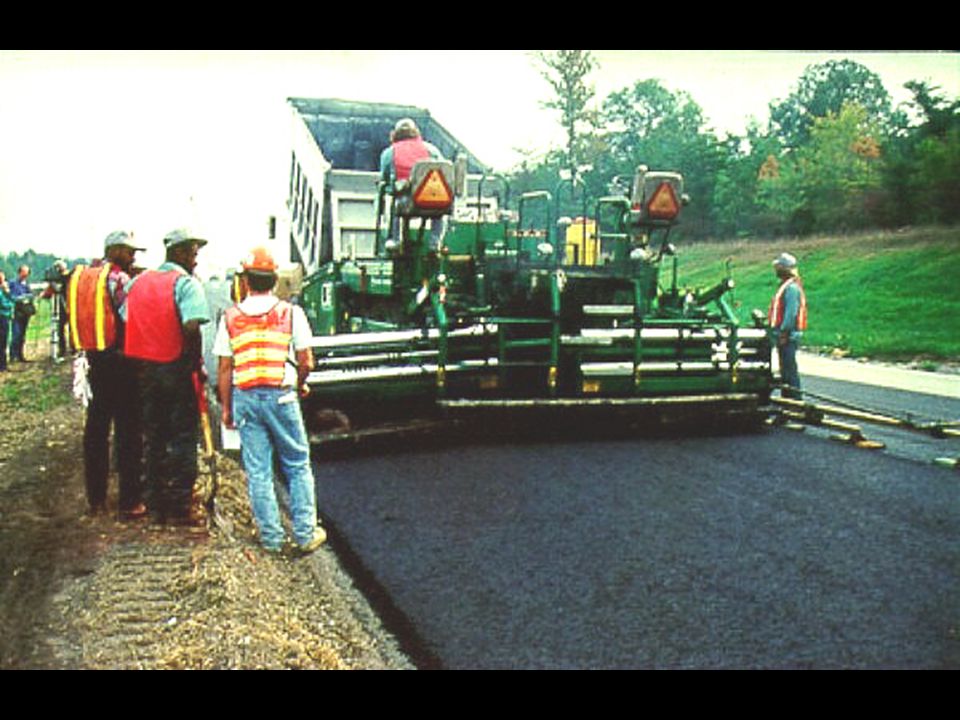
The key to good longitudinal joint construction is the proper overlap of mix between the new and old mat. The proper overlap provides just enough material on top of the joint to allow proper compaction without having extra mix, which would have to be removed by a luter. (This photo is not a cold joint, but a hot one resulting from paving in echelon. Note: Keep personnel off the mat!)
.")
59
Compacted Mat Uncompacted Mat Typical Overlap on Longitudinal Joints Thickness of Rolldown 25-35 mm

60
Provide enough overlap to provide a tight joint and allow for the steering tolerance of the paver. 25 to 40 mm is successful in most cases. The end gate should be in contact with the surface and leave a tight edge.

61
Compacted Mat Uncompacted Mat Mix “Bumped Back” to Joint

62
If the amount of material is properly placed, a simple “bump” of the mix with the lute will prepare the joint for compaction. Do not “cast” mix across the mat.

64
Here is a crew creating a very tight joint, such that it doesn’t need any luting.

66
Unfortunately, this happens too often, and it does not have to. This luter is flattening out the joint, pushing all of the coarse aggregate away from the joint and onto the mat. This action will produce both an unsightly and poorly performing joint.

68
It takes less effort to construct the joint properly. Pave the first lane straight, set the screed end gate properly on the second lane, and produce a clean joint.

70
If the level of the second lane is at or below the first lane, proper compaction along the joint cannot be achieved. When the roller is properly placed with some of the roller on on the cold mat, the roller will bridge the joint and not fully compact the hot side. (This roller is improperly positioned in that it should be rolling from the low side to the high side. Compaction will be covered further in Module 8.)
.")
71
Module 7 – Objectives Objective of Joint ConstructionObjective of Joint Construction Types of Transverse Joint Construction MethodsTypes of Transverse Joint Construction Methods Types of Longitudinal Joint Construction MethodsTypes of Longitudinal Joint Construction Methods Proper Joint LutingProper Joint Luting

72
Ask for specific responses to these questions. Use questions that will help draw out responses, such as: – –What do you remember? – –How is it related to what you know? – –How will you use this information in the future?

Similar presentations


>")


 n Longitudinal Joint Spec and other methods for longitudinal.>")


