Download presentation
Presentation is loading. Please wait.

1
Download Handouts http://www.finearts.txstate.edu/Art/academics/ undergrad/ugrad-arted/handouts.html OR find the link by Googling “Krabbenhoft handouts” TAEA 12 face demo.mov TAEA Drawing Faces.ppt

2
It Doesn’t Look Like Me Eloiese Krabbenhoft TAEA Conference, 2012

3
How soon did I start children drawing from observation? Grade 1 – the first week of school.

4
Why?

5
1.Young children learn new verbal language more easily than older children. The same is true of learning a new visual language.

6
2. Young children are learning so many new things successfully, they believe you when you tell them they can do it.

7
3.They don’t notice all the discrepancies between what they drew and what they see, so they feel successful. Feeling successful makes them willing to keep trying. Trying and practice improve their skills.

8
By 4 th grade it is harder to begin teaching students to draw from observation. And waiting until high school meets with a lot of apathy, anxiety and resistance.

9
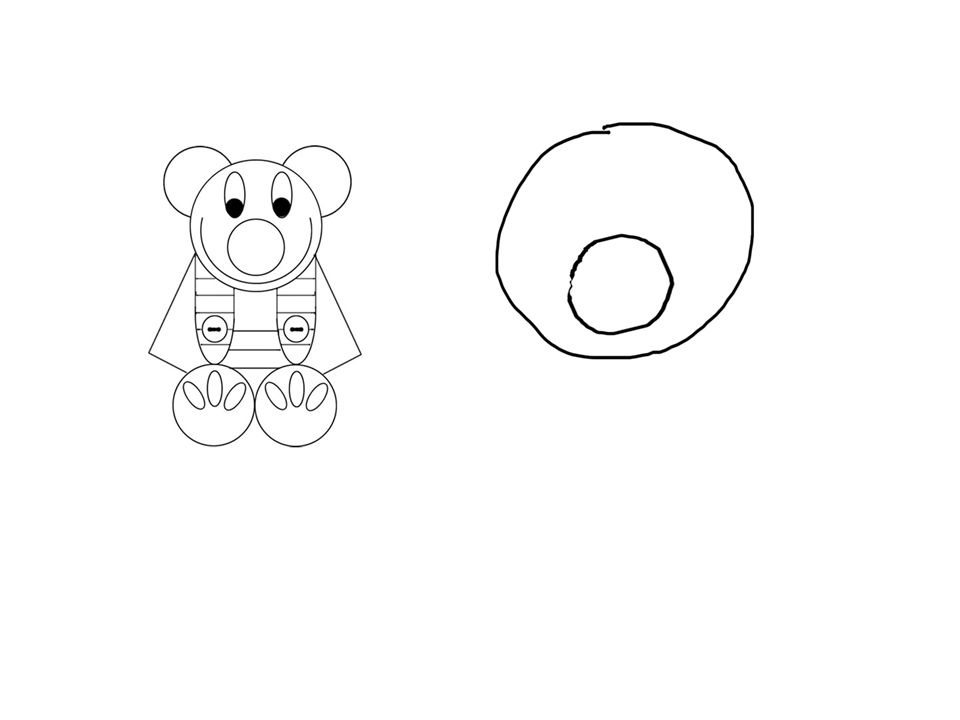
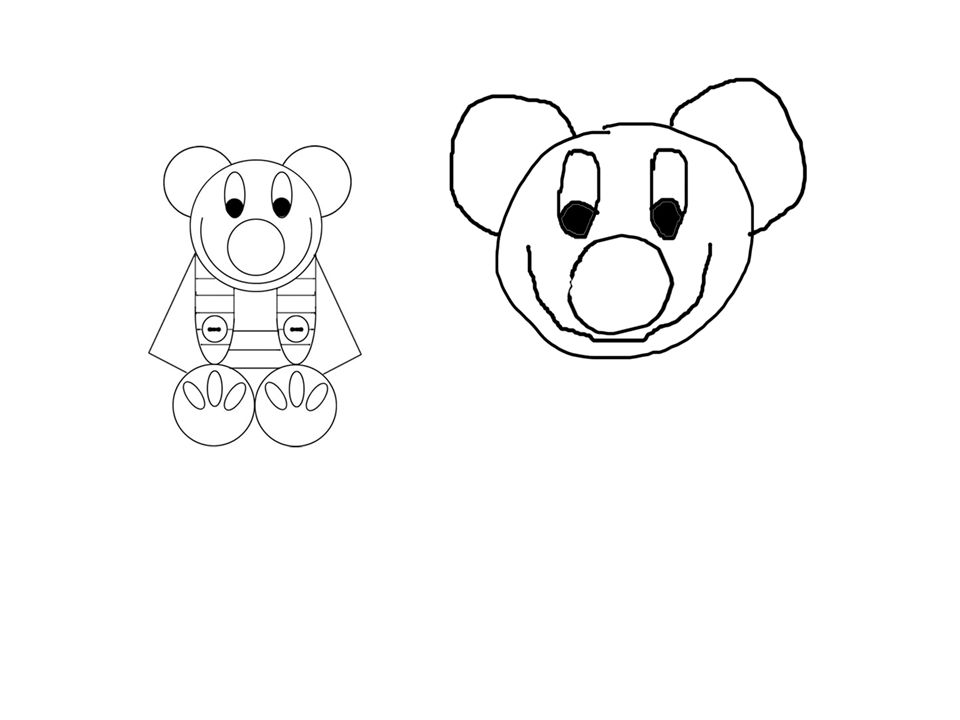
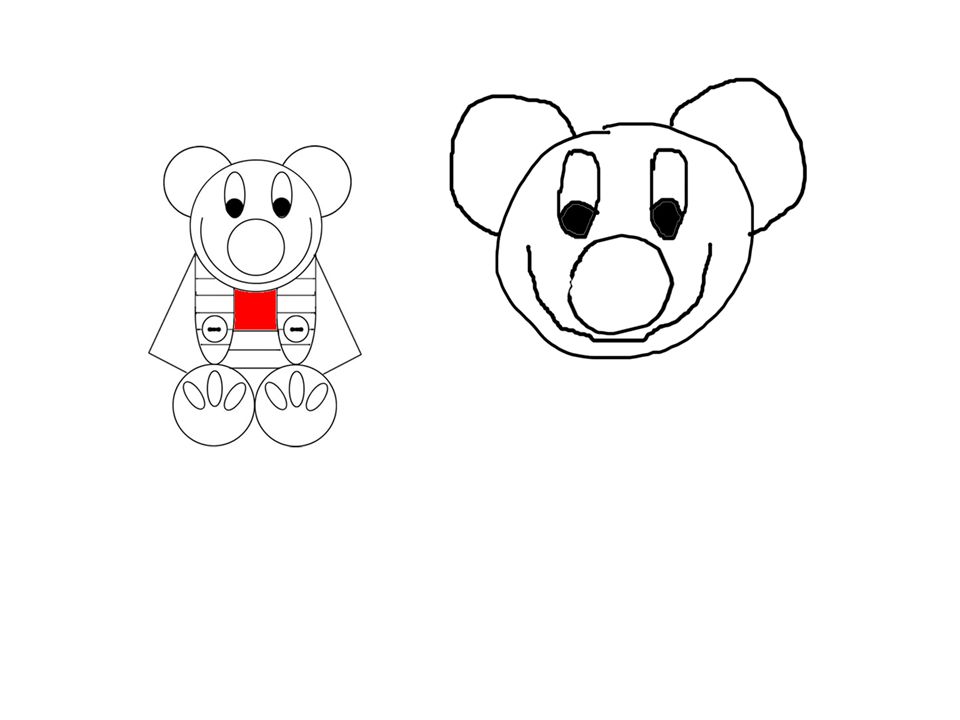
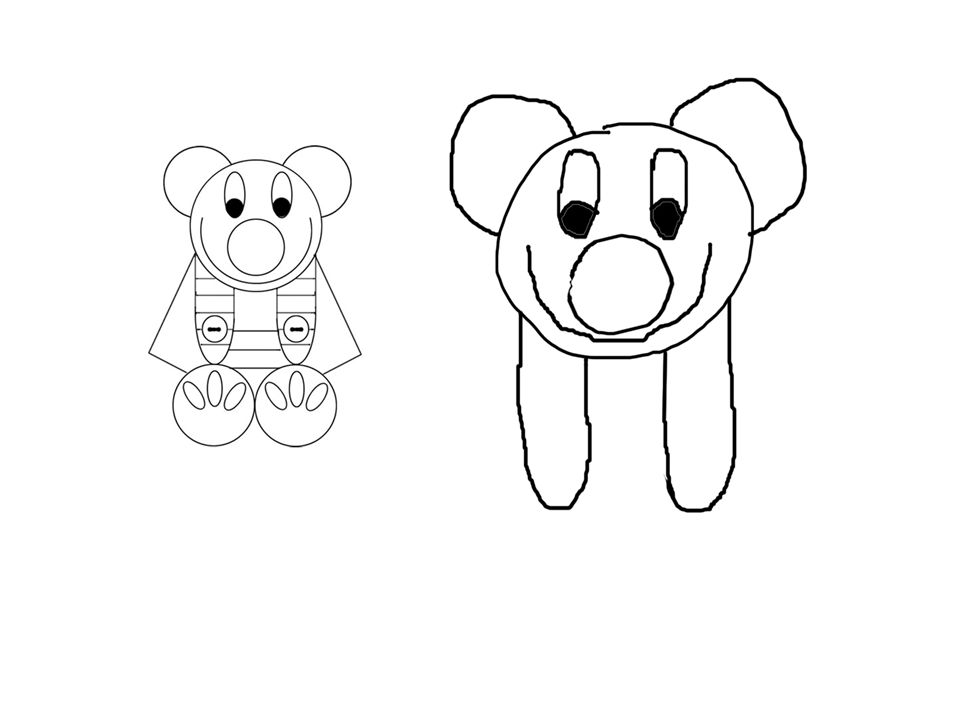
WHY?

10
1.They have experienced failure. So they are fearful they can’t do it. 2.They notice what they drew is not what they see, reinforcing their belief they can’t draw. 3.They don’t want to try something new and fail in front of their peers.

11
I’ve taught students from age 5 to 75 to draw using the following strategy.

12
I start with the easiest type of model. Which is, as most of you know….

13
line drawings - cartoons.

14
Why? 1.They are simplified, making it easier to identify and compare: shapes sizes positions

15
Comparing means asking yourself:

16
What does the shape remind me of?

17
It doesn’t help to tell children what YOU see. They need to figure out what THEY see.

18
So display a line drawing or cartoon and

19
HAVE THEM TELL YOU what THEY see. As they describe it, you draw it. Make mistakes as you draw and let students correct you.

21
How big is this part compared to that part? Ask

22
Where are the parts compared to each other? Ask

24
Where do things start and stop? Ask

25
(Draw what you see, not what you know.)
")
27
What part should I draw first to help me draw the other parts better?

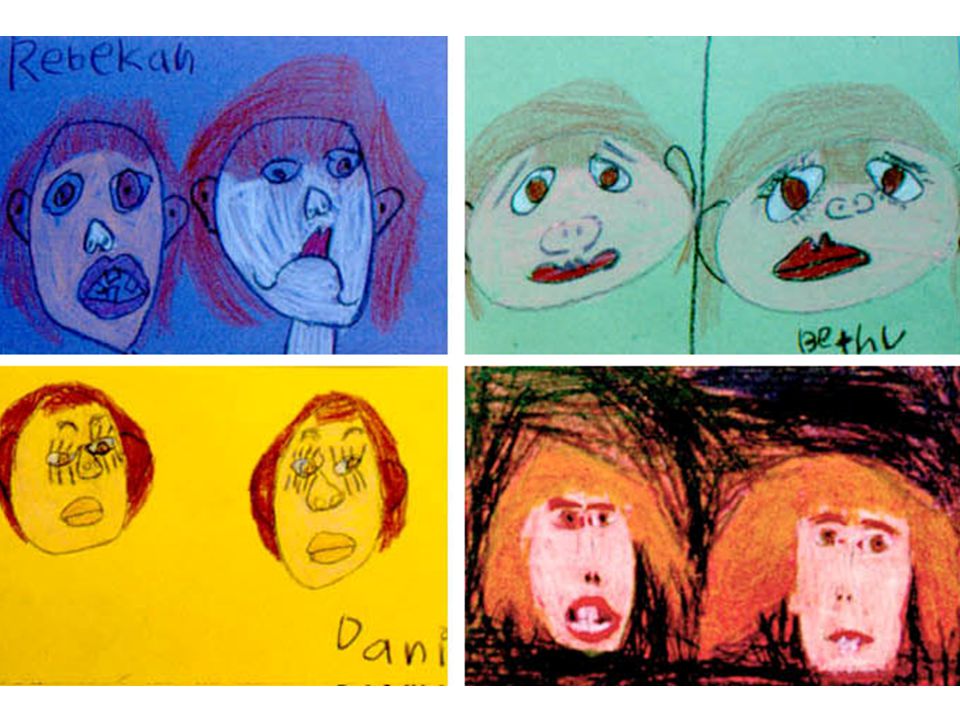
35
People who: Look – Draw – Look – Draw – Look – Draw Usually do better than those who: Look. Draw, draw, draw, draw…. So keep comparing what you see with what you are drawing. Tell students:

36
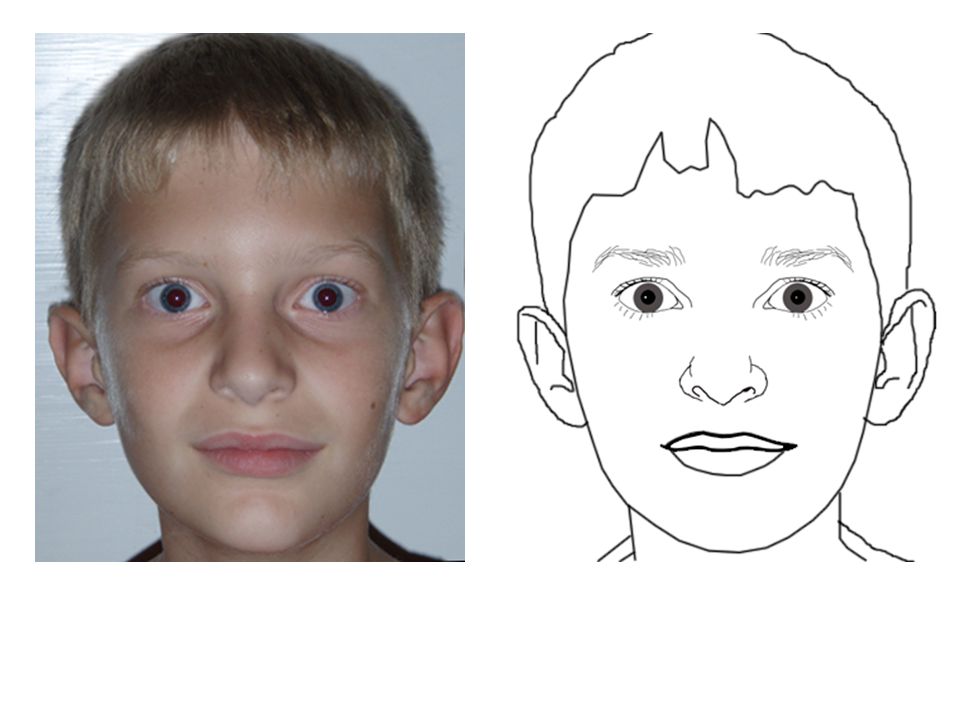
What’s next hardest? Photos or paintings

37
Why? Harder because there is more info – value, texture, pattern, color, but not too hard because it always is the same.

38
What is third hardest? Still life objects Grades 2 and 3

39
Why? If the artists change positions even a little, they see different relationships of sizes, shapes and positions of parts.

40
And, of course, it is hardest to draw something alive because both the artist and the model can move.

41
So my students did two projects drawing from observation prior to drawing portraits: 1.Drawing from line drawings, 2.Drawing from photos They drew from images of bugs, fish or birds.

42
Grade 1

43
Grade 2

44
Why limit images to fish, bugs, and birds?

45
They are distinctive and easily recognized. When others recognize the image, the artist feels successful and gains confidence. That reduces fear, anxiety and apathy.

46
What else can reduce fear, anxiety and apathy? Choice in subject matter – reduces opportunities for students to compare skill levels and decide they are no good at art. Creation of a composition – A good composition makes an attractive picture so a weak image is less noticeable.

47
Don’t draw better than your average student when demonstrating. (unless, perhaps in Art II, III and IV!) Make mistakes when demonstrating so you also can model how to correct mistakes or use them creatively.
 Make mistakes when demonstrating so you also can model how to correct mistakes or use them creatively..")
48
When drawing faces, always lead students to identify what they need to observe before letting them start to draw.

49
There’s a lot to look for.

50
We talk about: the size of the neck and shoulders. the way the neckline wraps around.

51
Teaching students to observe does not mean teach the “proportions of the face”.

52
“Proportions of the Face” fit many Caucasian adults of middle European descent. They DO NOT fit all racial groups.

53
They don’t work for most children.

54
close but still no match

55
Everyone is different (except, maybe, identical twins). These are cousins with many similarities, but even they have differences.

56
If not “proportions of the face, then what do we teach?

57
Answer Compare: Size Shape Place/Position

58
Ask yourself: What does the shape look like? How big are the parts compared to each other? Where are the parts compared to each other?

59
then use it like a ruler to measure everything else. Let’s start with one eye,

60
What parts does this eye have?

61
Eyebrow Iris Pupil Eyelid White Eyelashes Inside corner

62
People’s eyes have different: Sizes Shapes and positions of the parts.

63
Start with the outside of the eye. What does the shape remind you of?

64
They make me think of:

65
Thinking what the shape reminds YOU of will help YOU draw it.

66
The corners of these eyes do not line up level.

68
What about the corners of these eyes? What about YOUR eyes?

69
It is easiest to add the Inside corner next.

70
Football? Triangle? side-ways shark fin?Part of a cow’s face From the side? What does the shape of the white part or parts remind you of?

71
Usually Part of the iris is hidden behind the eyelids. There are two white shapes instead of one.

72
Look at the pupils.

73
Where are the pupils on these eyes? Different eye. Did you notice?

74
The top and bottom of her iris are hidden. So her pupil is closer to the top eyelid. We see his whole iris. The pupil is close to the middle of the open part of the eye.

75
Eyelids Where do they start? Where do they end? Do they remind you of anything?

76
Eyelashes Do eyelashes go straight up/down? Do they fan out? Do they start and stop the same place on both eyes? Can you see individual lashes on both eyes?

77
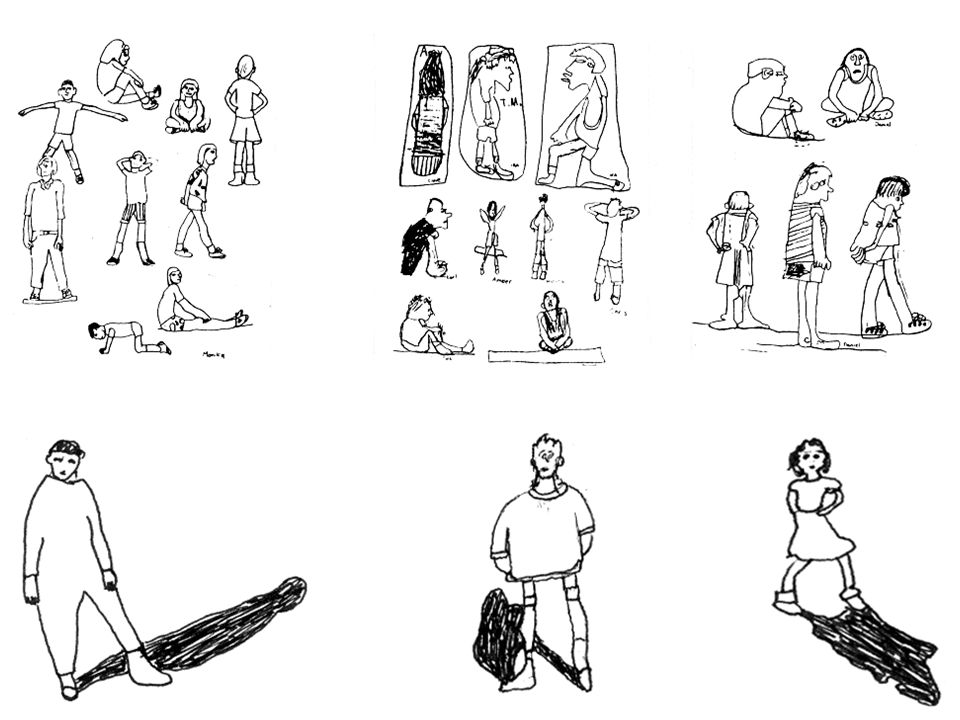
Notice how these eyelashes look more like a thick line.

78
Bottom Lashes Can you see skin of the lower eyelid between the lower lashes and the whites of the eye? Where do the bottom eyelashes start?

80
Eyebrows Look for: Shape, size and position of the eyebrow The length and direction of the hair You don’t need to count the hairs. If the eyebrows are light, don’t push hard on the pencil.

81
Where? How big?. Look for clues. Look straight down from the end of the eyebrow. How far away is it from the eye?

82
Do some trial measuring to find out.

83
How far up are they? How thick are they?

85
Now look for clues of size, shape, and position to draw the other eye. Measure the distance between the eyes.

86
Compare that distance to the size of the first eye. Are these eyes one eye apart? More than one eye apart? Less than one eye apart?

87
So I measure how far past the eye it goes. (yellow line)
")
88
And find something the same size.

89
It was as big as the pupil. So I measure the eye in my drawing and add the size of the pupil,

90
And I put a dot that far from the first eye.

91
The distance between each persons eyes is different. Measure!

92
Where will it end? These eyes are the same size. I measure the first eye and make a mark where the second eye will end.

94
Draw only the hard edges, not the slopes. Slopes are done with shading and we are not shading. Now look for clues of shape, size and position to draw the nose.

95
His nose lines up with the corners of his eyes.

96
Many noses are wider.

97
Measure how far the top of the nostril is from the eye.

98
Compare it to some part of the eye.

99
Measure one of those parts on my drawing. Use it to make marks for how far down the nostrils are.

100
Notice they start in a little towards the middle NOT right under the eyes.

101
I measure from the top of his nostrils to the bottom of his nose and compare that to some part of his eye.

103
Some noses are shorter. Some noses are longer.

104
You can’t see much of the holes because of the flash from the camera, so his nose has a weird shape, with a kind of wide V, or a flying bird form.

105
Draw it the same weird looking way.

106
It does not look like this.

107
Or this

108
What part of the eye is straight up from the corners of his mouth? Do you see that his smile is bigger on one side?

109
It is easiest to draw the line between the lips first. I measured to find something the same size.

110
You don’t have to remember all these clues. You LOOK for clues on the person you are drawing.

111
What does the shape of his top lip remind me of?

112
What does the shape of the bottom lip remind me of?

113
What would fit between his mouth and the edge of his face? His eye almost fits. Notice one side is a little wider than the other because of his asymmetrical smile.

114
Trial measuring found something the same size as his chin.

115
The area between his eye and hair is about as big as the eye, but a little different on each side.

116
Where his hair comes on his forehead is bigger than his chin is long. I’ll use all that information to draw the edge of the face.

118
What lines up with the tops and bottoms of his ears?

119
The top of his head is kind of cut off, but trial measuring shows there is almost as much head below his eyes as above. His eyes are almost in the middle of his head.

120
The top of his head does not look like this.

121
And it does not look like this.

122
It takes two lines to draw the edges of this boy’s hair.

123
Take another look at the that neck!

124
What lines up his neck?

126
People often make mistakes judging the distance between things. They think the eyes are wrong when the problem actually is the nose is too long.

127
This was the first time this middle school girl tried to draw anything. She was very upset with the eyes, but the problem actually is the too-long nose.

128
I don’t let students trace anything but their own work. Tracing templates and other people’s work teaches students negative things: You can’t draw. Your efforts are not good enough. You can’t learn to draw.

129
But tracing and repositioning parts of their own drawings saves people of all ages a lot of frustration. It also helps them learn to draw because they see they are not “all wrong”.

130
That is what happened here.

131
When people move their heads or change their expressions, all the sizes, shapes and positions change.

132
You can draw a face from any angle if you always ask: What do the shapes remind me of? How big is a part compared to other parts? Where is a part compared to other parts? BUT

133
If you want an exact copy of what you see, just use a copy machine or camera.

134
Compare size, shape and position, and draw your own idea of what you see. That is what makes it a drawing. That is what makes it art.

135
First graders drew two different expressions, looking in a mirror.

140
Unlike the “proportions of the face” which starts with the outside shape and uses a formula to fill in the features, comparing size, shape and position, works from the inside to the outside, creates a means of measurement allows analysis of the small differences that make each of us unique. and helps people learn to “see”.

141
The last two slides give info on criteria that help students create pleasing compositions so less skillfully drawn images can make a very attractive picture.

142
The following are criteria I set for composition, since my students can use only an image of one object in a photo and have to make up the rest of the composition. These criteria pose problems for students to solve, each in their own ways. I used them in almost every assignment. They also help students create unity, balance, emphasis, value structure, rhythm and movement.

143
Overlap Let things go off the edge of the paper Don’t line things up or stack REPEAT things (shapes, values, patterns, colors, etc.) in different amounts, in different parts of the page. Change them a little so it is not boring. Repeat in Papa Bear, Mama Bear and Baby Bear amounts. Don’t divide the page in half diagonally, vertically or horizontally. - Cross the mid-line. Group objects.

Similar presentations


 What is the most challenging thing for you to draw on the human face? ( Eyes, ears, lips, nose, chin, hair, etc.) 2) What is.>")


