Download presentation
Presentation is loading. Please wait.

1
IUPUI Speaker’s Lab CA 001G 278-7940 http://liberalarts.iupui.edu/spchlab/

2
Welcome to PowerPoint2007 PowerPoint was designed to help you convey information to your audience during a presentation. It is designed to be a complement to your presentation. This presentation will help you get started in the world of PowerPoint.

3
How to Start Open up the PowerPoint program. It will start with a Blank Presentation Right-click to choose what type of slide you will need

4
Different Slides There are three slides you’ll use MOST of the time. 1. Title slide 2. Title and Content 3. Two Content 4. Blank slide 2 3 1 4

5
Start with a title slide. It will look like the image above. Include a title The subtitle usually includes your name, section number, etc.

6
Adding a New Slide Now you have completed the title slide Time to add a new slide. Home Slides New Slide Now you must select the type of slide you want: Text ( Title and Content ) or something with an image (Two Content) Let’s start with text!
 or something with an image (Two Content) Let’s start with text!.")
7
A Text Slide First add a title. A few words are fine. Then click to add text. Use short phrases, it is rare to use complete sentences. after each one. It will automatically bullet them.

8
Let’s Talk About Text The text should be a good size (24-32 font) It should be consistent (the same size on all slides) It should be in an appropriate color Contrasting to the background If the background is dark = light text If the background is light = dark text e.g.
 It should be consistent (the same size on all slides) It should be in an appropriate color Contrasting to the background If the background is dark = light text If the background is light = dark text e.g.")
9
Picture Time Now let’s try a Text and Clipart slide Set the layout as Two Content, then you would enter you title in the title box and text in either of two boxes below. Notice that all boxes can change size, you can increase, decrease or eliminate contents completely. Now we can talk about pictures.

10
Pictures You can get pictures three ways From internet sites From Clip Art From a file (saved on a flash drive, disk etc.)
")
11
Internet Pictures Very easy Find a site Choose an image Using your mouse - right click Once the box opens Copy Go to the slide you want the picture on right click Paste

12
Clip Art Click on the clip art icon Search for a picture (Insert Clip Art, then look at the right) Click your selected picture.
 Click your selected picture.")
13
Pictures From Files Insert Picture Select the picture file and click Insert Position and re-size the picture This can be used if you are going to scan a picture or use one saved on your computer or portable storage.

14
Media Clips From Files Insert Movie Select the media file and click Insert Position and re-size the media clip Choose to play it automatically or when clicked

15
Background Let’s choose a background. Try to find one that matches the theme of the speech. Is it light-hearted? Serious? What types of colors match the mood of the topic?

16
Colors Make sure the colors will be easy to see. It’s all about the contrast. The text should be visible on the background. You can do Black on White, but color is nice. Be careful using colors that are hard on the eyes especially Yellow and Red. Use these sparingly, they are great for accents!

17
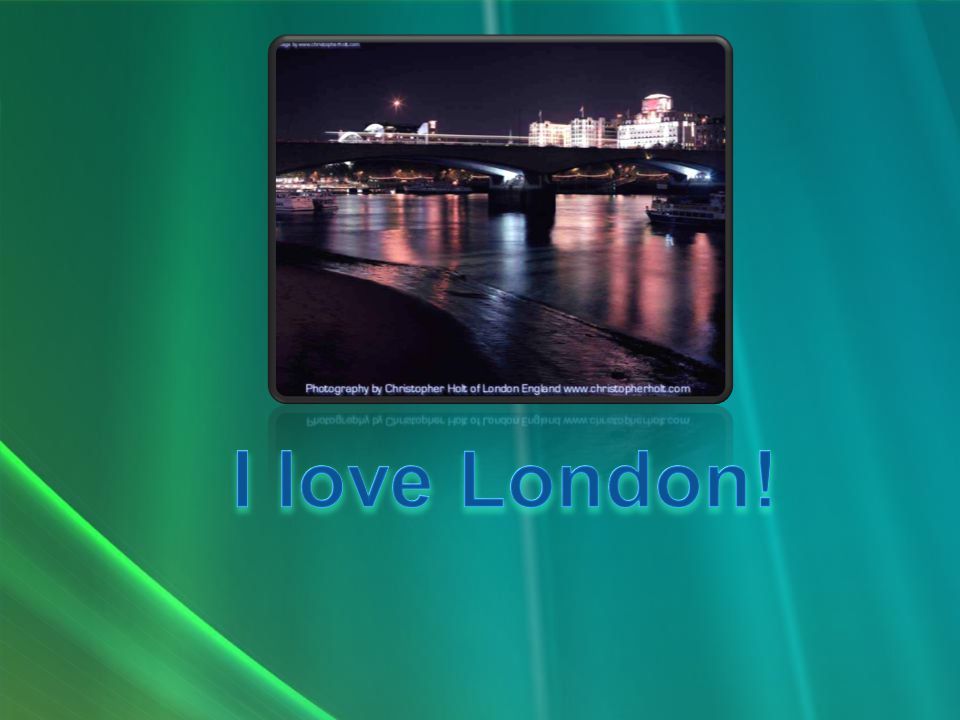
Bad Example

18
I love London!

19
Good Example

21
Setting the colors There are two ways to set the colors Apply Design Template Format Slide Color Theme Design templates are predetermined and are easy to use, but they do limit your creativity. Format Slide Color Theme takes more time, but gives you greater control over your design

22
Apply Design Templates Select Design Themes Try the dropdown to see more templates. A box will appear below. You can see examples of the different templates in the view window. Feel free to view the options. Click on the one you want.

23
Format Slide Color Theme Click Design Colors Select one of the predetermined color themes, then go Design Background Styles (top right) Pick the style you want to apply, or go to Format Background. Try to click around to see which effect is best fit for you presentation. Warning: Do not close the box unless you have made your decision.

24
Fill Effects Gradient blends one color with grey or two colors in a variety of layouts. Texture lets you choose from a number or predesigned textures. Picture lets you insert any existing image as the background. When you select a picture, you can click Picture below to set the color, brightness and contrast.

25
What can I do if I mistakenly applied an theme I don’t like? Click Reset Background. If the box turns grey, close the box then press Ctrl+z on your keyboard. warning Then go back to the last slide and read the warning.

26
Speech – Visual Aid Whatever you are speaking about should match what is being displayed via PowerPoint. If you have a point you wish to make in your speech, but do not have a visual aid for this point; then just add a BLANK SLIDE. Blank Slides are also very useful as the first slide of your presentation.

27
Blank Slide To add a blank slide Add a new slide Select blank slide Add as many as you need Now let’s turn the slide Black. It is less distracting that way

28
Turn it black Go to the slide you want black. Select Design Background Styles Format Background Choose Solid fill. Click on the Black colored box in the dropdown of Color. Check Hide background graphics. Click “Close” – do NOT select “Apply to All”

29
(This is what it will look like!)
")
30
Final Design Points There are many options on how to do things, choose what works best for you and your presentation. PowerPoint is just a helper to your speech, not the speech itself. Use Powerpoint to reinforce, visualize or emphasize. A good guideline is about 1 content slide per minute of the speech (content slide meaning, do not count the blank or title slides).
..")
31
Saving Your File Save your presentation to portable media and/or on network accessible storage. Many general access computers on campus delete saved files when you log off – make sure you have saved your file somewhere secure. Technology is never 100% reliable – disks and flash drives corrupt or get lost, network access may not be available when you need it. It is highly recommended that you save your presentation (and other important work) in two locations – a portable storage such as a flash drive or disk and a network accessible location such as Oncourse or an attachment emailed to yourself.
 in two locations – a portable storage such as a flash drive or disk and a network accessible location such as Oncourse or an attachment ed to yourself..")
32
Saving Your File Evidence shows PowerPoint 2007 can recognize the files saved in PowerPoint 2003 and keep all the settings. However, files saved in PowerPoint 2007 usually perform badly in PowerPoint 2003. Check the equipment before you give the presentation and not disappoint yourself. When you insert videos from your own collection, such as files ended with *.avi, *.mov, save them in the same folder of your slides. Otherwise, it is very possible that they won’t show up when you play the slides.

33
Running Your Presentation Select Slide Show From Beginning To advance Left mouse click Enter Space Bar Down/Right arrows To go back Backspace Up/Left arrow

Similar presentations


>")


 Part 1: Basic Vocabulary Part 2: Cursors Part 3: Insert Your Text Part 4: Insert Your Pictures Part 5: Basic Tools &>")


