Download presentation
Presentation is loading. Please wait.

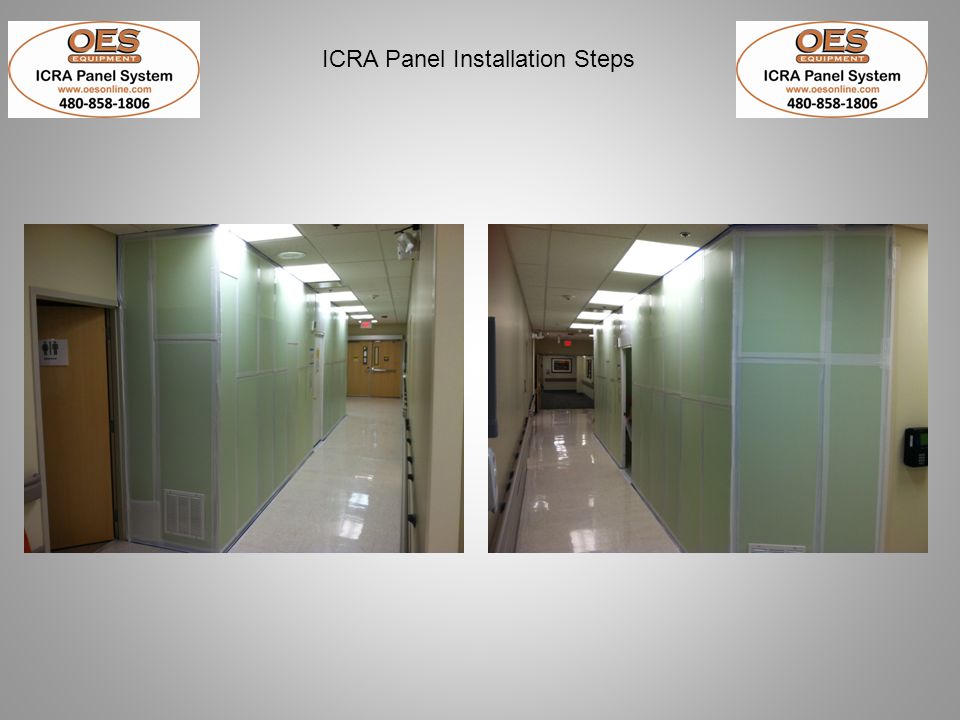
1
ICRA Panel System Installation Instructions

2
Determine Starting Point
1. Layout corners, angles, obstacles so that the panel sizes will fit together nicely and not create a gap at any point of the installation. NOTE: If the first panel comes off the wall, place the track at 24” from the wall.

3
Install 3” Blue Tape to protect the Facility
2 & 3. Establish the starting point on one of the walls. Run 3” Blue Tape from ceiling to floor as the center point of the ICRA wall.

4
Double sided foam tape to ceiling grid or Hard Lid.
4. Install the Ceiling Frame Double sided foam tape to ceiling grid or Hard Lid. Clip track to center beam of ceiling grid.

5
5. Determine the location of the Floor Angle Metal Strip.
Drop the “String Line” from the Ceiling Track as a level to establish the placement of the Floor Angle Metal Strip.

6
Starting next to the wall, insert the first ICRA Panel by sliding it into the Ceiling Track & placing it against the Floor Angle then sliding it over to meet the wall. 7.

7
Installation Tips: Place a 12” strip of White tape on the metal strip on the back of the panel slider. Once the panel is set to the desired height, press the tape onto the coroplast. It will stick and hold the panel slider in place. Manometer: Hold back tape, then release when meter is level.

8
Insert 2nd slider on the bottom of the panel.
Assembly of Additional Slider to reach 13’ wall height Insert 2nd slider on the bottom of the panel. Remember that the top slider will be the final fit: Measure and identify desired placement of the bottom slider.

9
Assembly of Additional Slider to reach 13’ wall height
Place ONE screw on back side on each side of slide to maintain desired position.

10
Re-assemble the top slide if it was removed earlier.
Assembly of Additional Slider to reach 13’ wall height Re-assemble the top slide if it was removed earlier. The Preferred method of securing the top slide is with tape on the back supporting rail. (Ref. Slide #7)
")
11
Sealing the Seams 12. Once a large section of the wall is installed, run 3” White tape along the top and bottom of the panel wall sealing it to the Blue tape on the ceiling and floor to make a complete air tight seal.

12
Door Installation ** For best results: Mount the door in between 2 ICRA Panels for stability and strength. NOTE: The Door and Frame are held square by 3 screws and 1/8” spacers placed through the wood frame into the door. KEEP THESE SCREWS INTACT during the installation to insure square-ness of the installation.

13
Measure the exterior dimension of the WOODEN Door Frame (37-1/4”)
Door Installation NOTE: There is a 1” frame on the door panel . Add 1” from the last ICRA Panel installed before making the cut on the Floor Angle. 11. Measure the exterior dimension of the WOODEN Door Frame (37-1/4”)
")
14
Door Installation 16. Insert the door in the same fashion as an ICRA Panel. 20. Measure, cut and install the coroplast on the top of the door.

15
21. Remove the 3 screws and 1/8” spacers from the door and frame.

16
Door Installation 23. Double check for proper function and level.
24. Run 3” Tape over the threshold of the door covering all of the exposed metal.

17
25. Resume installing the next ICRA Panel.

18
26. Wipe the entire wall down with a Disinfectant Spray or wipe.
Disinfecting the ICRA Wall 26. Wipe the entire wall down with a Disinfectant Spray or wipe.

19
PROPER Panel System Storage

20
IMPROPER Panel Storage

Similar presentations


 Installation principles 1. Cabinets need to be installed straight, plumb, and level. 2. The area you are working in is rarely straight, plumb,>")


 2013 Mechanical Kits Ltd.1.>")


