Download presentation
Presentation is loading. Please wait.

1
Module 3 Configuring Hardware on a Computer Running Windows XP Professional

2
Introduction Hardware –Plug and play –Non plug and play Software –Operating system –Applications –Drivers signed device driver Unsigned device driver Firmware

3
System Resources IRQ - Interrupt Requests Input/output (I/O) port addresses Memory addresses DMA -Direct Memory Access
 port addresses Memory addresses DMA -Direct Memory Access")
4
jumpers

6
Installing Plug and Play Devices Cheek Hardware Compatibility List (HCL). logged on as Administrator or a member of the local Administrators group. An exception to this requirement is when you are installing a local printer. Device types –For USB, IEEE 1394, SCSI just plug in the device. Detection is automatic. –For PCI and ISA turn the computer off,

8
note If a Plug and Play device, such as a CD-RW (compact disc.read write) drive, has been installed and then removed from a computer running Windows XP Professional, the device configuration and drivers remain on the computer. Reconnecting the same device can be done by any end user and does not require reinstallation by an administrator. This enables users to easily share devices.

9
Installing Non–Plug and Play Devices Connect the device to the appropriate port, or insert the device into a slot on your computer, according to the device manufacturers instructions. Use the Add Hardware Wizard to identify the type of device that you are installing. Insert the Windows XP Professional installation CD or the manufacturers disk so that Windows XP Professional can load the proper device drivers. After you load the device drivers onto your system, Windows XP Professional configures the properties and settings for the device. If instructed by the setup program or documentation, you may need to configure the resources manual

10
Viewing Installed Devices Device tree Device node.

11
You can use Device Manager to: Determine whether the hardware on your computer is working properly. Change hardware configuration settings.hardware configuration Identify the device drivers that are loaded for each device, and obtain information about each device driver.device drivers Install updated device drivers. Disable, enable, and uninstall devices.Disableenableuninstall Roll back to the previous version of a driver. Print a summary of the devices that are installed on your computer

12
Working with Drivers Driver Signing Updating Drivers Driver Rollback

13
Driver Signing Identifying unsigned files sigverif

14
Procedure to update drivers Hardware IDs

15
Driver Rollback Driver rollback will not be an available option if a driver has not been updated Driver rollback is available for any device except printers. Reinstallbackups folder %systemroot%\system32\ reinstallbackups is created the first time a user updates an existing driver package *.INF *.SYS

16
Troubleshooting Hardware Devices

17
Using Device Manager to Troubleshoot Devices

18
Viewing hidden devices Device Manager does not display all devices by default. Certain non Plug and Play devices and devices that were previously attached to the computer are hidden. You can set Device Manager to allow you to view currently attached hidden devices, to review device status, or to troubleshoot problems.

19
Removing Devices Devices that are designed to be removed while the system is turned on are:Devices that are designed to be removed while the system is turned on are: All USB devices. IEEE 1394 devices, except removable storage devices. PC Card devices. CardBus devices.

20
PC Card devices & CardBus devices

21
Impact of surprise removal Removable storage devices. can cause data loss or data corruption. PC Card, CardBus Card, parallel and COM port devices. Can cause the system to stopApplications. Applications that are running might stop responding or.hang. as a result of a surprise removal.

22
Configuring Resources Procedure to create a hard copy of device resource settings report Restoring resources to original settings

23
Adding a Local Printer Printing preferences

24
Adding a Local Printer To install a local printer by using the Add Printer Wizard:To install a local printer by using the Add Printer Wizard: 1.Open Control Panel, click Printers and Other Hardware, and then click Printers and Faxes. 2.Under Printer Tasks, click Add a Printer, and then follow the instructions. The minimum permission Power Users. Device Manager does not enable you to manage or configure local printers. It does provide capabilities to manage the printer ports, but not the printer directly.

25
Supporting Bluetooth Devices

26
Introduction Bluetooth wireless technology is a low- cost, short-range wireless specification for connecting mobile devices and is available on a wide variety of devices.

27
Bluetooth Devices in Control Panel

28
Bluetooth icon in the taskbar

29
Network Connections changes

31
Bluetooth File Transfer wizard

32
Procedure to allow a Bluetooth device to find your computer

34
Configuring Multiple Monitors

35
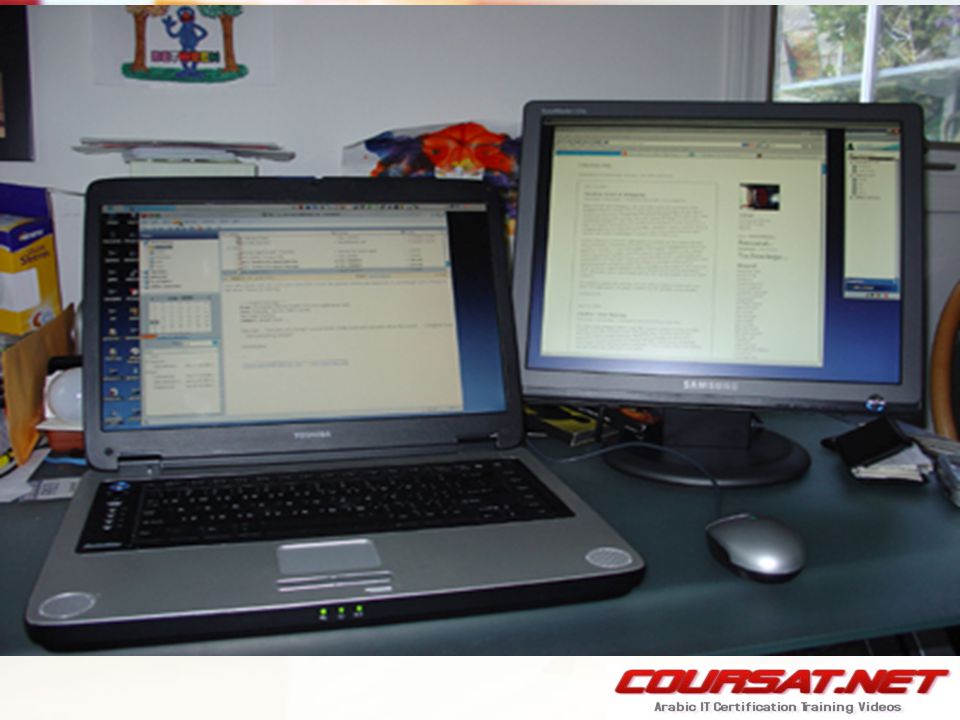
introduction Using multiple monitors is desirable for users who work with multiple applications and need to view the interfaces of these applications simultaneously. By using multiple monitors, you can configure up to 10 monitors

38
Configuring multiple monitors Have an installed PCI or AGP device. Run in graphical user interface (GUI) Have a Windows XP Professional driver that enables a secondary display.
 Have a Windows XP Professional driver that enables a secondary display..")
39
Procedure for installing additional monitors 1.Turn off your computer. 2.Insert your additional PCI or AGP video adapter into an available slot. 3.Plug your additional monitor into the card. 4. Turn on your computer. Windows XP Professional will detect the new video 5.adapter and install the appropriate drivers. 6.Open Control Panel, and then double-click Display. 7.On the Settings tab, click the monitor icon that represents the monitor that you want to use in addition to your primary monitor. 8.Select the Extend my Windows desktop onto this monitor check box, and 9.then click Apply. 10.Select the color depth and resolution for the secondary display. 11.Repeat steps 6 through 8 for each additional display, and then click OK to close the Display Properties sheet.

40
Procedure for changing the primary monitor Arranging multiple monitors How to move items from one monitor to another

42
The end

Similar presentations


. PYP002 Preparatory Computer ScienceWindows Operating System2 Objectives Develop a good understanding of 1. The.>")


