Download presentation
Presentation is loading. Please wait.

1
Get Genisys Smart Introducing the Automated Systems Tests and Smart Cable Steve Zack

2
Genisys NEW System 3.0 Enhancements Fast Boot technology (patent applied for) Quick DTC Scan Automated System Test (patent applied for) Link from popular Mode 6 items to repair info Link from Readiness Monitors to Drive Cycle Test Info Accessory / Cable List on Tool Glossary of Terms Printing of the Mode 9 VIN number on most reports OBD II Smart Cable Diagnostic Check TSB References improvement 1 Gigabyte Memory Card Support Custom Splash Screen Currently the new Genisys software and System 3.0 will fit on a 512 MB card. BUT, this will be the final release for the 512 MB memory card.

3
Genisys System 3.0 Vehicle Software and Memory Requirements Each year Genisys software increases in size. This year is no exception! Users request and expect additional coverage like the NEW for 08 increased Hyundai and Kia coverage and repair information like Pathfinder Troubleshooting, Repair-Trac, and Fast Fixes, but it increases memory size. Novembers new Genisys software releases are: USA Domestic 2007, USA Asian 2007, and System 3.0. A 1 GB memory card is recommended, but Domestic & Asian 2007 come with System 3.0 and will install on an existing System 2.0 512 MB card. A few release notes: Installing USA Domestic and/or USA Asian 2007 on a System 2.0 512 Megabyte card Due to the 512 MB memory size limitations, there are a few program differences, such as: No future updates can be installed, a 1 GB memory card will be required. Latin America 2004 will not be installed on a 512 MB card (1 GB required). Slower initial installation due to file compression and decompression required. Installing USA Domestic and/or USA Asian 2007 on a System 3.0 1 Gigabyte card All applications will install and FAST………… You are ready for future new software releases.
. Slower initial installation due to file compression and decompression required. Installing USA Domestic and/or USA Asian 2007 on a System Gigabyte card All applications will install and FAST………… You are ready for future new software releases..")
4
The technician currently selects the appropriate System Smart Insert he needs for the job. The new OBD II Smart Cable is essentially plug and play. Definition: System Smart Inserts (SSIs) are used to mux or route connector data lines as necessary to facilitate OEM enhanced communication and can sometimes contain electronics. SSIs provided access to this OEM enhanced information in place of additional cables. What was once the best low cost solution is now re-invented with the Genisys OBD II Smart Cable. Over 50 System Smart Inserts replaced with one Smart Cable Genisys OBD II Smart Cable
 are used to mux or route connector data lines as necessary to facilitate OEM enhanced communication and can sometimes contain electronics. SSIs provided access to this OEM enhanced information in place of additional cables. What was once the best low cost solution is now re-invented with the Genisys OBD II Smart Cable. Over 50 System Smart Inserts replaced with one Smart Cable Genisys OBD II Smart Cable.")
5
Features/Changes Previous OBD II SSI Cable goes away Over 50 SSIs go away! No new SSIs in the various Genisys Kits - many were planned! Sophisticated electronic circuitry in the new OBD II Smart Cable replaces current and future line switching System Smart Inserts (SSIs). Bottom Line Benefits Improved technician satisfaction Improved test capability Faster Diagnosis, more convenient Higher technician productivity Genisys OBD II Smart Cable - continued
. Bottom Line Benefits Improved technician satisfaction Improved test capability Faster Diagnosis, more convenient Higher technician productivity Genisys OBD II Smart Cable - continued.")
6
Automated System Test& Quick DTC Scan With one button press, Automated System Test and Quick DTC Scan performs a system health check of all available vehicle controllers. Any trouble codes found are reported along with other vital scan data. Repair-Trac pattern failures and available repair information are linked to trouble codes of the top known component failures. Re-inventing Genisys

7
Genisys NEW System 3.0 Quick DTC Scan Quick DTC Scan DTC Scan taken from the Automated System Test DTC function. Scans all supported systems automatically for DTCs. Quick DTC summary screen the same as in Automated System Test results. DTCs listed by controller Press Enter on selected DTCs to view repair information. Print Detail of all DTCs

8
Automated System Test, One button press and it will perform the test and report the data in a fraction of the time it used to take using manual, step by step procedures. Automated System Test begins to automatically poll all available controllers for DTCs and other vital scan data. Genisys Automated System Test Genisys Automated System Test ties together the diagnostic power of Pathfinder, Repair-Trac InfoTech, and Fast Fixes troubleshooters for you, saving time and increasing profitability.

9
Genisys Scan Component Test Example O2 Sensor Scan Test Procedure Pathfinders Scan Component Test will be available via the new Automated System Test & manually in Pathfinder Troubleshooting.

10
Genisys USA 2007 Domestic Software New Expanded Systems Coverage and Special Tests New - Tire Pressure Monitoring System coverage up to 2007 models. New - approximately 500 vehicles, 1000 systems and over 350 bidirectional tests are added for earlier year vehicles as well as 2007 models. New - expanded EVAP system coverage including the Chrysler Leak Detection Pump (LDP) Monitor Test. New - expanded GM Body System coverage for 2007 and older vehicles. New - increased coverage and functionality on vehicles back to 1992 that technicians see in their shops everyday! Updated - Fast Fixes now updated from a database of more that 60,000 confirmed fixes.
 Monitor Test. New - expanded GM Body System coverage for 2007 and older vehicles. New - increased coverage and functionality on vehicles back to 1992 that technicians see in their shops everyday. Updated - Fast Fixes now updated from a database of more that 60,000 confirmed fixes..")
11
Genisys USA 2007 Asian Software USA 2007 Asian SoftwareNow with Expanded Hyundai / Kia New - TPMS bidirectional tests have been added for Toyota, Honda, Mitsubishi and more. Including the ability to enter the TPMS sensor I.D and sensor initiation. New - EVAP bidirectional tests have been added for Toyota, Honda, Nissan, Mazda, Hyundai and Kia. New - approximately 500 vehicles, 4000 systems and over 500 bidirectional tests are added for 2007 and earlier vehicles. New - Asian Pathfinder Troubleshooter to include Data / Sensor Information for Toyota, Lexus, Scion, Nissan, Infinity, Honda, Acura, Mazda, Mitsubishi, & more. New - enhanced Hyundai coverage 1989 – 2007 and Kia 1994 – 2007. New - Honda licensed OEM data coverage includes engine, transmission, ABS, air bag, tire pressure monitor, and more body and chassis systems. Expanded - enhanced Toyota to 2007 including OBD I, 1995 and older coverage.

12
Automated Systems Tests

13
Scroll to Scan Diagnostics To perform Scan Tool functions scroll to Scan Diagnostics and press Enter Enter

14
Scroll to USA 2007 Domestic Scroll to the vehicle type your are working with and press Enter Enter

15
Scroll to GM Enter Scroll to the brand of vehicle your all working on and press Enter

16
Scroll to 2000 - 2007 Enter Scroll to the Year Range of the vehicle and press Enter

17
Scroll to 2003 Enter Scroll to the year of the vehicle and press Enter

18
Scroll to Chevrolet Enter Scroll to the make of the vehicle your are working on and press Enter

19
Scroll to Car Enter Select Car or Truck and press Enter

20
Scroll to Impala Enter Scroll to the Carline and press Enter

21
Scroll to Engine/PCM Enter Scroll to the computer you are to diagnose and press Enter

22
Scroll to 3.4 Enter Scroll to the vehicles engine and press Enter

23
Select the Smart Cable as shown from the tool box, install it on the Scan Tool and to the Vehicle

24
Press the Demo soft key Enter For training purposes, press the Demo soft key and then press Enter

25
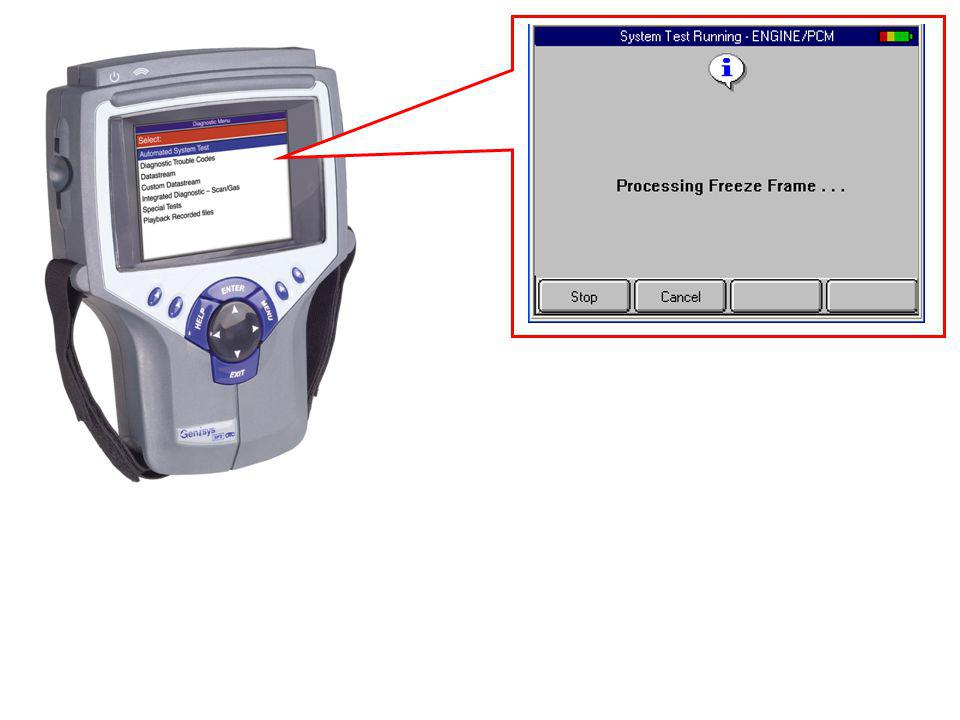
Scroll to Automated Systems Test Enter Select the Automated Systems Test to perform comprehensive diagnostic of the vehicle systems

31
Scroll to Trouble Codes and press Enter Scroll to Trouble Codes Enter

32
Scroll to fault code P0101B Enter Scroll down to go from item to item, or scroll to the right to change pages, and select an area of concern that requires diagnostics, and press Enter for diagnostic information

33
Scroll to Circuit Description Enter Scroll to Circuit Description to determine how the circuit at fault functions

34
Exit

35
Scroll to Possible Causes Enter Scroll to Possible Causes to determine what may cause the fault

36
Exit

37
Scroll to Code Setting Enter Scroll to Code Setting and press Enter

38
Enter

39
Exit

41
Scroll to Data Stream Items Enter Scroll to Data Stream Items and press Enter to review related freeze frame Datastream

42
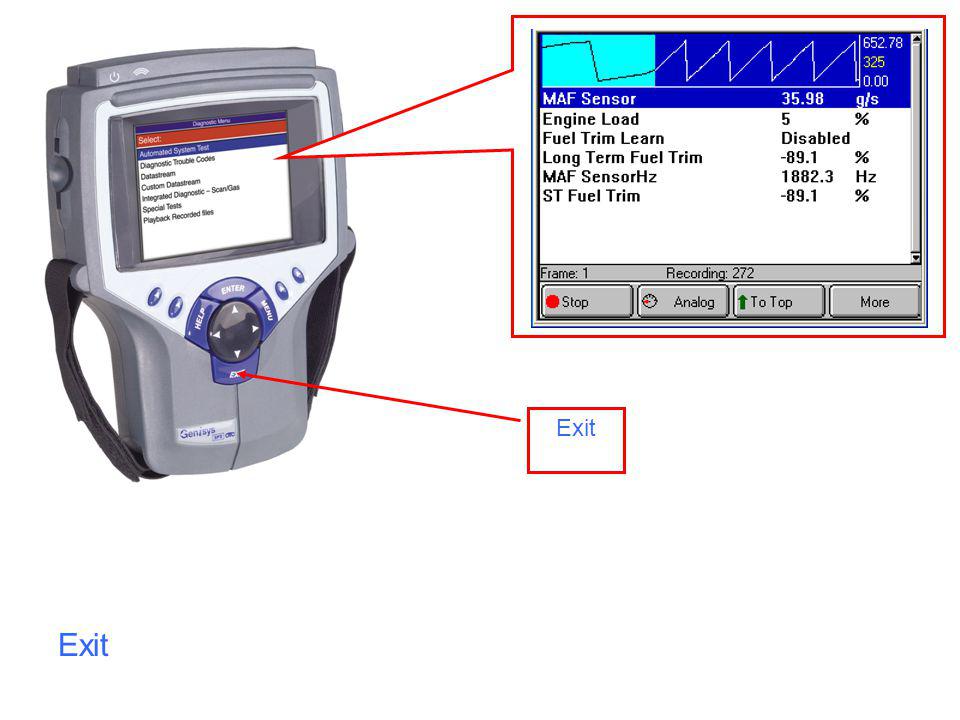
Scroll to MAF Sensor Scroll to the PID you wish to customize

43
Press the More soft key Enter To enlarge the PID press the More soft key and scroll to Zoom and press Enter Scroll to Zoom

45
Press the Graph soft key To graph a PID to plot data pres the Graph soft key

46
To decrease the size of PID press the More soft key, scroll to Zoom, and press Enter Press the More soft key Scroll to Zoom Enter

48
Press Analog soft key To view the sweep of a sensor press the Analog soft key

49
Press the 123 Digital soft key To return a PID to digital press the 123 Digital soft key

50
Press the Graph soft key To return the PID to graph press the Graph soft key

51
Press To Top soft key To place the PID at the top of the Datastream list press the To Top soft key

52
For PID specifications press the More soft key, scroll to Pathfinder, and press Enter Enter Press the More soft key Scroll to Pathfinder

53
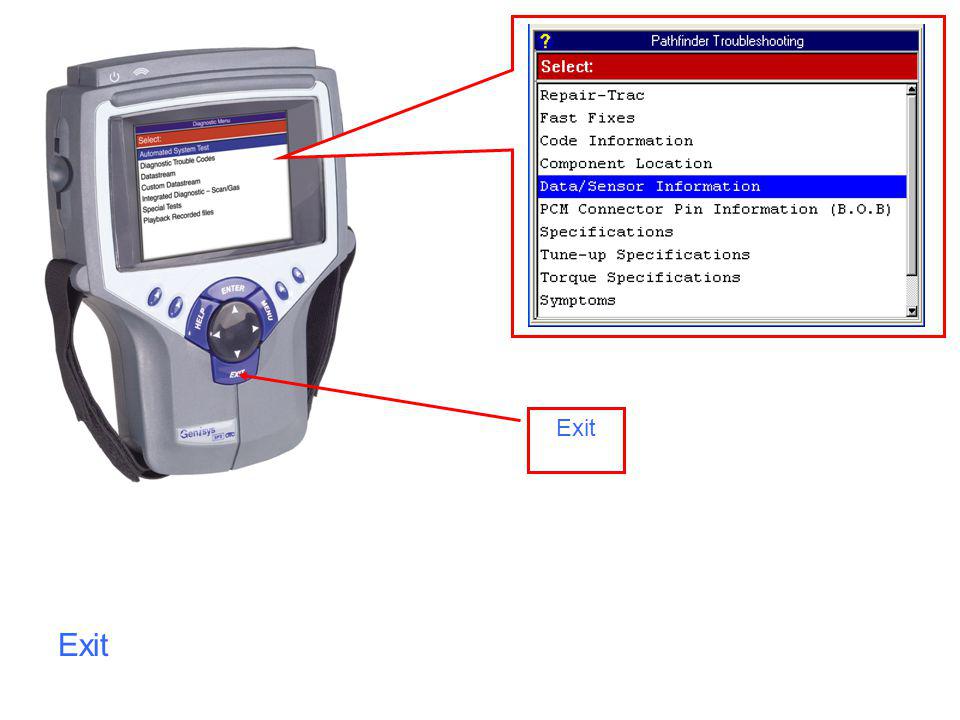
Scroll to Data/Sensor Information Enter Scroll to Troubleshooting information you are looking and press Enter

54
Scroll to MAF Sensor Enter Scroll to the PID you are looking for information on

55
Scroll to Function Test/Data Enter Scroll to the Option you need information on

56
Exit The specifications are listed as Typical Value

57
Exit

61
Scroll to Scan Component Tests Enter Scroll to Scan Component Tests and press Enter to review diagnostic test procedures

62
Press Datastream soft key Press the Datastream soft key to review related Datastream

63
Exit

65
Scroll to Component Data Enter Scroll to Component Data and press Enter

66
Enter

67
Scroll to Digital HF Enter Scroll to the type of component and press Enter

68
Exit

71
Scroll to Repair- trac Enter Scroll to Repair-trac for Identifix known fixes

72
Scroll to Check Engine Light Enter Scroll to Category for repair strategy

73
Exit

75
Scroll to Break Out Box Enter Scroll to Break Out Box to obtain wire color

76
Press the Ok soft key

77
Enter Press Enter to review the wire color

78
Exit

81
Press the New soft key

82
Exit

85
Productivity Video

87
InfoTech

88
Enter Scroll to Repair Information Scroll to Repair Information and press Enter.

89
Enter Scroll to InfoTech Scroll to InfoTech and press Enter.

90
Press the No soft key Press the No soft key, as calibration is unnecessary when only using InfoTech without the scope.

91
Enter Scroll to Vehicle Entry Scroll to Vehicle Entry and press Enter.

92
Scroll to GM and press Enter. Enter Scroll to GM

93
Enter Scroll to 2003 Scroll to 2003 and press Enter.

94
Enter Scroll to Chevrolet Scroll to Chevrolet and press Enter.

95
Enter Scroll to Car Scroll to Car and press Enter.

96
Enter Scroll to Impala Scroll to Impala and press Enter.

97
Enter Scroll to Base Scroll to Base and press Enter.

98
Enter Scroll to 3.4L, VIN E Scroll to 3.4L, VIN E and press Enter.

99
Enter Scroll to Engine Scroll to Engine and press Enter.

100
Enter Scroll to Component Tests Scroll to Component Tests and press Enter.

101
Enter Scroll to Heated Oxygen Sensor Scroll to Heated Oxygen Sensor and press Enter.

102
Scroll to HO2S No. 1 and press Enter. Enter Scroll to No. 1

103
Press the Repair Info soft key The display describes how to hook up the scope for testing. To find other hook up information, press the Repair Info soft key.

104
Scroll to Ckt Diagram, and press Enter. Scroll to Ckt Diagram Enter

105
Press the Back soft key Press the Back soft key to complete the scope lead hook up.

106
Exit

Similar presentations