Download presentation
Presentation is loading. Please wait.

1
Powered By – Drishti Technology

2
When a user logs in this page appears.

3
These are the modules present in the ERP project.

4
These are the respectiv e modules 1.Admin 2.HR 3.Material Management 4.Purchase 5.Ware House 6.Production 7.Quality 8.Slaes 9.Accounts 10.Finance 11.Plant Administration HR Material Mngmt Purchase Ware House Production Quality Sales Accounts Finance Plant

5
1. New Edit 2. Edit 4. Save Cancel 5. Delete 6. Print 3. Save 1. NEW: - It opens a new form to enter the data. Hot Key- F2 2. EDIT:-It edits the saved data. Hot Key-F3 3. SAVE: - It saves the data entered in new file or edited file. Hot Key-F4 4. SAVE CANCEL: - It clears the data of the fields and doesn’t save this. Hot Key-F5 5. DELETE: - It deletes a table. Hot Key-F6 Note: - The table will be deleted only in the edited mode.

6
7. Export 9. Filter 10. Refresh 11. Report 8. Find 12. Help 6. PRINT:- It prints the form. Hot Key-F7 7. EXPORT:- It exports the data to the selected format Ex. Excel, PDF, Internet Browser Hot Key-F8 8. FIND:- It searches the required data by option mentioned. 9.FILTER:-It filters or finds the data. 10.REFRESH:- It refreshes the current page.

10
Here Information about company is added.

11
This is the Departm ent Module of HR.

12
After clicking the new button in departmen t we can add informatio n about department in this form.

13
This is the Designatio n Module of HR.

14
After clicking the new button in Designatio n we can add informatio n about employee designatio n in this form.

15
This is the Employe e Master form of HR Module

16
After clicking the new button in Employee Master we can add informatio n about Employee in this form.

17
This is the Salary Master form of HR Module

18
After clicking the new button in Employee Master we can add informatio n about Employee salary in this form.

19
This is the Leave Type Master form of HR Module

20
After clicking the new button in Leave Master we can add informatio n about leave in this form.

21
This is the Weakly Leave Setting Master form of HR Module

22
After clicking the new button in Weakly Leave Setting we can add informatio n about weekly leave in this form.

23
This is the Holiday Master form of HR Module

24
After clicking the new button in Holiday we can add informatio n about Holidays in this form.

25
Contactor Master After clicking the new button in Contractor Master we can add informatio n about Contractor Master in this form.

26
Labor Master After clicking the new button in Labor Master we can add informatio n about Labor Master in this form.

27
Shift Master This is the shift Master form of HR Module

28
Shift Master After clicking the new button in Shift Master we can add informatio n about Shift Master in this form.

29
This is the Attendance System Date Update in HR Module. Here date can be updated to SQL Server

31
This is the Employee Advance Payment form in HR module. Hare advance given to an employee

32
This is the Employee Advance Paid form in HR module. Hare advance given to an employee and the balance is maintened.

33
This is the Daily Leave Setting form in HR module. Here information about leaves can be viewed.

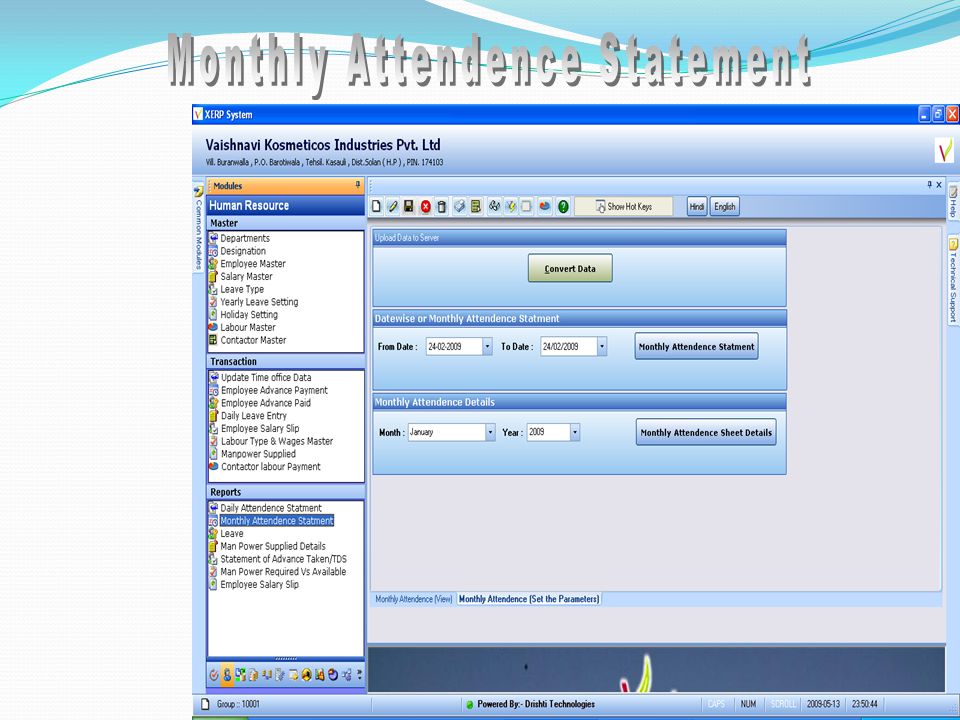
35
Employee Salary Slip After clicking the new button in Employee Salary Slip we can add information about Employee Salary of a Particular Month in this form

36
Manpower Supplied This is the Manpower Supplied form in HR module. Here information about Manpower Supplied we can be viewed.

37
Manpower Supplied After clicking the new button in Manpower Supplied form we can add information about Manpower Supplied in this form

41
This is the Unit of Measureme nt form in Material Managemen t Module.

42
Here the units are added, in which products are measured. Ex. METER

43
This is the Material Group form in Material Managemen t Module.

44
Here group name are added that in which group that particular material goes.

45
This is the Material category form in Material Managemen t Module.

46
After clicking the new button in Material Category we can add informatio n about the categories of material.

47
This is the Material Master form in Material Managemen t Module.

48
This is the Material Master page of Material Management. Here one can add the Material name under any Parent category. Here material stock details are also added.

50
This is the Supplier Type Master form in Purchase Module.

51
This is the Supplier Master form in Purchase Module.

52
After clicking the new button in Supplier Master we can add informatio n about supplier in this form.

53
This is the Purchase Requisition form in Purchase Module.

54
After clicking the new button in Purchase Requisitio n we can add requisitio n of material in this form.

55
This is the Purchase Quotation form in Purchase Module.

56
After clicking the new button in Purchase Quotation, Quotation can be generated in this form.

57
This is the Purchase Order form in Purchase Module.

58
After clicking the new button in Purchase Order, informatio n about purchase order can be added in this form.

59
This is the Purchase Order Releasing form in Purchase Module.

60
After clicking the new button in Purchase Order Releasing, purchase order can be released in this form.

61
This is the Purchase Challan form in Purchase Module.

62
After clicking the new button in Purchase Challan, informatio n about challan can be added in this form.

64
This is the Stock Location form in Stock module. Here information about stock location is added.

65
This is the material requisition form in Stock module.

66
After clicking the new button in Material requisition, here requisition is either accepted or rejected.

68
This is the Products form in Production Module.

69
After clicking the new button in Products, information about product is added.

70
This is the Products Formula form in Production Module.

71
This is the Plant Master form in Production Module.

73
This is the Raw Material Quality Parameter form in Quality Module.

74
This is the FG Quality Parameter form in Quality Module.

75
This is the Raw Material Quality Checks form in Quality Module.

76
This is the FG Quality Checks form in Quality Module.

78
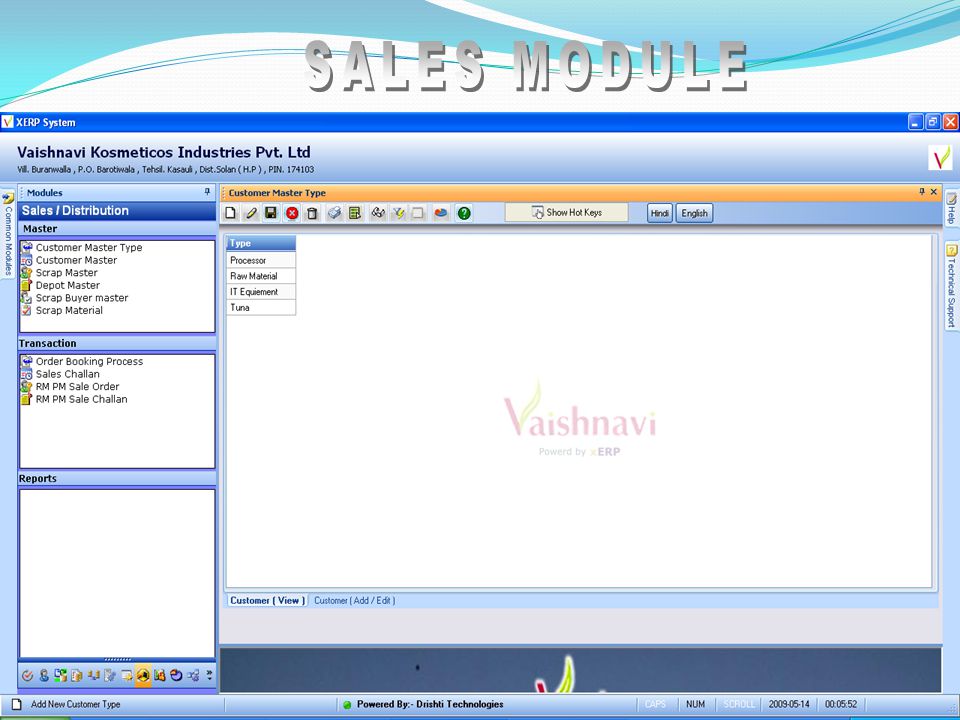
This is the Customer Master Type form in Sales Module.

79
This is the Customer Master form in Sales Module.

80
After clicking the new button in Customer Master we can add informatio n about the customers.

81
This is the Customer Depot form in Sales Module.

82
After clicking the new button in Customer Depot we can add informatio n about the depot related to customer.

83
After clicking the new button in Sales Order Booking process we can add informatio n about the order booked

84
This is the Sales Challan form of Sales and Distributio n Module

85
After clicking the new button in Sales Challan we can add informatio n about Challan on Sales

87
Accounts Menu

89
To Create Accounts Group. To See Parent Group Press F1 To Edit A/C Group press F1 in A/C Group Code and select from List and Press Enter.

90
Add A/C Ledger Enter Data to select Main Group Press F1. To View/ Edit Ledger Press F1 in A/C Code.

91
Click on Select Financial Year Menu. Then select Financial Year from List. Press Ok.

92
Auto Voucher No. Press F1 in Cash/Bank and select the Ledger. Select Ledger Code (Alphabets of Ledger Name) Press F6 in Narration Box to set Default Narration Press F2 to View Paid to List. Entry with in Year. For Party payment can Adj. with Bill show Auto. Same Operation in Receipt/Contact/Journal Voucher.
 Press F6 in Narration Box to set Default Narration Press F2 to View Paid to List. Entry with in Year. For Party payment can Adj. with Bill show Auto. Same Operation in Receipt/Contact/Journal Voucher..")
Similar presentations


 System>")


