Download presentation
Presentation is loading. Please wait.

1
Microsoft Access 2000 Presentation 3 Creating Databases Part II (Creating Forms)
")
2
Form Form - database object used to display or edit records—generally used to view records one at a time.

3
Topics Discussed Simplifying Data Entry With Forms Creating a Form – Form Wizard – Using Design View Adding Records Using a Form Editing Forms Form Appearance Page Header/Footer Sorting and Filtering Printing

4
Simplifying Data Entry With Forms Form – Display or edit records one at a time Easier to edit records because all of the fields are visible on the screen for that one record – With larger DBs, scrolling back and forth to view a field becomes tedious (forms enable you to place more fields on the screen at the same time – 2 ways to create a form: Form wizard Design view

5
Creating a Form Using the Wizard Enables you to arrange fields in a different order Select only those fields that you want to use Select background and style for the form

6
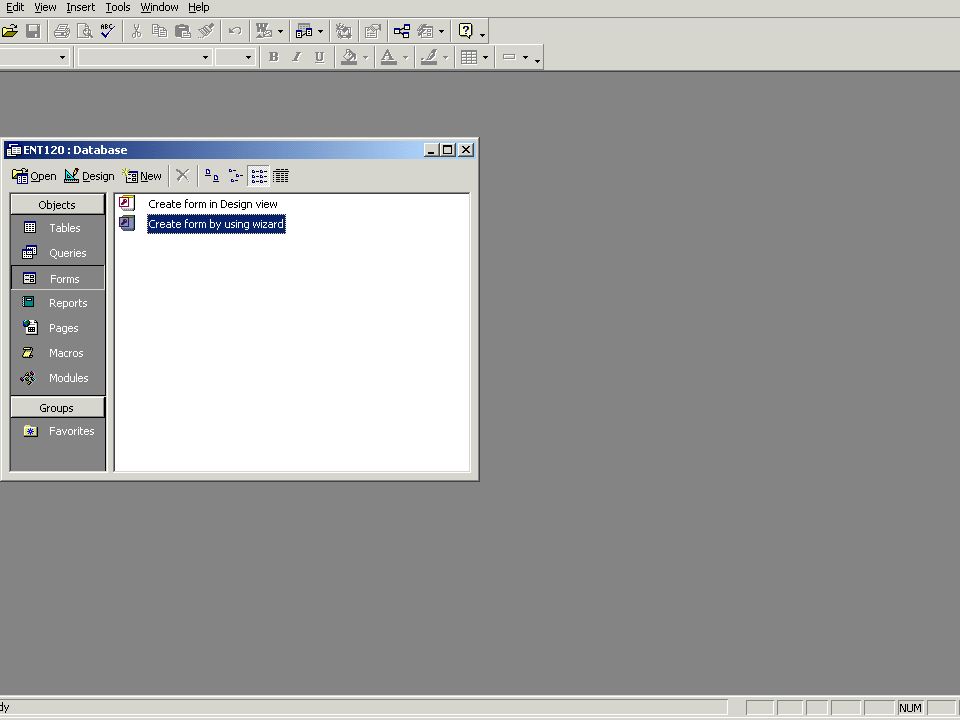
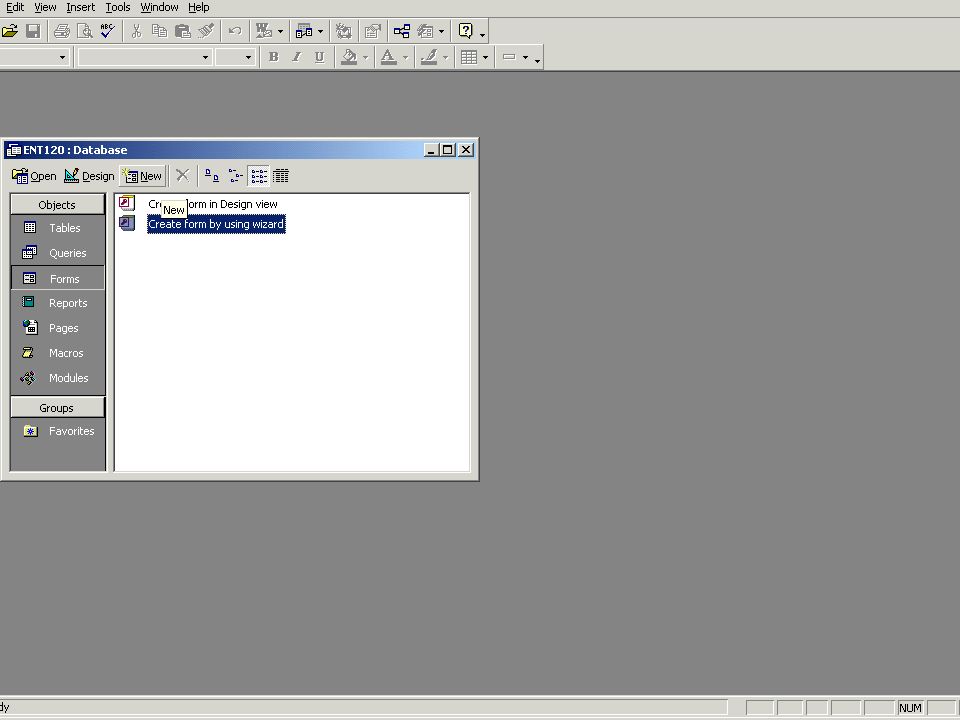
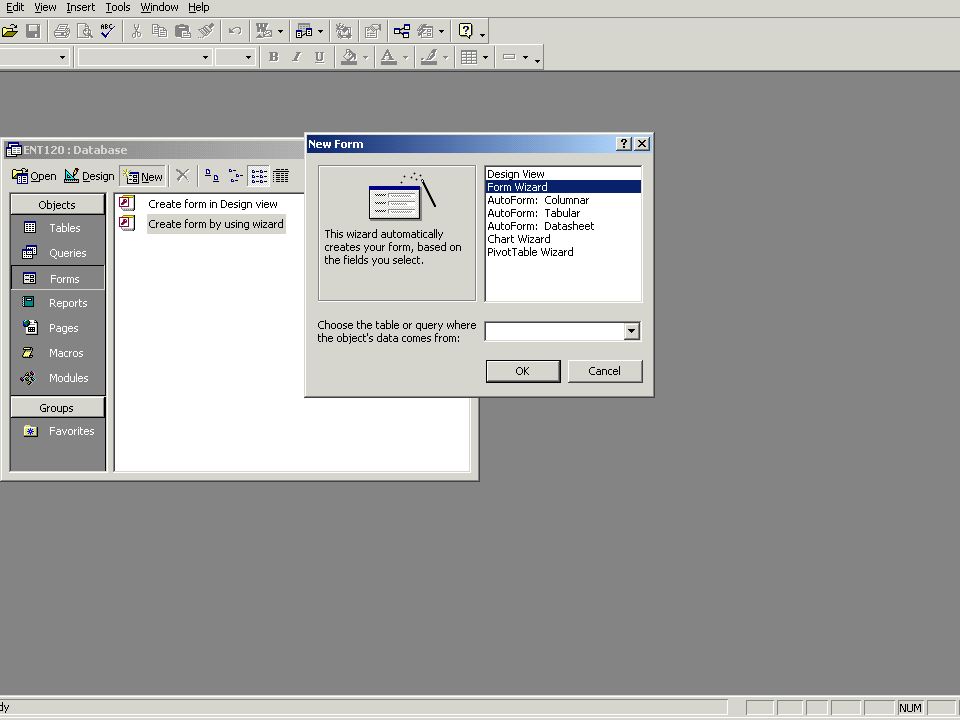
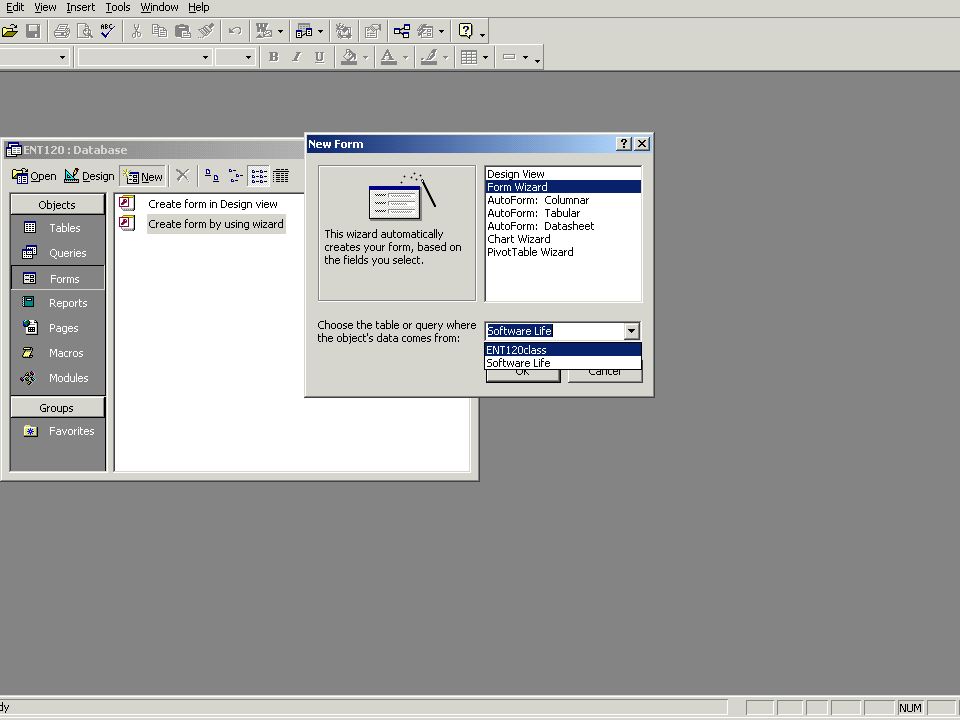
Creating a Form Using the Wizard cont’d 1.Choose Create form by using wizard on the DB window. 2.Select New. 1. The New Form dialog box is displayed. 3.Click Form Wizard. 4.Choose the table where the object’s data comes from. 5.Click OK to activate the form wizard

11
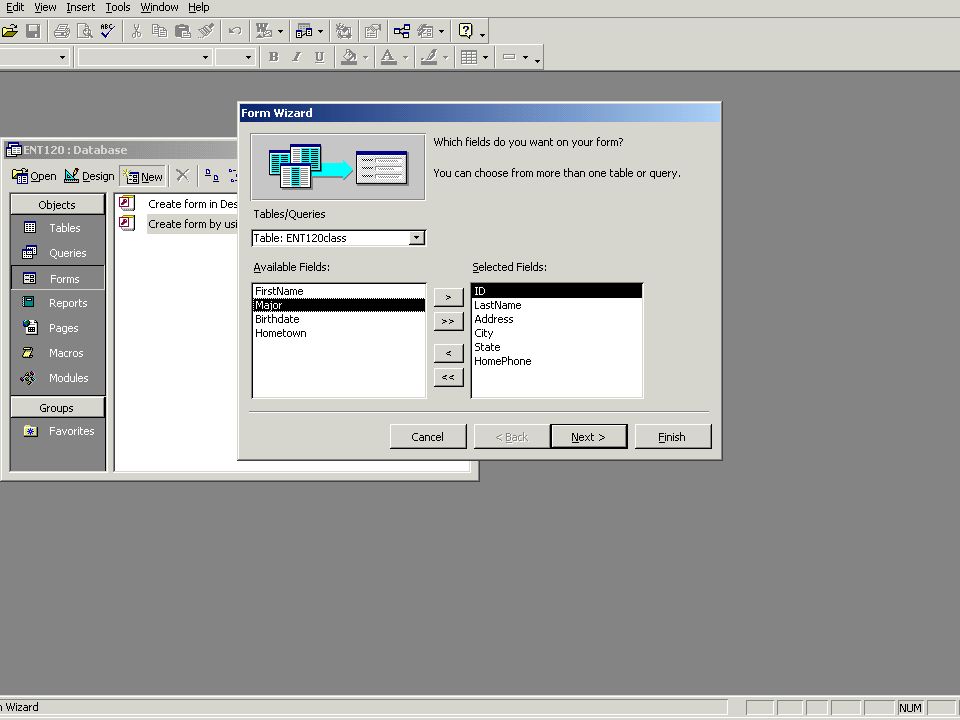
Creating a Form Using the Wizard cont’d 6. Next, a dialog box is displayed for you to select the fields you want to display in the form (fields are derived from previously created tables in the DB)
.")
12
Selecting Form Fields 1. Select fields by highlighting each the desired fields from the Available Fields window and clicking the single right arrow button >. Move all fields by clicking the double right arrow button >>. Remove a field or all of the fields by clicking the left arrow < or left double arrow << buttons. 2. After selecting fields, click the Next >.

14
Choosing Form Layout Next, select the form layout: – Columnar – Tabular – Datasheet – Justified

15
Choosing Form Layout cont’d Columnar - A single record is displayed at one time with labels and form fields listed side-by-side in columns Justified - A single record is displayed with labels and form fields are listed across the screen Tabular - Multiple records are listed on the page at a time with fields in columns and records in rows Datasheet - Multiple records are displayed in Datasheet View

16
Choosing Form Style Select a visual style for the form from the options below and click Next >.

17
Naming the Form Give the form a title (name) To open the Form in Form View – Select "Open the form to view or enter information" To open the Form in Design View – Select "Modify the form's design" Click Finish
 To open the Form in Form View – Select Open the form to view or enter information To open the Form in Design View – Select Modify the form s design Click Finish")
18
1. Form View allows you to view and edit one record at a time.

19
Design View of a form allows you to arrange the data labels and data boxes.

20
Create a Form in Design View To create a form from scratch without the wizard, follow these steps: 1.Click the New button on the form database window. 2.Select "Design View" 3.Choose the table the form will be associated with from the drop-down menu.

21
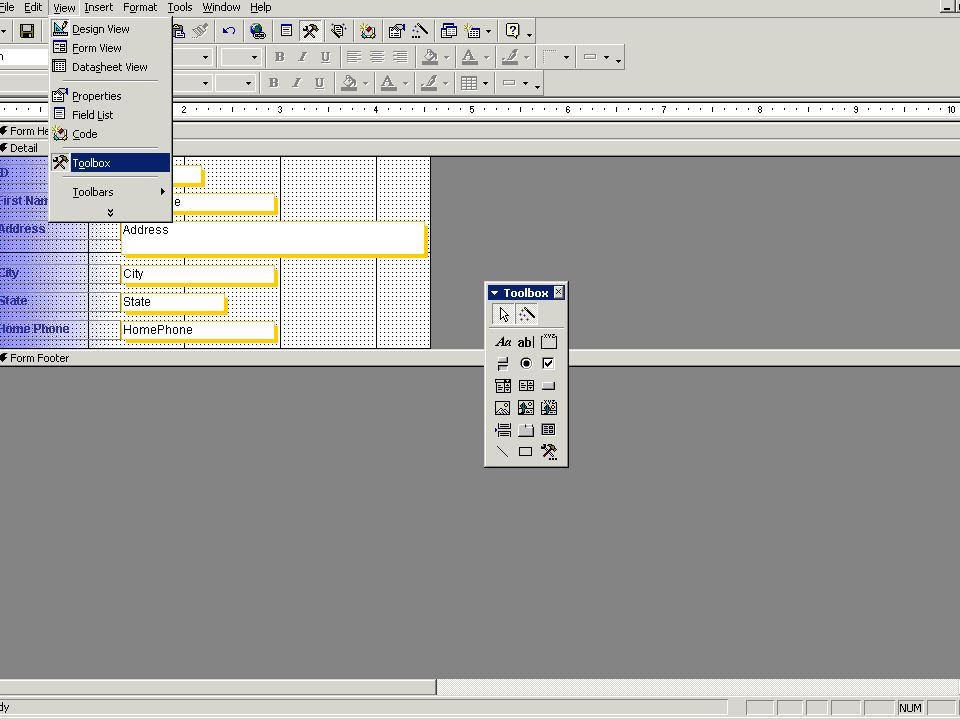
Toolbox Select View|Toolbox from the menu bar to view the floating toolbar with additional options.

23
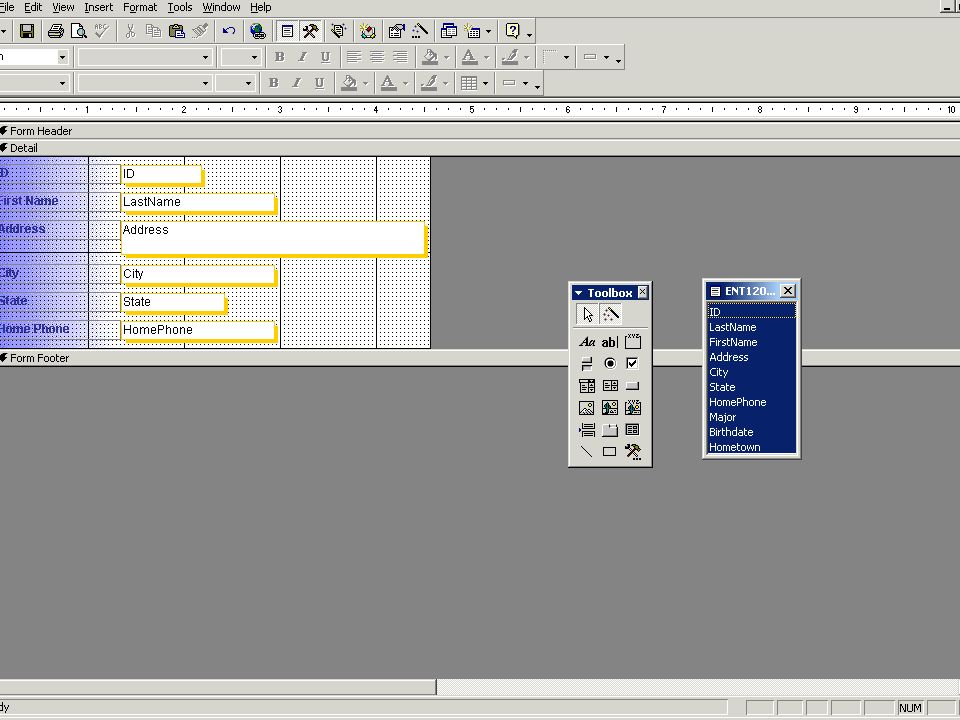
Adding Controls Add controls to the form by clicking and dragging the field names from the Field List floating window.

24
Field List

25
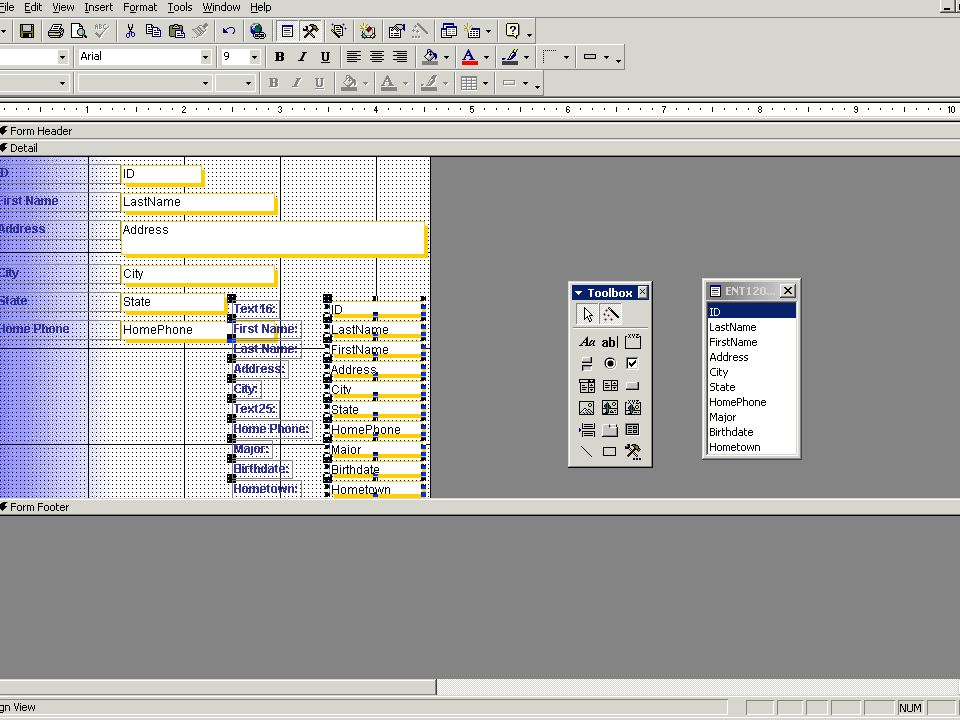
Adding Controls cont’d Access creates a text box for the value and label for the field name when this action is accomplished. To add controls for all of the fields in the Field List, double-click the Field List window's title bar and drag all of the highlighted fields to the form. 1.

28
Adding Records Using a Form Create a new record: – By clicking Tab after the last field of the last record. OR – By clicking the New Record button at the bottom of the form window. Input data into the table by filling out the fields of the form.

29
Adding Records Using a Form cont’d Press Tab to move from field to field Records are automatically saved as they are entered so no additional manual saving needs to be executed.

30
Editing Forms The follow points may be helpful when modifying forms in Design View. Grid lines - By default, a series of lines and dots underlay the form in Design View so form elements can be easily aligned. To toggle this feature on and off select View|Grid from the menu bar. Snap to Grid - Select Format|Snap to Grid to align form objects with the grid to allow easy alignment of form objects or uncheck this feature to allow objects to float freely between the grid lines and dots.

31
Editing Forms cont’d Resizing Objects - Form objects can be resized by clicking and dragging the handles on the edges and corners of the element with the mouse. Change form object type - To easily change the type of form object without having to create a new one, right click on the object with the mouse and select Change To and select an available object type from the list. Label/object alignment - Each form object and its corresponding label are bounded and will move together when either one is moved with the mouse.

32
Editing Forms cont’d Tab order - Change the tab order of the objects on the form by selecting View|Tab Order... from the menu bar. Click the gray box before the row you would like to change in the tab order, drag it to a new location, and release the mouse button.

33
Form Appearance Change the background color of the form by selecting the Fill/Back Color button on the formatting toolbar and clicking on one of the color swatches on the palette. Change the color of individual form objects by clicking Font/Fore Color palette on the formatting toolbar, highlighting one, and selecting a color. Modify font and size, font effect, font alignment, border around each object, the border width, and special effects using the formatting toolbar:

34
Page Header/Footer Access by selecting View|Page Header/Footer on the menu bar. Headers and footers added to a form will only appear when it is printed. Add page numbers by selecting Insert|Page Numbers. Add date and time by selecting Insert|Date and Time Select View|Page Header/Footer again to hide these sections from view in Design View.

35
Sorting and Filtering Allows you to view records in a table in a different way either by; – reordering all of the records in the table – viewing only those records in a table that meet certain criteria that you specify.

36
Sorting You may want to view the records in a table in a different order than they appear such as sorting by a date or in alphabetical order. To execute a simple sort of records in a table based on the values of one field: 1.In table view, place the cursor in the column that you want to sort by. 2.Select Records|Sort|Sort Ascending or Records|Sort|Sort Descending from the menu bar or click the Sort Ascending or Sort Descending buttons on the toolbar.

37
Sorting cont’d To sort by more than one column (such as sorting by date and then sorting records with the same date alphabetically), highlight the columns by clicking and dragging the mouse over the field labels and select one of the sort methods previously stated.
, highlight the columns by clicking and dragging the mouse over the field labels and select one of the sort methods previously stated.")
38
Records not sorted Records sorted in Ascending order by employee’s last name

39
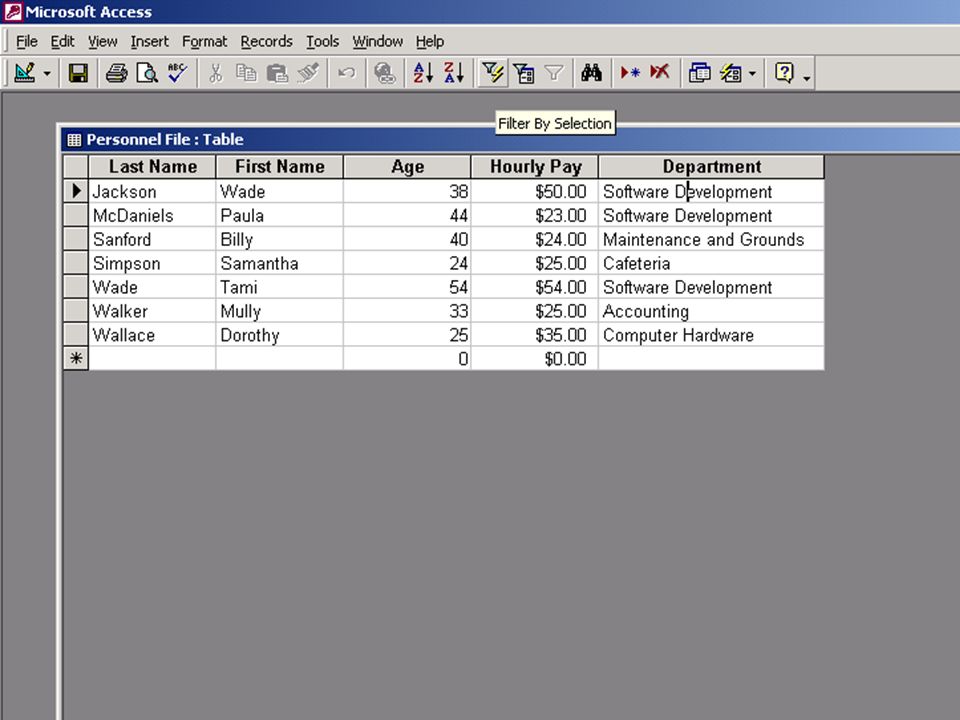
Filter by Selection This feature filters records that contain identical data values in a given field such as filtering out all of the records that have the value "Smith" in a name field. To Filter by Selection, place the cursor in the field that you want to filter the other records by and click the Filter by Selection button on the toolbar OR select Records|Filter|Filter By Selection from the menu bar.

40
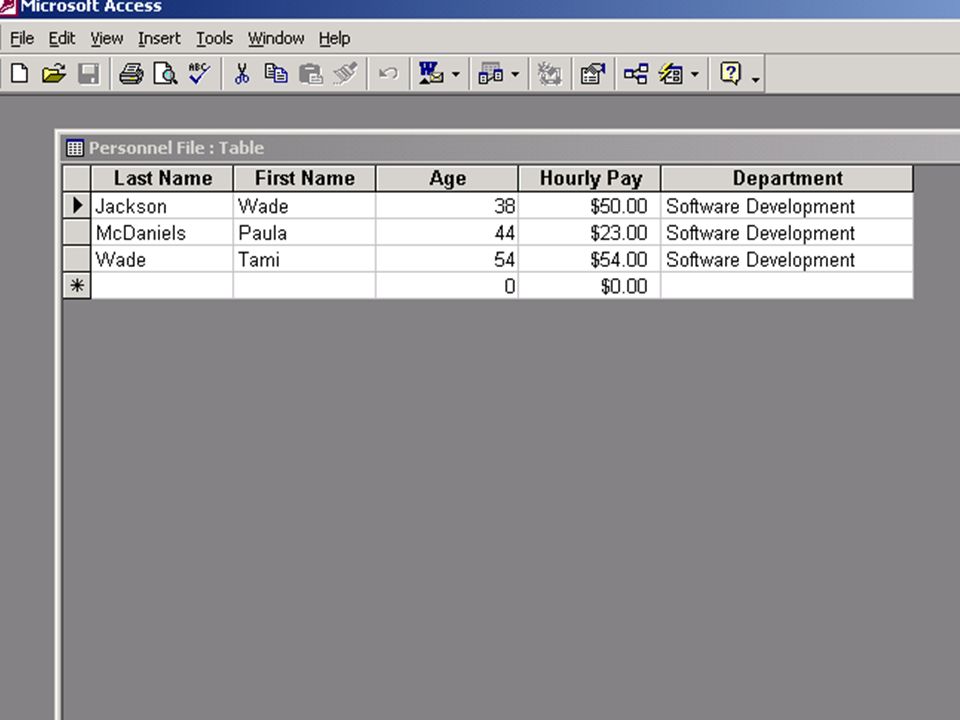
Filter by Selection cont’d In next example, the cursor is placed in the Department field of the first record that displays “Software Development" so the filtered table will show only the records of employees that work in the Software Development Department.

43
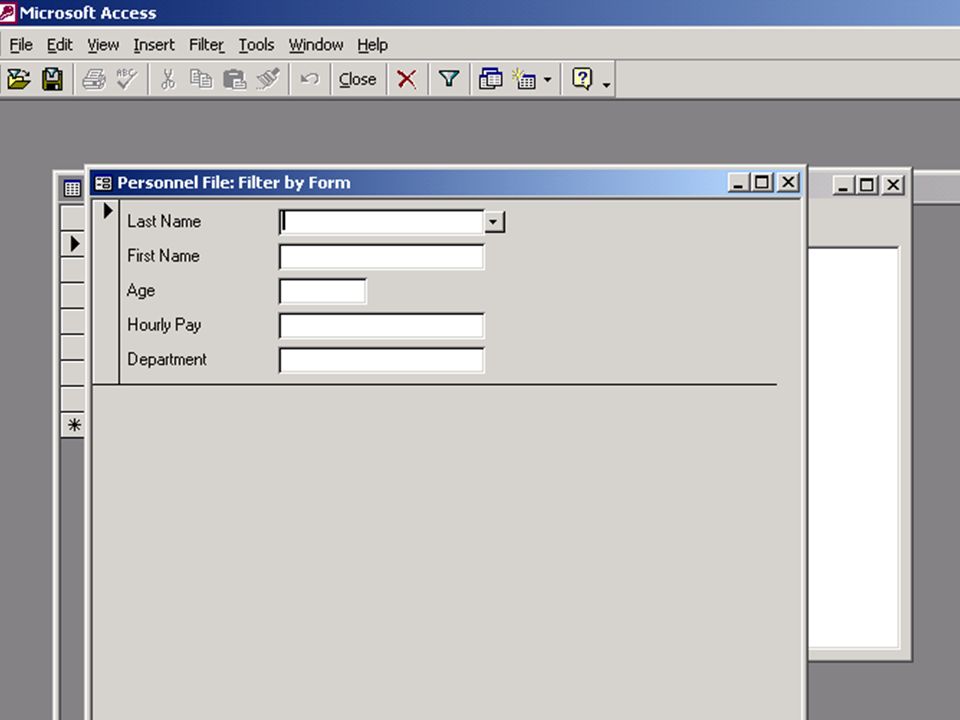
Filter by Form If the table is large, it may be difficult to find the record that contains the value you would like to filter by so using Filter by Form may be better to use. This method creates a blank version of the table with drop-down menus for each field that each contain the values found in the records of that field. To Filter Records by Form: – Make sure the form is in form view – Records | Filter | Filter by Form

46
Filter by Form cont’d Under the default Look for tab of the Filter by Form window, click in the field to enter the filter criteria. – To specify an alternate criteria if records may contain one of two specified values, click the Or tab at the bottom of the window and select another criteria from the drop-down menu. More Or tabs will appear after one criteria is set to allow you to add more alternate criteria for the filter. After you have selected all of the criteria you want to filter, click the Apply Filter button on the toolbar.

47
Find employees in Computer Hardware Department

48
Find employees in Computer Hardware Department OR

49
OR in the Software Development Dept.

50
Click Apply Filter

51
The table displays all of the employees in the Computer Hardware and Software Development departments.

52
Saving a Filter The filtered contents of a table can be saved as a query by selecting File|Save As Query from the menu bar. Enter a name for the query and click OK. The query is now saved within the database.

53
Removing a Filter Click the depressed Apply Filter toggle button on the toolbar.

54
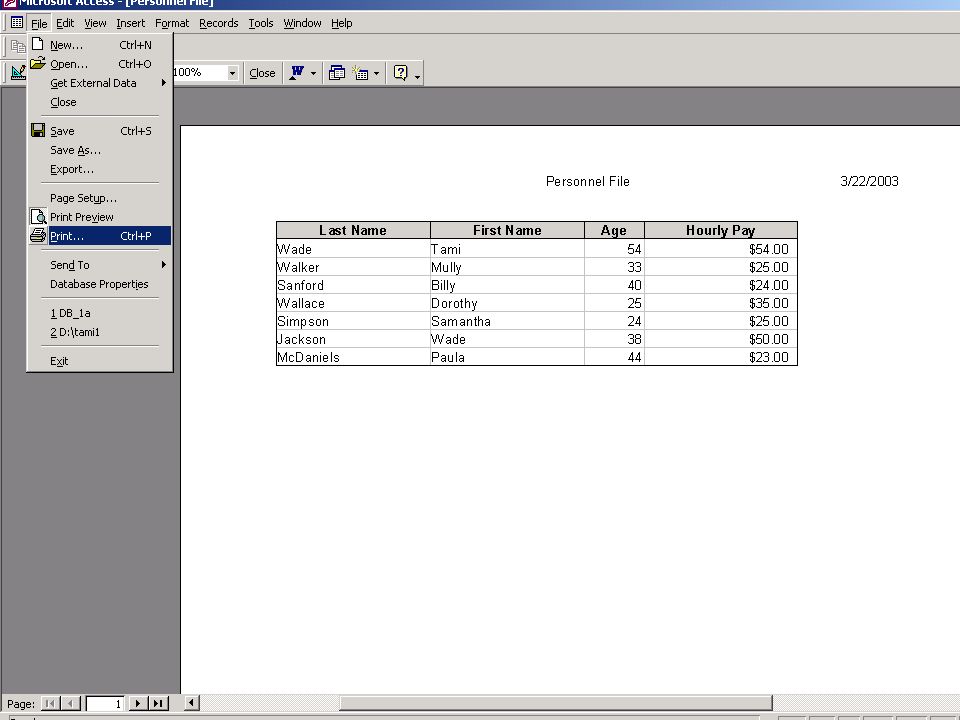
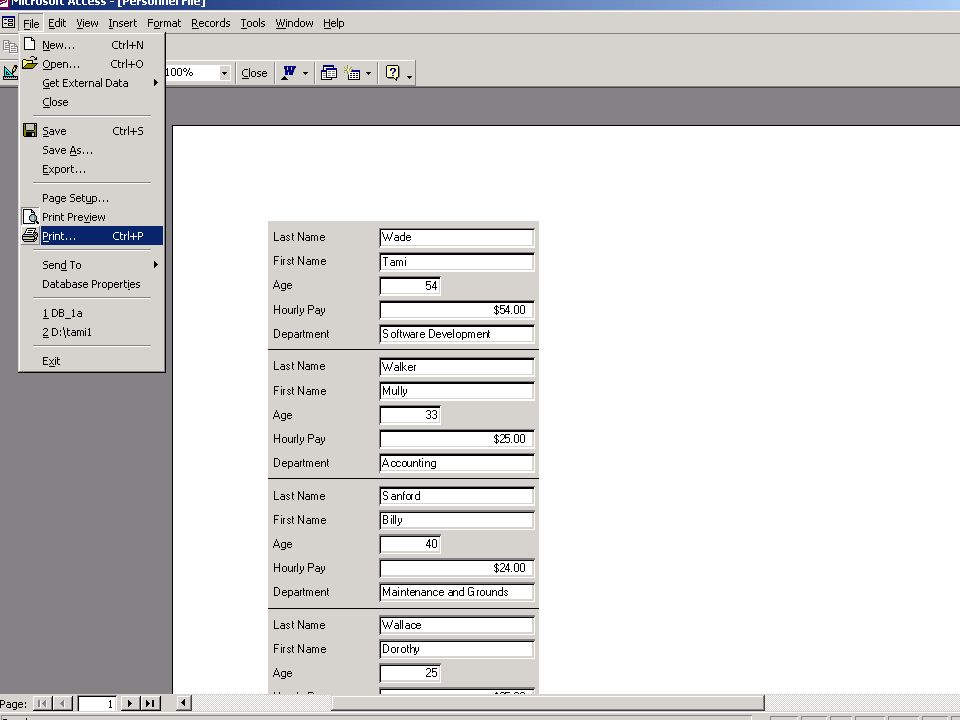
Printing Forms Printing Forms in: – Datasheet view (table) Make sure the form is in datasheet view – Form view Make sure the form is in form view Prints records individual records
 Make sure the form is in datasheet view – Form view Make sure the form is in form view Prints records individual records")
Similar presentations