Download presentation
Presentation is loading. Please wait.

1
Program Introduction Chapter 1 – Some Tools of the Trade

2
Key ideas: Introduction Genetic engineering allows humans to insert human DNA into other organisms and then have these genetically modified organisms make human proteins. These proteins can be used to treat a wide variety of diseases and help millions of people. The sequence of labs in the Amgen Biotech Experience mimics the research and development process used for the recombinant products that are currently available to treat a wide range of diseases.

3
Key ideas The core of the genetic engineering - carefully planned changes to DNA lead to production of specific proteins Genetic disease can be treated using proteins produced by bacteria whose DNA has been changed by the addition of the corresponding human gene. Those who carry out genetic engineering use very specific tools and have well-honed laboratory skills. Micropipettes are used to measure and transfer very small volumes of liquids.

4
The Steps we will take 1. Learn to use the equipment 1.micropipeting & gel electrophoresis 2. Prepare a plasmid to insert into bacterium 3. Verify the uptake of gene 4. Transforming bacteria with recombinant plasmid

5
Skills & labs for this unit Using equipment Practice setting volumes on the pipettes Aloquoting with pipettes Loading, running & reading gels Adding gene fragments to plasmid Use enzymes to cut and splice gene fragments Verifying gene uptake Use gel electrophoresis to verify plasmid has gene fragment Transforming E. Coli with a recombinant plasmid Transformation & verification on growth plates

6
Video 1Video 2 Video 1Video 2 Using the Micropipette

7
Types of Micropipettes Lock

8
Pipetting Technique Hold the micropipette and microfuge tubes at eye level when loading or dispensing samples

9
Tips If you are pipetting, you should be holding the tube. Common mistake!

10
With both elbows on the table, use your other hand to stabilize the bottom of the pipette.

11
Critical Micropipetting Rules NEVER…use without a tip in place NEVER…lay it down with sample in the tip NEVER…let the “plunger” button snap back

12
Proceed to Student Guide and Complete Lab 1.1

13
Loading Gels Insert pipette tip: Under buffer level Above gel well

14
Different pipetting techniques – stability is the key K. Schramm

15
Tip should be above, not in the well. Do NOT punch the tip through the gel. Dye spreading under the well = punctured well Common Loading errors

17
Proper Loading of the Gel Tip in buffer, above well Sample in well K. Schramm

18
Return to Student Guide and Complete Lab 1.2

19
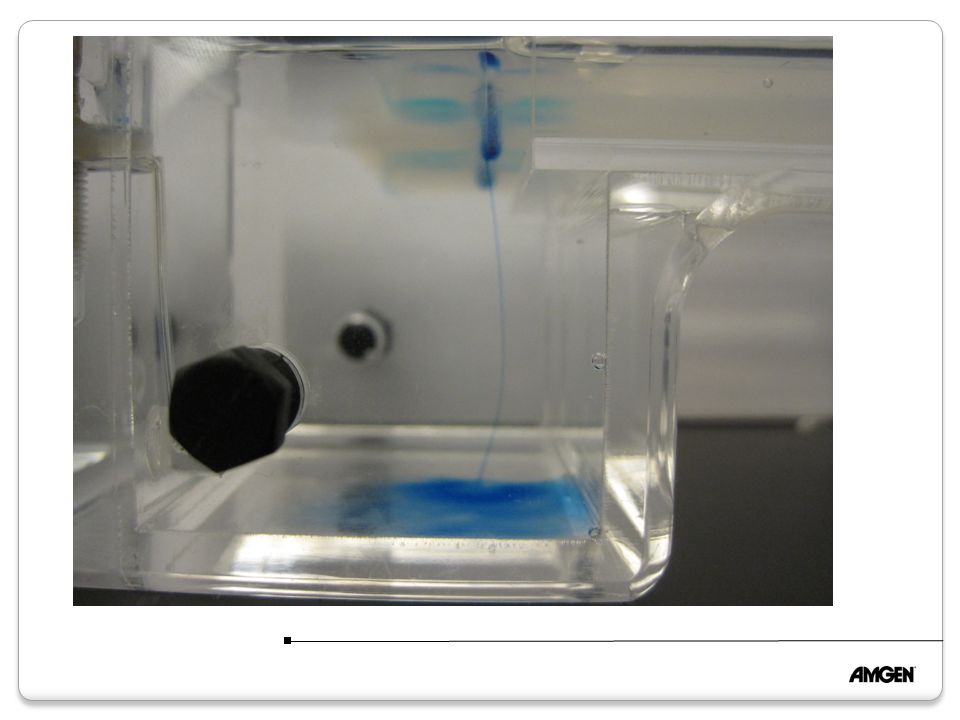
Remove tape before placing in the gel box Wells should be at the negative (black) end Buffer should just cover the gel – no dimples. Put the gel box in position before loading the wells. Power supplies set at 135v Always turn power supply off before opening gel box Setting up the gel box

20
Lab 1.2 Results Lab 1.2 Results K. Schramm Orange G (yellow), mol. Wt. = 452.4 Bromophenol blue (purple) = 691.9 Xylene cyanole (blue) = 538.6
 = Xylene cyanole (blue) =")
21
A A Bromophenol blue (purple) is more negatively charged than xylene cyanole (blue) due to negatively charged bromine ions. Therefore, it travels farther than the smaller xylene cyanole. 1 1 2 2 3 3

Similar presentations


 P stands for plasmid pKAN = plasmid with antibiotic.>")


