Download presentation
Presentation is loading. Please wait.

1
Chapter 2

2
Place a suspect at the scene Can be used to reconstruct the sequence of events Might provide the modus operandi, motive for the crime (MO)
")
4
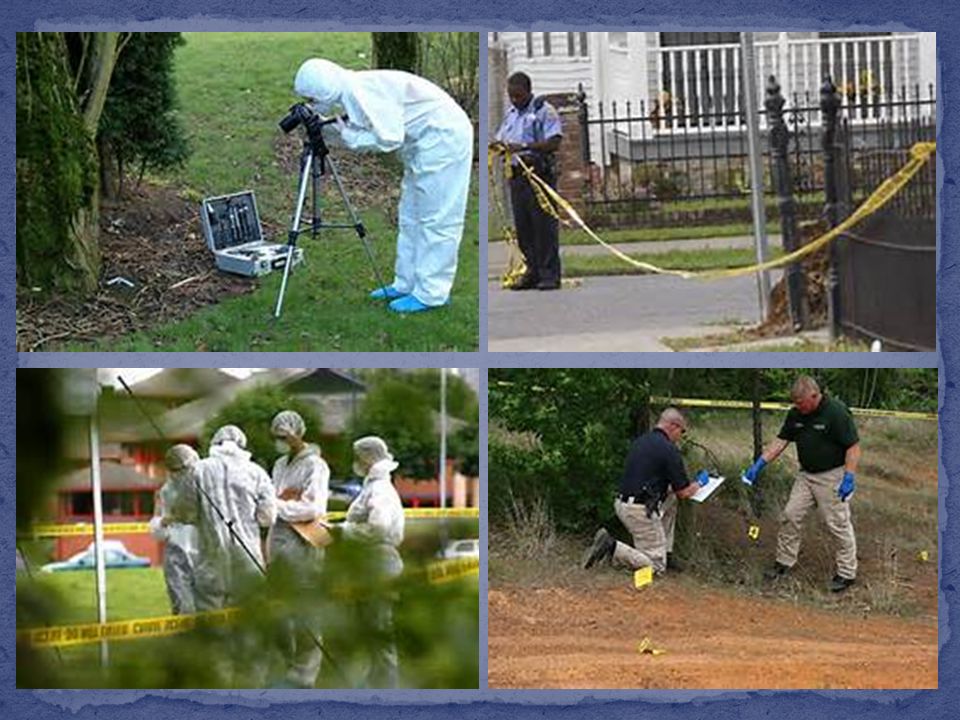
First Job = Save lives Detain suspects Protect the crime scene Detain witnesses

5
Notes Date and time Location Weather and/or environmental conditions Description of crime Locations of evidence relative to key points Names of all people involved (including authorized personnel, witnesses, and victims) All changes that have occurred during the investigation
 All changes that have occurred during the investigation")
7
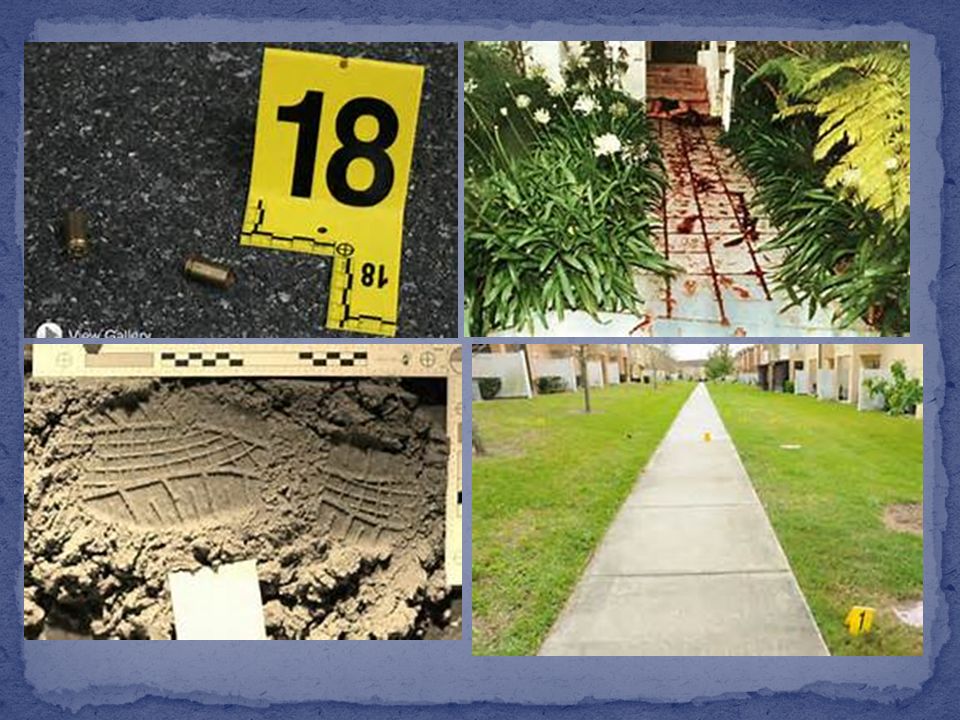
Before anything is touched, the scene needs to be photographed! Points of entry and exit Close up images of the victims and evidence (from different angles) Use a ruler for scale when appropriate Images from the perspective and view of witnesses No Photoshop or editing allowed!
 Use a ruler for scale when appropriate Images from the perspective and view of witnesses No Photoshop or editing allowed!.")
9
Becoming more and more common Walk through the crime scene and narrate while no one else is present. Show entries and exits Locations of evidence, victims, and weapons Cannot be edited in any way Link to CBSNews footage

10
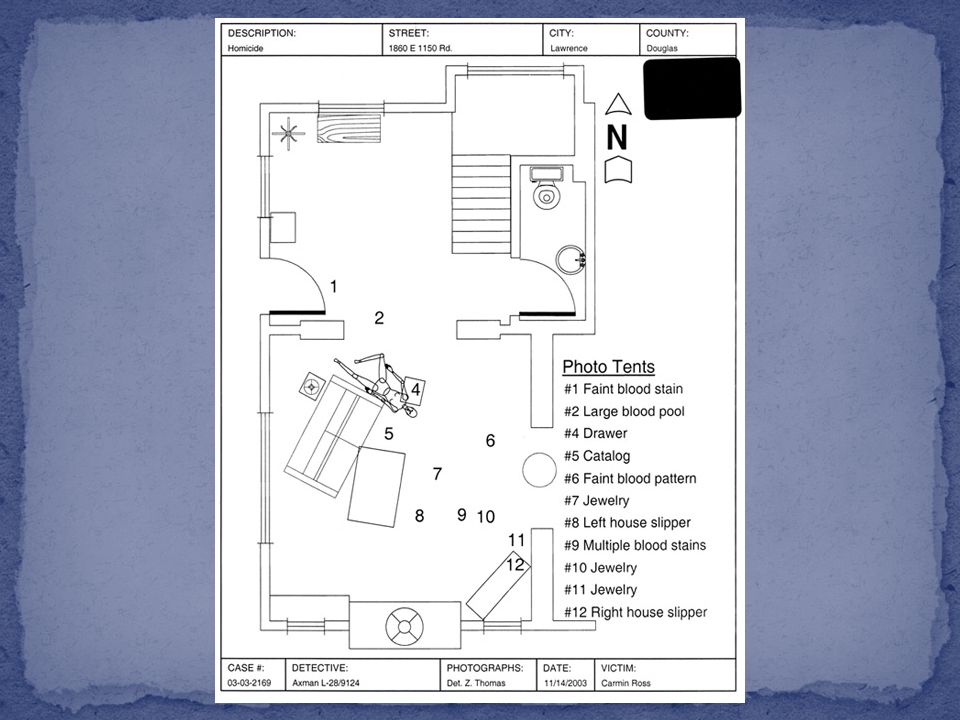
Gives an accurate layout of the crime scene Everything must be to scale Includes victims, weapons, evidence, reference points Can never be tampered with or changed

12
Fragile evidence collected first (fingerprints, blood stains Wet items need to be dried to prevent mold/mildew Everything needs to be sealed tightly to prevent leaks/contamination Typical containers include pill bottles, glass vials, manila envelopes and plastic bags

13
Firearms need to be placed rigidly into a wooden box or gun case Chemical must be collected and stored in glass containers Biological items need to be kept refrigerated to avoid degradation Controls need to be collected whenever possible (including blood and hair samples)
")
14
Written record of who has had possession of the evidence at all times. It can NEVER be broken!

Similar presentations


: 1.Medical assistance is first priority…protecting evidence is secondary! 2.Protect scene…nothing.>")


