Download presentation
Presentation is loading. Please wait.

1
Design Process

2
The Design Process There are four distinct steps in the Design Process we’ll be using in this class. They are... Ideas Thumbnails Rough Final

3
The design process should be done for each project we work on in class. It consists of four parts: Ideas - Thumbnails - Roughs - Finals STEP ONE IDEAS These are your initial ideas about the project you’re working on. Start gathering informationStart gathering information Make a list of everything which comes to mind when you think ofMake a list of everything which comes to mind when you think of the project. the project. Look at examples & take notes on what’s needed to complete it.Look at examples & take notes on what’s needed to complete it. Research images on the net, in clip art… ideas come from all overResearch images on the net, in clip art… ideas come from all over

4
THUMBNAIL SKETCHES Thumbnail sketches are small SKETCHES (not drawings) that are meant to convey your ideas in a simple and fast format. They should show a range of VALUES (lights and darks).
..")
5
BAD THUMBNAILS

7
THUMBNAIL TIPS Don't fret over details. Use thumbnails to establish approximate locations for major elements. Try for an approximately proportional page size. Make lots of thumbnail sketches! You'll rule out many design ideas quickly this way before wasting time. I encourage you to do thumbnail sketches in pencil in the concept stages of a project, based on the theory that working on the computer actually inhibits initial experimentation Billboard Style Poster Style

8
DESIGN TIPS Good designers will tell you that doing thumbnails is essential. Looking at your ideas in front of you as opposed to in your head makes all the difference in the world. To save you TIME and MONEY (which is what thumbnails do) designers often utilize GREEKING. GREEKING is non-sense placeholder type or lines used in place of text. The examples shown at left indicate the words “interior design.”
 designers often utilize GREEKING. GREEKING is non-sense placeholder type or lines used in place of text. The examples shown at left indicate the words interior design. .")
9
DESIGN TIPS When laying out page design, Pictures can also be “greeked” using an “X” to represent their placement.

10
Case Study: A logo design for a company called “e-Design” A company called e-design approached me to create a logo. Without telling me what line of work they do, they wanted to see several ideas from me first.

11
STEP 3 - THE ROUGH Notice that this drawing is a larger version of a thumbnail sketch and that’s about all. A rough is almost always drawn 1/2 the size of the final version to save time. This rough step is completed so that you can expand upon your initial idea in a slightly larger format and in a bit more detail such as having the text filled in. It shouldn’t take more than 15 minutes to complete. The next step is... My hand-drawn rough draft.

12
I wound up with this design and offered them some different color and black and white choices… Case Study: A logo design for a company called “e-Design”

13
I went from this thumbnail... … to this final. To this rough draft...

14
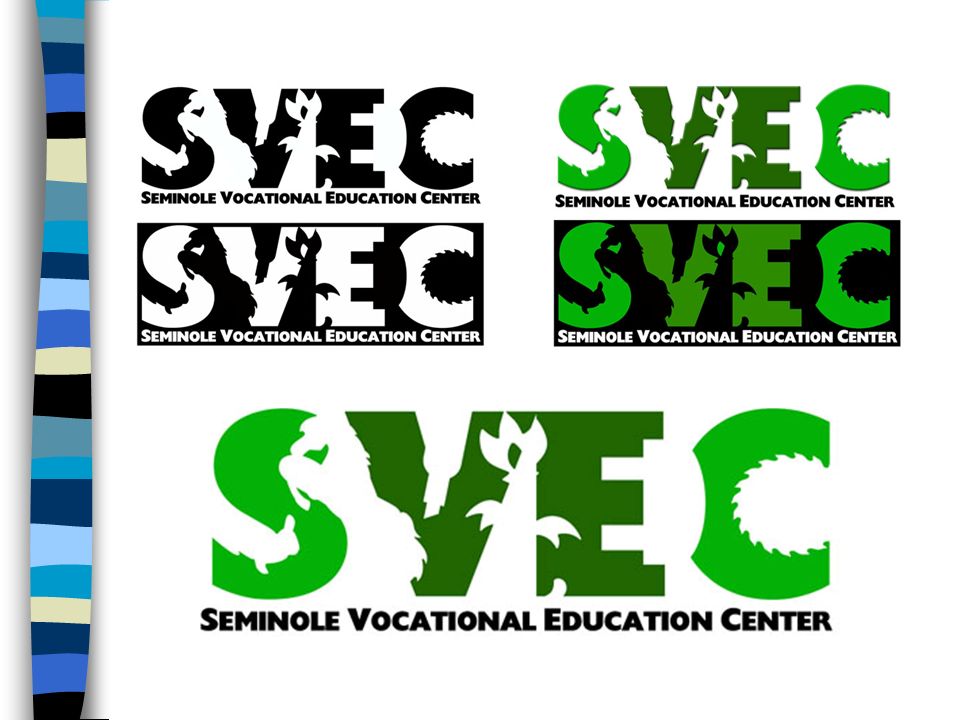
Case Study: A logo design for SVEC

17
The design process should be done for each project we work on in class. It consists of five parts: Ideas - Thumbnails - Roughs - Finals RECAP IDEAS Brainstorm to get your ideas. Use magazines, clip art, existing art or photos for inspiration. This is known as PRE-PRODUCTION… the work BEFORE the work

18
THUMBNAIL RECAP Thumbnails save you time and money.Thumbnails save you time and money. They also let you express your thoughts in a quickThey also let you express your thoughts in a quick and visual way. 10 - 30 seconds to produce

19
ROUGH RECAP Larger version of a thumbnailLarger version of a thumbnail Shows a bit more detail and solid position of objectsShows a bit more detail and solid position of objects Always drawn 1/2 the size of the final version to save timeAlways drawn 1/2 the size of the final version to save time

20
All the text is correct and set into place All the text is correct and set into place There is a balance to the whole design. There is a balance to the whole design. It is free of any glue marks, smudges, eraser marks or blemishes that might be on other copies. It is free of any glue marks, smudges, eraser marks or blemishes that might be on other copies. It has been proofread thoroughly It has been proofread thoroughly Thumbnails, Rough and Finals are all examples of PRODUCTION WORK… the actual work created to fulfill the needs of the project.Thumbnails, Rough and Finals are all examples of PRODUCTION WORK… the actual work created to fulfill the needs of the project. POST PRODUCTION WORK is work done after a jobPOST PRODUCTION WORK is work done after a job EX: paperwork, archiving the work, etc FINAL RECAP

Similar presentations


 Rhythm/Movement.>")


