Download presentation
Presentation is loading. Please wait.

1
A Super-simple No-Frills Kite Aerial Photography Rig Design & construction by Jim Day with Ali Fujino of the Drachen Foundation A non-profit kite research & promotion organization based in Seattle, with worldwide tentacles

2
To be effective, a KAP rig is Light weight,between 6 ounces and 1 pound. Not too light, as it will tend to bounce and vibrate too much. Pointable Hangable from the string, not the kite, as the string is more stable Cheap (Ali has a story…) The most effective way to do this is with a “plumb line suspension : 1 rod hanging straight down from the kite string
 The most effective way to do this is with a plumb line suspension : 1 rod hanging straight down from the kite string.")
3
The heart of this rig is a simple windup timer. Wind it up clockwise, & it slowly unwinds counterclockwise. While it’s slowly unwinding, you attach the rig to the kite string, adjust the aim, let out more string, and wait for the timer to run out !

4
This timer is almost done… A tan colored plastic dowel has been glued into the handle of the timer. We’ll call this the pusher, as that’s exactly what it does.

5
The pusher’s job is to give the gray bar a push in the direction of the arrow. You can see here how the timer is glued into a hole in the camera housing.

6
the lever because there’s which pulls it down. The gray bar, which we’ll call the lever, sits on a ledge. It wants to fall off the ledge, because there’s a rubber band (not installed in this picture) which pulls it down. A plastic screw, which we’ll call the plunger, lands exactly on the button of a disposable camera and takes 1 picture !
 which pulls it down. A plastic screw, which we’ll call the plunger, lands exactly on the button of a disposable camera and takes 1 picture !.")
7
Here’s a picture showing the pusher just about to push the lever from the ledge

8
A closeup with timer removed, to show how the lever is held in place on the ledge and pulled down by a rubber band.

9
Here’s the entire frame, rigged up and ready to be hung from the kite string. A second rubber band is used to position and hold the camera : all the way to the right, and back against a wood stop. The plunger should hit the camera right on the button !

10
Advance the film in the camera. Hang the rig from the kite line. Aim the camera as best you can. Wind up the timer. Let out more line and send the rig up. Wait….. Wait some more… Did it shoot the picture yet ?

11
From the back, notice the back stop and rubber band positions. The camera is very securely positioned, and the plunger will hit the button every time.

12
Plunger……hits the button !

13
A short movie of the mousetrap-like action of the rig.

14
Same thing, but with camera installed for the “big picture”

15
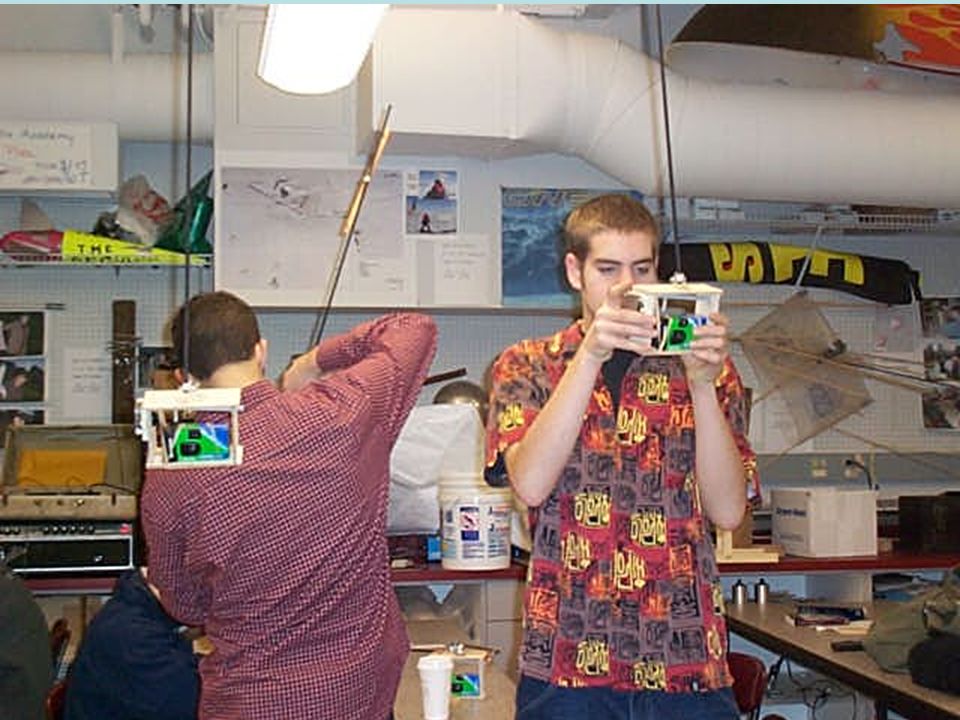
Well, yeah, you wait and wait, and finally, the picture happens ! With a little practice, you can learn to judge the timer better. Maybe you want to take a stopwatch with you…

16
Here’s a closeup of the other end of the rig, where it hangs from the kite string. The pivot is loosely attached, so the rig hangs straight down. The string wraps quickly and easily around the orange rubber washers. With a wrap around each washer, the rig can be attached to a string in 10 seconds.

17
A closeup of the other side, showing the pivot. The rig can’t fall out because the black rod has a stop.

18
A demonstration of the single loop around each orange rubber washer.

Similar presentations