Download presentation
Presentation is loading. Please wait.

1
tips and tricks to streamline your class webpage Katrina Lehman Attribution-ShareAlike CC BY-SA 2012

2
Identify basic webpage components Learn new tips and tricks for making your website look more creative

3
insert images/photos into your webpage insert links to your webpage change the size and color of your font password-protect a page or post upload a document or newsletter onto your webpage

4
Anyone in the world can see your site Be aware of online privacy (avoid attaching names to photographs) When quoting a published source, be sure to cite your sources Accuracy matters: double check grammar and facts
 When quoting a published source, be sure to cite your sources Accuracy matters: double check grammar and facts")
5
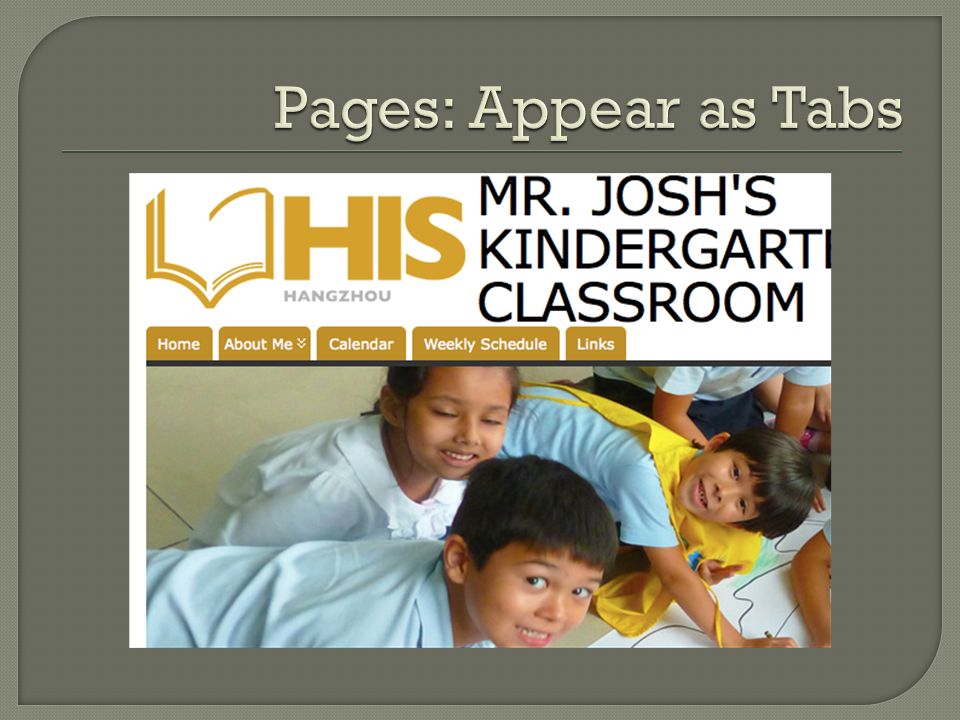
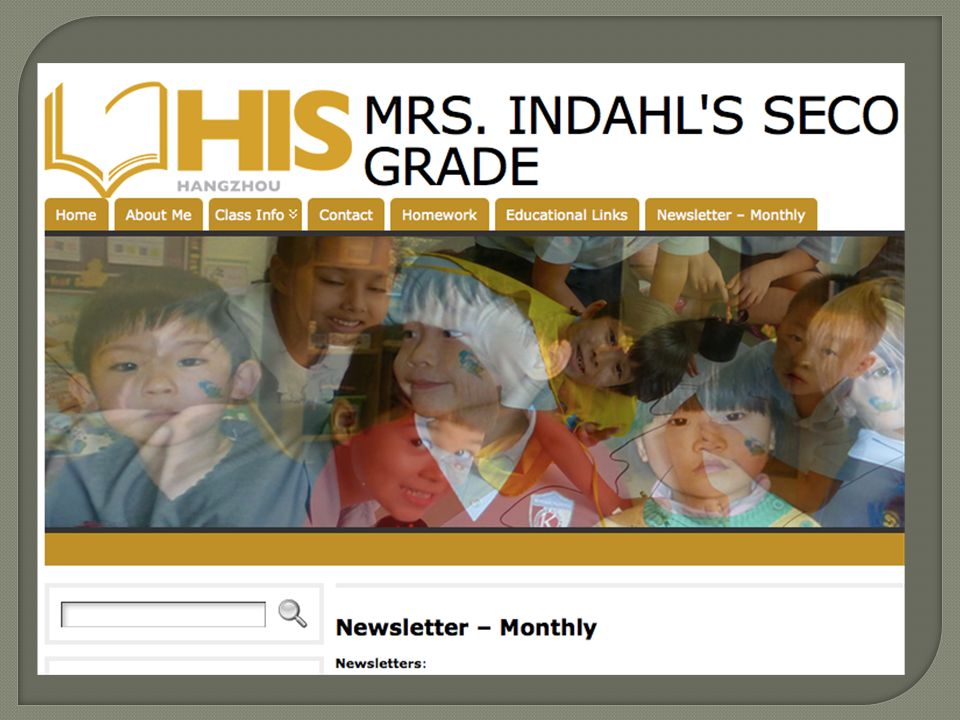
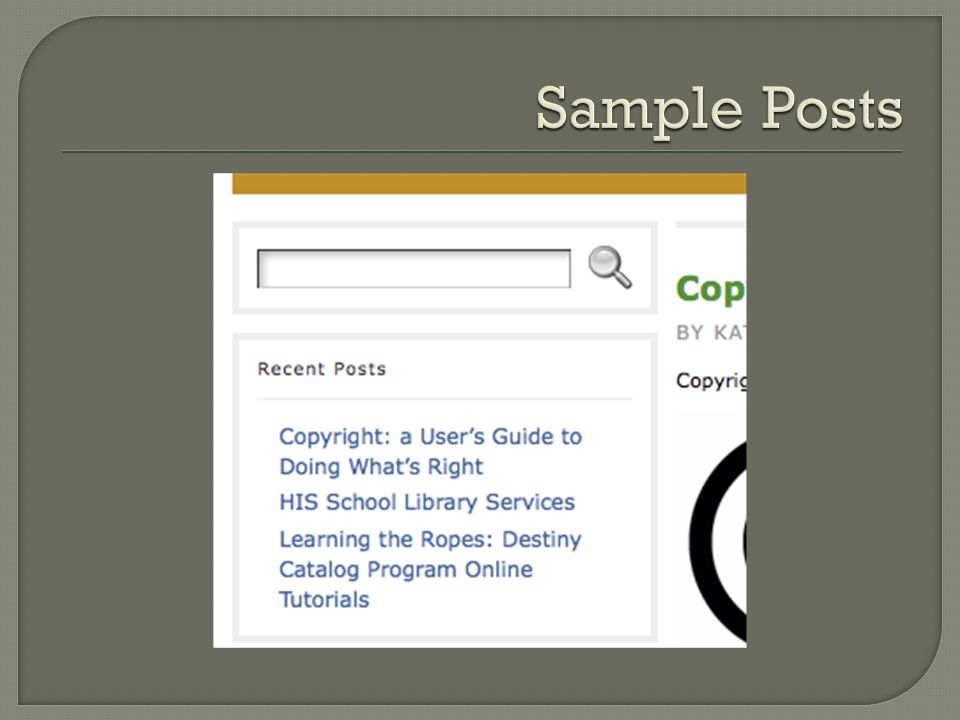
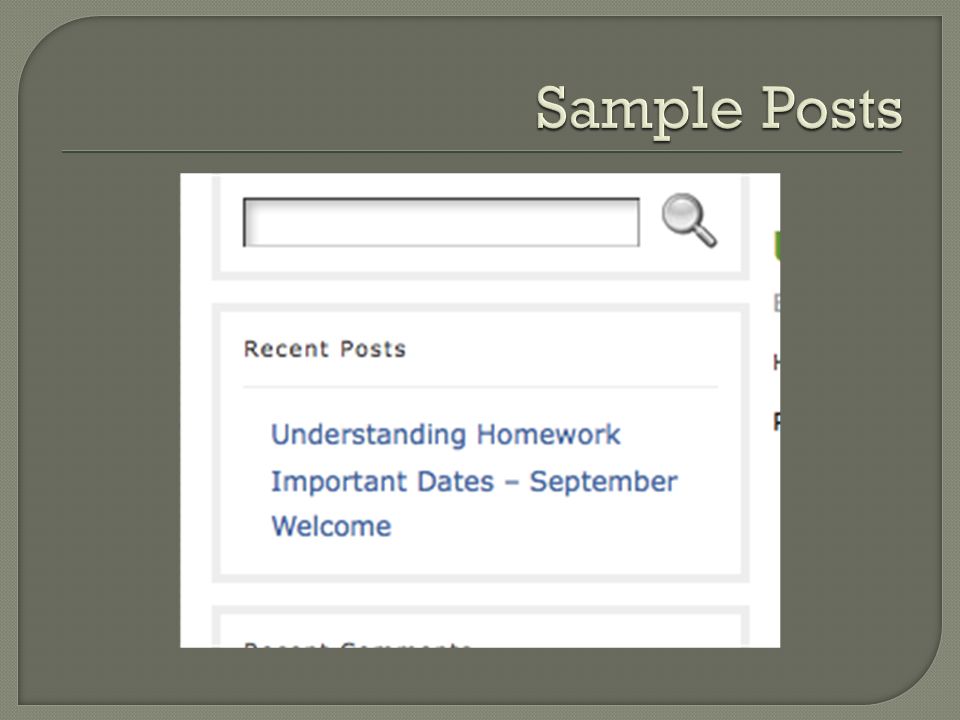
Pages (tabs at the top of your site with important, generally static info) Posts (articles, reflections, current updates, timely news: chronological, with most recent post at the top) Sidebars (other info: categories, archives, and links) Banner: pictures that users can’t change
 Posts (articles, reflections, current updates, timely news: chronological, with most recent post at the top) Sidebars (other info: categories, archives, and links) Banner: pictures that users can’t change")
7
Writing: short, sweet, to-the-point Language/word choice: who’s your audience? Visual effect: One image that captures attention. Font: If audience is LS students: large, colorful font. Content: Links to other websites, if appropriate

11
File management: Create a folder on your desktop. Put all docs, images, videos, photos you will use on your site in the folder so that they’re easy to find Write content in Word Doc, use spell check, THEN post the final copy. Avoid large files (the limit is 145 MB): large files are hard to download and take up bandwidth.
: large files are hard to download and take up bandwidth..")
16
You can: Delete posts Edit posts Save posts as drafts to be posted later Set a future publishing time and date

17
You can create pages, save them, and add them to your website later You can change and edit the content of your page easily You can password-protect a page

18
This icon is called the “kitchen sink” Clicking on it will hide/show the second row of icons on your toolbar. Be sure to click on this icon to show all of your toolbar icons.

20
1. Copy the link address (url) 2. Highlight the text you want link 3. Click on the “hyperlink” icon. 1. Paste the url address into the url field. 2. Click “save”

21
Place cursor where you’d like the image to be inserted into your post Click on camera icon above toolbar Click “select”, and choose your file Before clicking “insert”, do the following: Choose alignment Choose size Click “Insert”

22
Highlight the text you want to change Click on formatting toggle on your toolbar Select your desired font size

23
Click on the toggle arrow to the right of the “A” icon on toolbar Select desired color

24
Open page in dashboard. Click on “password protect” Create password Save

25
In your post/page, name your document Save document to “Media” Open document from within media Highlight and copy the url (at bottom). In post/page, highlight the title of your document. Click “link” icon on toolbar Paste url into url field and save.

26
Identify basic webpage components Learn new tips and tricks for making your website look more creative

27
insert images/photos into your webpage insert links to your webpage change the size and color of your font password-protect a page or post upload a document or newsletter onto your webpage

28
Thank-you. The End Katrina Lehman Attribution-ShareAlike CC BY-SA 2012

Similar presentations


 software Other similar tools: Dreamweaver, Googlepages.>")


