Download presentation
Presentation is loading. Please wait.

1
Installation Guide to SOUL 2.0 Demo Version
N.B.:The arrows in the screens indicates “Click Here” Follow the steps given in the next slides to install SOUL 2.0 Demo Version

2
Step:1 Go to the webpage to download the SOUL 2.0 Demo Version. OR Insert the CD in the CD-Drive that contains the Installation Package for the SOUL 2.0 Demo Version.

3
Step:2 Extract the SOUL 2.0.rar file to a path to which you have access. Open the folder and double-click on the 'splash' HTML Application File to get started. OR If you are installing the SOUL 2.0 from the CD. Then the screen will automatically appear as soon as you have installed the CD

4
Step:3 Click this first

5
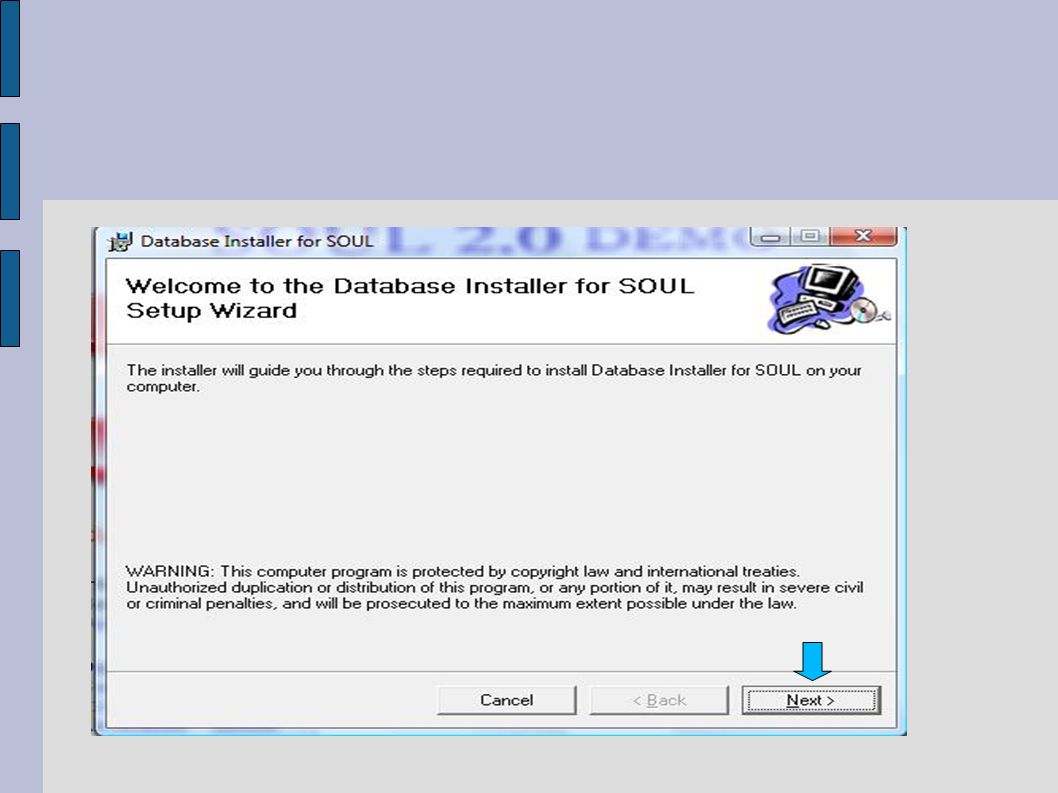
Step:4 Click here to install the pre-requisites

6
Step:6

7
Step:7

8
Make sure about the installation and then click here
Step:8 Make sure about the installation and then click here

9
Wait until the installation completes

10
The pre-requisites installation is completed.

15
Wait until the installation completes

22
Wait until the installation completes

29
Wait until the installation completes

35
Wait until the installation completes

38
Now before we start to work on the SOUL 2.0 Demo Version,
we need to create the ODBC and DSN. We'll first start with ODBC.

39
Go to Start -> Control Panel
OR Go to Start -> Settings -> Control Panel

40
Click on “Administrative Tools”

41
Click on “Add...”

42
Click on “SQL Server” and then “Finish”
1 2

44
Select the option as selected in the screen below.
Enter the Login ID as “sa” and password as “soul20” The Login ID and password are case-sensitive so be careful while entering the data. Click “Next”

45
Select the options as per shown in the screen below. And then Click
“Next” Select the database name as you have selected at the time of creating the Database for SOUL 2.0 (Refer Slide 17)
")
46
Select the option as indicated in the given screen and click the “Finish”

47
On desktop you will find the Icon for SOUL 2.0 Demo. Click to start.
First screen will look like: Enter your Library detail here and click SAVE

48
Username – superuser Password - su

49
Once you will enter the login details you will have access to the
SOUL 2.0 Demo Version. For more Information, Contact: SOUL Support Cell INFLIBNET CENTER, Ahmedabad, Gujarat. OR CALL:(079)
")
Similar presentations


 for Internet. Step 1 – Go to ACEINDIA.com 1.Go to www.aceindia.comwww.aceindia.com 2.Click on Technology 3.Now Click.>")


