Download presentation
Presentation is loading. Please wait.

1
Working with Visuals Creating,Editing & Resaving Images (clip art, photos) –Practice Save this ppt for class exercise. Refer to class wiki –Tech Tips page & Visual Tools page.

2
Working with images: 1- Consider -- What image formats are most compatible to use in projects and for the web? -- How can students edit images? Consider software, tools, ways to crop, resize, collage. --Presentation tools, such as PowerPoint slides and now Web2 tools, such as Prezi. 2--Create and save practice images using the techniques shown in class. Save several images for practice from http://pages.towson.edu/fuller/practice_images or use your own images. I have a of clip art and of scenes.http://pages.towson.edu/fuller/practice_images Create and save practice images using the techniques shown in class.

3
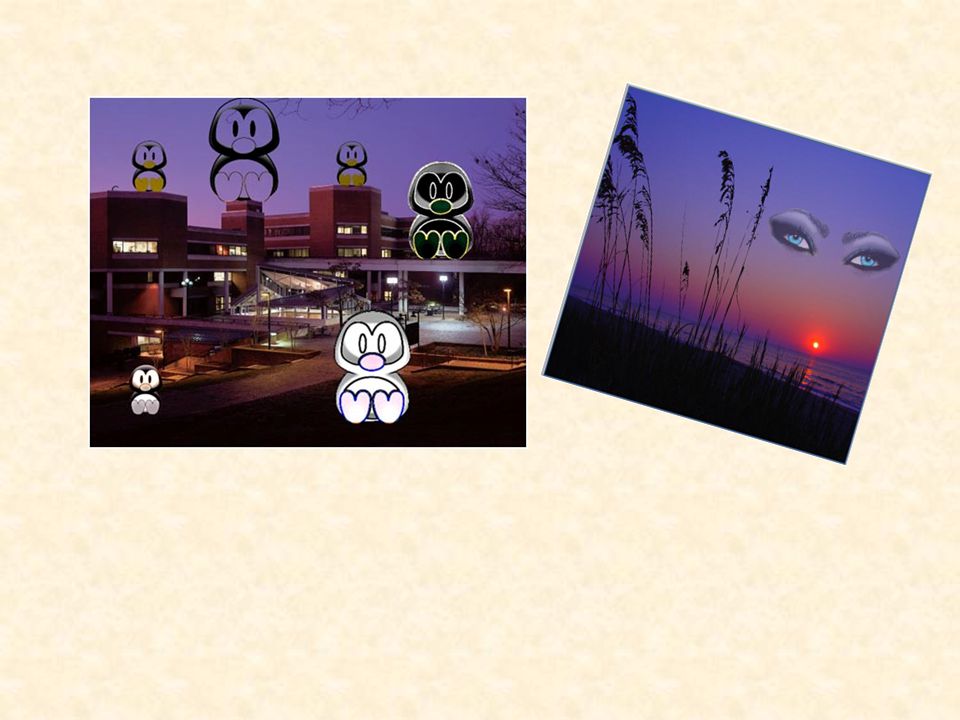
Using Adobe PhotoElements 2.1-crop an image—to remove excess area and only show the focal point, adjust the color levels and/or lighting. 2.2—resize a large image (ex. to a 4 x 6” size) 2.3-- remove the white area from a piece of clipart to create a transparent background. 2.4–-open a background scene; ‘lasso’ a portion from another image and ‘move’ into the scene. Notice this creates a new layer. 2.5—use the clone stamp and duplicate part of the image; lower the opacity to allow the background to show through 2.6-- caption with text using the T tool or callouts Save practice images. AND 3—Use PowerPoint to display your practice. Design a collaged image slide using your Wordle cloud screen shot, drawing and picture tools. Insert designed scene as a background image on a slide. Show clip art with transparent background. Be sure you know how to save slides as single images to use in other projects.
 remove the white area from a piece of clipart to create a transparent background. 2.4–-open a background scene; ‘lasso’ a portion from another image and ‘move’ into the scene. Notice this creates a new layer. 2.5—use the clone stamp and duplicate part of the image; lower the opacity to allow the background to show through caption with text using the T tool or callouts Save practice images. AND 3—Use PowerPoint to display your practice. Design a collaged image slide using your Wordle cloud screen shot, drawing and picture tools. Insert designed scene as a background image on a slide. Show clip art with transparent background. Be sure you know how to save slides as single images to use in other projects..")
4
Images to be used in projects and on web pages should be formatted, cropped, resized and resaved before inserting into a project. Images directly from a digital camera are must too large and consume a huge amount of space. A photograph image should be saved as a jpg. A clip art image or an image edited to have a transparent background, save as a ‘gif’. (jpg does not support transparency). PowerPoint is more flexible for editing and collaging images than Word. Continue practice with Insert ‘Shapes’ for captions and call outs. Each slide can be saved as a single image to use in another project. (File, Save As. Scroll down and choose ‘gif’ or ‘jpg’ as Type of file.) Refer to http://pages.towson.edu/fuller/nonlinear_powerpoint_lessons.htmhttp://pages.towson.edu/fuller/nonlinear_powerpoint_lessons.htm and also the digital storytelling page for student examples.
. PowerPoint is more flexible for editing and collaging images than Word. Continue practice with Insert ‘Shapes’ for captions and call outs. Each slide can be saved as a single image to use in another project. (File, Save As. Scroll down and choose ‘gif’ or ‘jpg’ as Type of file.) Refer to and also the digital storytelling page for student examples..")
5
Image types: Vector and Raster images Vector –line work; may be scaled without degradation or loss of clarity; most clip art is vector based; best for printing. Raster images –photographs -have continuous tones based on pixels. The image blurs when enlarged; it is dependent on resolution Bitmap –very large computer graphics files, a map of bits or points. jpg and gif formats compress bitmaps to usable size files. Acceptable file formats -- Every software program saves in a unique format to that software. (ex: Adobe Photo Elements.psd or.pdd). To be able to view an image in another program (a web page, Word doc, PowerPoint, etc) save the file as a jpg (suitable for photos) or gif (line graphics, clip art up to 256 colors) jpg (Joint Photographic Experts Group) standard format for photos. gif (Graphic Interchange Format) standard for clip art, line drawings, charts and graphs. png (portable network graphics)—an Internet standard. Pixels do not degrade as quickly as with jpg images. -------------------------------------------------
. To be able to view an image in another program (a web page, Word doc, PowerPoint, etc) save the file as a jpg (suitable for photos) or gif (line graphics, clip art up to 256 colors) jpg (Joint Photographic Experts Group) standard format for photos. gif (Graphic Interchange Format) standard for clip art, line drawings, charts and graphs. png (portable network graphics)—an Internet standard. Pixels do not degrade as quickly as with jpg images")
6
Comparing pixels to inches 450 x 225 pixels (about 4.5 x 2.5 inches) 200 x 100 pixels (about 2 x 1 inch)
 200 x 100 pixels (about 2 x 1 inch)")
8
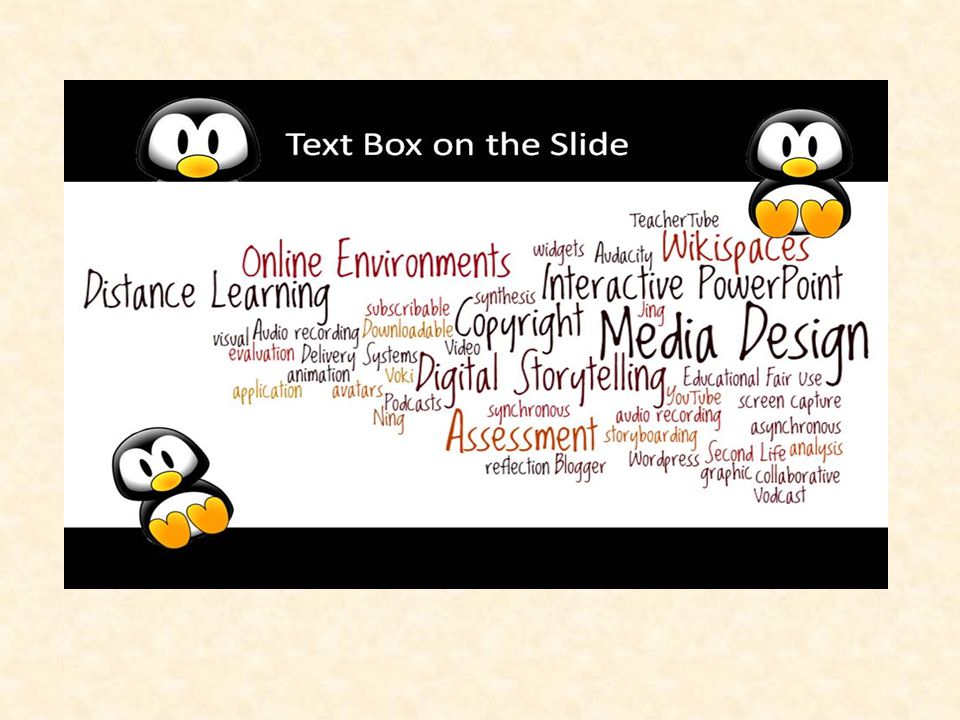
Creating Word Clouds with Wordle http://www.wordle.nethttp://www.wordle.net Copy/Paste (snapshot of active window -- Alt PrintScreen (to hold on the clipboard), Paste Ctrl-V to a page.) Create ‘word clouds’ with Wordle. This tool can be used to brainstorm ideas, show word associations (definitions, language skills—synonyms, antonyms, and parts of speech), expound on concepts and themes. A few user tricks: Phrases are held together by typing a ~ between the words (ex. Media~Design). The size of the main word or phrase can be increased by typing the word or phrase more than once. Wordle uses the number of times the word appears to determine its relative size. After the word cloud is created, menu choices are available to change fonts, colors, and the cloud layout. -Wordle uses a Java applet, which does not allow you to write to your disk. To capture the created image, size the screen image to a desired size and then take a screen shot (ALT key & PrintScreen key). The image can be pasted into another doc from the clipboard (Ctrl V) and saved. Wordle is designed to be ‘classroom appropriate’. Read how the clouds are screened in the FQA section of the site. Web 2.0 tools are major resources for media design and production. The tools allow teachers and students to create and share information online as well as discuss and comment with one another. Web 2.0 tools promote literacy by creating a community where students read and write.
, expound on concepts and themes. A few user tricks: Phrases are held together by typing a ~ between the words (ex. Media~Design). The size of the main word or phrase can be increased by typing the word or phrase more than once. Wordle uses the number of times the word appears to determine its relative size. After the word cloud is created, menu choices are available to change fonts, colors, and the cloud layout. -Wordle uses a Java applet, which does not allow you to write to your disk. To capture the created image, size the screen image to a desired size and then take a screen shot (ALT key & PrintScreen key). The image can be pasted into another doc from the clipboard (Ctrl V) and saved. Wordle is designed to be ‘classroom appropriate’. Read how the clouds are screened in the FQA section of the site. Web 2.0 tools are major resources for media design and production. The tools allow teachers and students to create and share information online as well as discuss and comment with one another. Web 2.0 tools promote literacy by creating a community where students read and write..")
10
Tech~Integration Tech~Integration Tech~Integration Web2~Tools Wordle Glogster Audacity visual auditory kinesthetic concept~mapping digital~literacy Internet~searching Evaluating~information

12
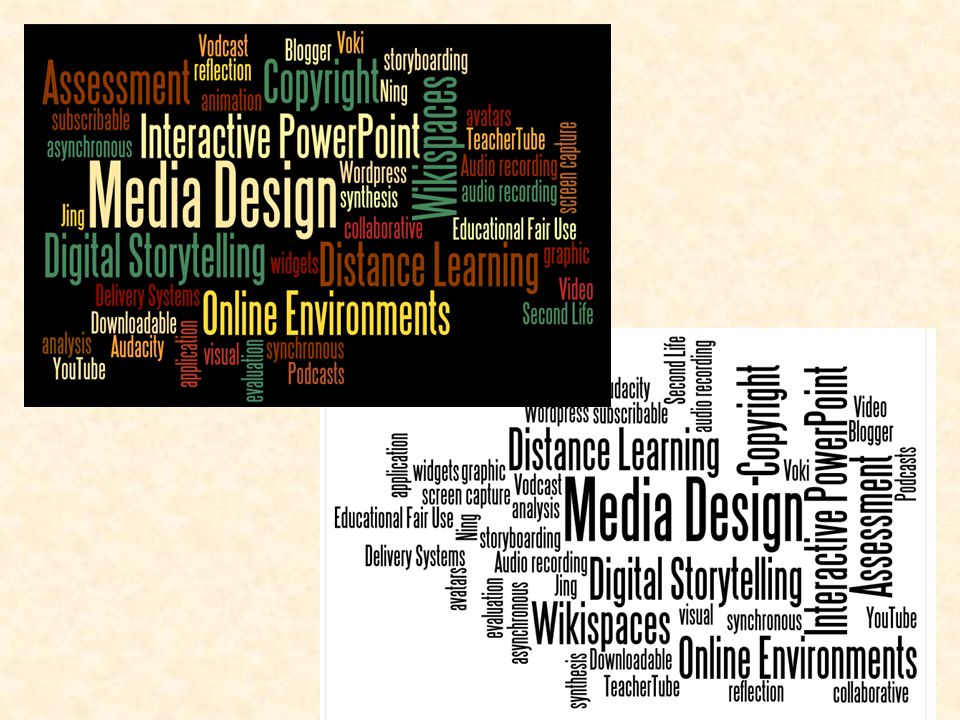
Media~Design Media~Design Media~Design Audio~recording audio~recording Audacity Podcasts Downloadable~&~subscribable Digital~Storytelling storyboarding screen~capture~Jing Copyright Educational~Fair~UseInteractive~PowerPoint animation Graphic~visual Online~Environments Distance~Learning collaborative Synchronous~asynchronous Second~Life Wikispaces Wordpress Blogger avatars Voki YouTube TeacherTube widgets Assessment application~analysis analysis~synthesis Evaluation~reflection reflection

13
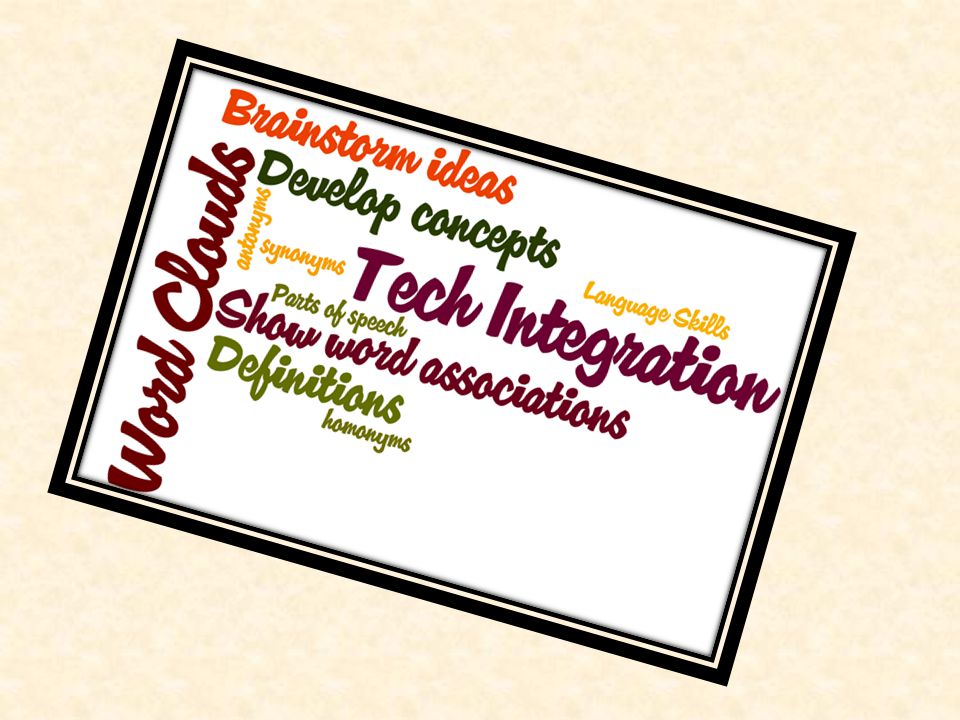
Type the type and copy/paste in Wordle Tech~Integration Tech~Integration Tech~Integration Word~Clouds Word~Clouds Word~Clouds Brainstorm~ideas Develop~concepts Show~word~associations Show~word~associations Definitions Definitions Language~Skills synonyms antonyms homonyms Parts~of~speech

15
Tagxedo – creating word clouds in shapes. Refer to wiki, Tech Tips page.

16
Adobe PhotoElements --advanced editing for images --resize camera images --crop images --Save for the web (reduces the file size; but also reduces the quality) --remove background from clip art –no white boxes (transparent background, saved as gif file –jpg does not support traansparecy) --color changes to emphasize a part of an image --collage scenes and save as a single image.
 --remove background from clip art –no white boxes (transparent background, saved as gif file –jpg does not support traansparecy) --color changes to emphasize a part of an image --collage scenes and save as a single image.")
17
Adobe PhotoElements 8 Practice Launch Adobe PhotoElements 8 and click Edit to open. Practice using some of the tools. Right click on the tool to see more options. Try using the magnetic lasso to select parts of an image. Try the magic wand and quick selection tool to grab a part of an image. Eraser (background eraser to remove white area of gif clip art) Clone Stamp (‘Alt, click’ selects areas to clone). Change the opacity to allow the background to show through. Edit and save an image for the web—File, Open (a saved image) or Paste (File, new, from Clipboard). Edit the image-- Crop, Enhance, resize, etc. The ‘red eye’ and ‘’healing band aid’ brush are useful to correct people photos. File, Save for Web, JPEG, Medium, size in pixels (640 x 484), change width to 200 pixels. The height automatically adjusts to keep the image in proportion. Click Apply, OK. Save the image as a jpg to use later. Also, save your original.
 Clone Stamp (‘Alt, click’ selects areas to clone). Change the opacity to allow the background to show through. Edit and save an image for the web—File, Open (a saved image) or Paste (File, new, from Clipboard). Edit the image-- Crop, Enhance, resize, etc. The ‘red eye’ and ‘’healing band aid’ brush are useful to correct people photos. File, Save for Web, JPEG, Medium, size in pixels (640 x 484), change width to 200 pixels. The height automatically adjusts to keep the image in proportion. Click Apply, OK. Save the image as a jpg to use later. Also, save your original..")
18
Magnetic Lasso the dog. Click the Move tool. Drag into a scene. On the layer, slide the Opacity toolbar to allow background to show through. Clone Stamp (‘Alt, click’ to select area to clone). Hold left mouse button and draw over an area to reproduce image. It copies where the + is located. Continue to Alt, Click to select areas to clone. The Stamp tool has a variety of patterns to select and stamp onto an image.
. Hold left mouse button and draw over an area to reproduce image. It copies where the + is located. Continue to Alt, Click to select areas to clone. The Stamp tool has a variety of patterns to select and stamp onto an image..")
20
Magnetic Lasso Click around an object within the picture to select an area. Close the circle by double clicking on the first point. Make a change to the selected area–color of the dress. Choose Select, Inverse. Change the color of the rest of the picture— Enhance, Convert to black/white. Clone Stamp (‘Alt, click’ selects areas to clone). Change the opacity to allow the background to show through. Clone Stamp (‘Alt, click’ to select area to clone). Hold left mouse button and draw over an area to reproduce image. It copies where the + is located. Continue to Alt, Click to select areas to clone.
. Change the opacity to allow the background to show through. Clone Stamp (‘Alt, click’ to select area to clone). Hold left mouse button and draw over an area to reproduce image. It copies where the + is located. Continue to Alt, Click to select areas to clone..")
21
Tip: Three ways to remove a solid background from an image. 1. Remove the background using the eraser tool. Eraser tool –Right click on the tool and select ‘background eraser tool’. If you see the gray checkered areas, the eraser is working. Checkered areas denotes transparent areas. NOTE: Save as ‘gif’ (jpg does not support transparency).
..")
22
2. Magic wand Select background areas. (Shift, click, click…) Press Delete key and the background may become checkered (transparent). If not, try #3.
 Press Delete key and the background may become checkered (transparent). If not, try #3..")
23
3. Magic wand Select background areas. (Shift, click, click…) Select, Inverse (to select the anteater). Edit, copy. File, new, blank file. (It will open a new, same size transparent canvas). Background contents: Transparent Edit, Paste. File, save as --name file and choose gif.
 Select, Inverse (to select the anteater). Edit, copy. File, new, blank file. (It will open a new, same size transparent canvas). Background contents: Transparent Edit, Paste. File, save as --name file and choose gif..")
24
Review: Use PowerPoint for designing and editing Size the slide --Design, Page Setup Save as a single image file –Save as, Save as type: gif or jpg (can save all slides as single images named ‘slide 1’ ‘slide 2’ –Right click, rename and save to a folder) Use PowerPoint to design and collage images and text To change slide background – Design, Background Picture tools, drawing tools –to crop, rotate, order the objects, show directions… Write text in ‘text boxes’-- Insert, Text Box –collect, edit, design, collage slides in PowerPoint and save the PowerPoint. Then, ‘save as’. Scroll down ‘Save as type’ until you see ‘gif’. Save image. ALWAYS RENAME THE FILE –do not leave as ‘Slide 1’ or you will overwrite each other’s files when uploading images to the wiki.

Similar presentations


 -Objects –Insert Tab --iIlustrations, links, text box -Editing Images—Double.>")

