Download presentation
Presentation is loading. Please wait.

1
Designing a 3-D surface with pattern and texture

2
Fish…some are living rainbows

3
Color, pattern and texture…the variety is endless

4
Body shape, fins, tails, eyes…lots of variety

5
Color, pattern and texture…the variety is endless

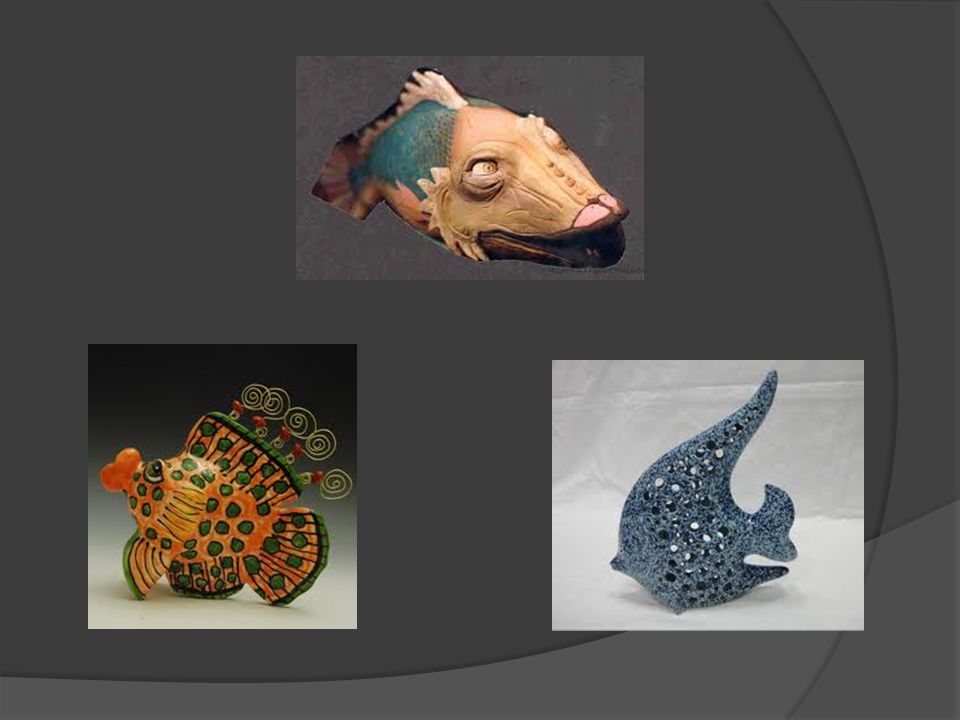
7
Examples of ceramic fish…pattern, texture, color

10
Bisque fish…before glaze application

11
Plan for areas of pattern…neatness is critical also!

12
Plan for incised and relief design areas…

13
Ceramic fish…how to get started Look for examples of real fish…study and sketch out fins, tails, eyes, mouths and general body shapes Sketch out a stylized version (general or simplified manner) of your fish design Plan for areas of pattern, texture and decoration (relief and incised)
 of your fish design Plan for areas of pattern, texture and decoration (relief and incised)")
14
Ceramic fish…creating the hollow body Begin to create your fish using two pods as the main form Attach the pods together trapping air (like a balloon) Paddle the hollow pod into the basic body shape you want Begin creating and attaching the dorsal fin, tail and side fins
 Paddle the hollow pod into the basic body shape you want Begin creating and attaching the dorsal fin, tail and side fins")
15
Ceramic fish…adding the design Refine the fins, tails and eye areas by incising or adding relief pieces Form and gently twist the body so the fish appears to be moving through water Make sure to adjust the fins and tail so the fish will be able to stand upright…keep the head and tail balanced so it doesn’t tip

16
Finally add decorative elements to make the fish uniquely yours…you may also create your fish’s environment as a base (coral, sea grass, rocks, etc) Carve lines, shapes, symbols and patterns into the body Add areas of texture Make sure your designs are deep enough…remember that glaze is thick!
 Carve lines, shapes, symbols and patterns into the body Add areas of texture Make sure your designs are deep enough…remember that glaze is thick!")
Similar presentations


 A small block of.>")


.>")


