Download presentation
Presentation is loading. Please wait.

1
Measuring Prototype Structures for Models Kevin Looff Rick Watson March 1, 2008

2
AgendaTools - Preparation - Safety - Measuring the prototype Objective Identify the tools and techniques to document plans for a prototype structure that’s not available in kit form today

3
Tools Expandable 8’ Measuring stick marked in 1’ increments – it’s preferred to have a 20’ capability Expandable 8’ Measuring stick marked in 1’ increments – it’s preferred to have a 20’ capability 4’ Measuring stick marked in 3”, 6”, & 12” increments 4’ Measuring stick marked in 3”, 6”, & 12” increments Measuring wheel or large tape measure Measuring wheel or large tape measure 25’ locking metal tape measure with wide blade 25’ locking metal tape measure with wide blade Camera (digital is preferred). Start with a fresh roll of film or an empty memory card if possible. Camera (digital is preferred). Start with a fresh roll of film or an empty memory card if possible. Camera supplies – Spare batteries, film or memory card, and cleaning supplies. Notebook and pencil w/eraser Camera supplies – Spare batteries, film or memory card, and cleaning supplies. Notebook and pencil w/eraser Photographs studied prior to trip, diagrams, etc. Photographs studied prior to trip, diagrams, etc. Calculator (optional) Calculator (optional)
. Start with a fresh roll of film or an empty memory card if possible. Camera supplies – Spare batteries, film or memory card, and cleaning supplies. Notebook and pencil w/eraser Camera supplies – Spare batteries, film or memory card, and cleaning supplies. Notebook and pencil w/eraser Photographs studied prior to trip, diagrams, etc. Photographs studied prior to trip, diagrams, etc. Calculator (optional) Calculator (optional).")
4
Preparation Study photographs of your subject and make a diagram of the measure- ments that you need to get. Also make notes of any details you need to record. You can also use a copy of a photograph or an aerial, if you don’t have a general map of the building If your subject is at a museum, call or write in advance to see if access not usually granted to the public is possible.

5
Preparation Depot Review aerial photos on tools such as Map Quest, Google Maps, etc. Aerial photos can be good for identifying roof details

6
Safety Do Not Trespass! - Try to get permission before you go. - If not possible, ask when you get there if someone is present. - Do not climb over or through fences. Let people know what you are doing and why. Most will be accommodating. If asked to leave by someone of authority, do not argue. - Pack up and leave. - Ask if there is someone you can contact to get the necessary permission to come back. Remember: You represent all of the model railroading community to the person your talking with.

7
Safety Be Aware of Your Surroundings - Active rail lines are frequently near our subjects. - Don’t pay so much attention to your subject that you don’t see the train that is about to run over you. - Many areas that we might want to visit are not always in the nice part of town. - Have plenty of daylight hours to get your work done and if at all possible, take a buddy with you. - Always be friendly and pleasant. This will help the next modeler who visits the site. - If you are working in a public place, be prepared to answer a few questions as people will be curious as to what you are doing. Do not cause any damage and do not remove property from the site.

8
Site Measurements On arrival - Check your surroundings. - If you have received permission in advance, let people know that you are there. - If you did not get permission in advance, try to let someone know who you are and what you are doing. Photographs - Remember, the photographs are for documenting a structure or pieces of railroad equipment not artistic purposes. - Begin with a general picture or pictures of each side that is accessible.

9
Site Measurements Photographs - Shoot as square to the subject as possible. - Include the expandable measuring stick in the photo when appropriate for reference later.

10
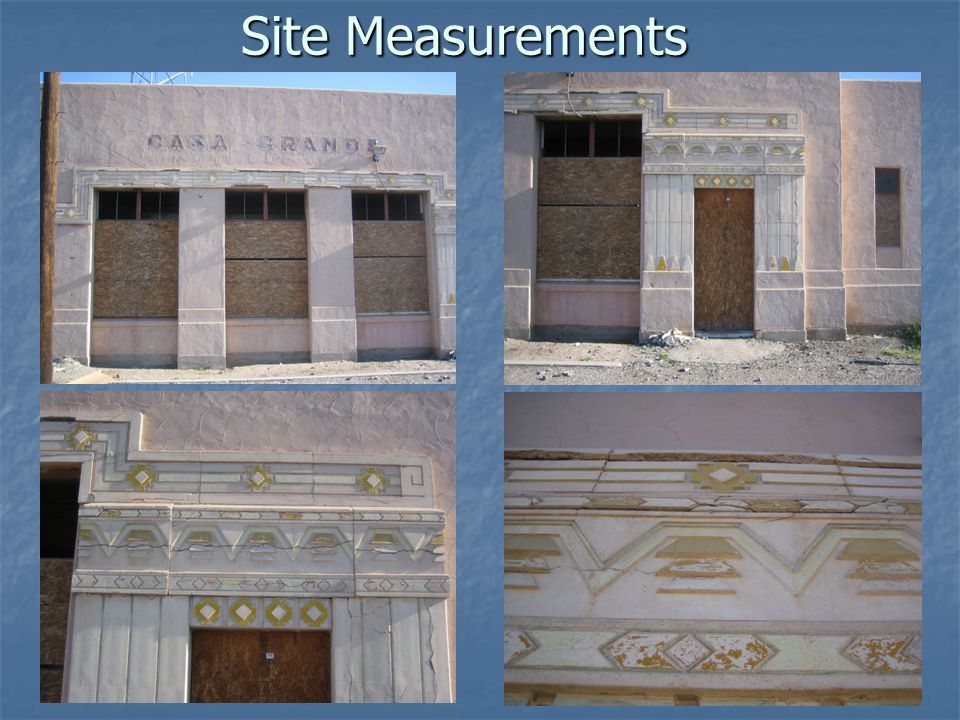
Site Measurements Take a picture of each type of door, window, or special feature include the tape measure or measuring stick in the photo for reference.

11
Site Measurements Measurements - Refer to your diagram and collect all of the necessary measurements. - Add any other features that you overlooked - while studying the photos. - Measure and record the sizes of doors and windows. Attach the 4’ measuring stick to the expandable measuring stick in a T or L shape to measure roof overhang or high features.

12
Site Measurements Observations - Make note of size and type of building materials. Board and batten, lap siding, brick, cinder block, sheet metal, etc. - Measure the size of brick, lumber, or metal siding. - Count the number of block courses for masonry structures, number of boards for siding, corrugations per foot of metal siding.

13
Site Measurements You can never have enough pictures!!!

14
Site Measurements

16
Evolution of the Structure Study your reference photos and try to determine the era. - Notice that the photo from the book has vehicles that appear to be late 50s or early 60s. - Next, notice that the loading door was moved at some point between when the reference photo was taken and when the site measurements photos were taken. In the current photo below you can clearly see where the original door was located and was subsequently moved.

17
Final Steps Go home and start modeling! Review your work

Similar presentations