Download presentation
Presentation is loading. Please wait.

1
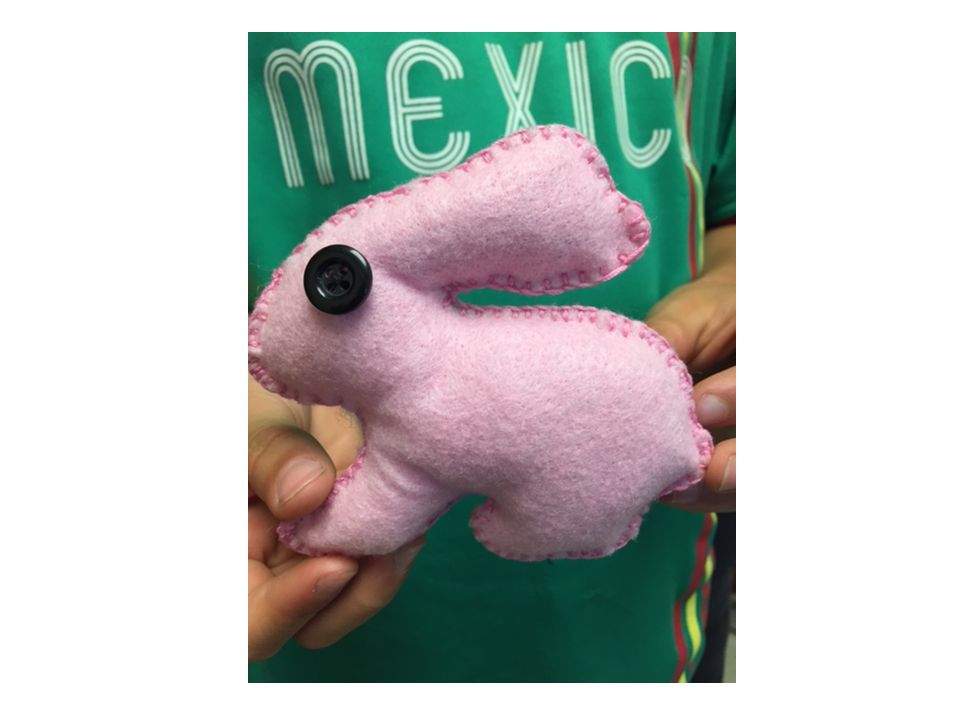
Hand Sewing Stuffed Animals

2
Pin vs. Needle Pins have Heads Needles have an Eye

3
Safety Both Pins & Needles are SHARP! Safe classroom environment Safe personal environment Respect materials Listen to directions

4
Classroom Sewing Box Pin Needle Animal (Colored) Felt Embroidery Floss Button (for Eye) Thread that matches Button Return items to sewing box daily Sewing Boxes stay in classroom Animal will be graded before you can take it home
 Felt Embroidery Floss Button (for Eye) Thread that matches Button Return items to sewing box daily Sewing Boxes stay in classroom Animal will be graded before you can take it home")
5
Thread vs. Floss Thread is on a spool Thread is very thin Thread can be doubled to increased strength Thread is used to sew on button Floss is not Floss is thick Floss is SINGLE thread only Floss is for just the Whip or Blanket Stitch on Stuffed Animal

6
Rubric – Stuffed Animal Graded on stitching, following directions, knots, appearance, button, and use of class time.

7
Measure out Thread Pull thread the length of your arm span.

8
Cutting the Thread Cut thread on a 45 degree angle

9
Put Thread through Eye of Needle

10
Preparing your Stuffed Animal Step 1 – Cutting out your Stuffed Animal Cut out your printed animal pattern following the black outline. Fold your piece of COLORED felt over and pin the pattern in place (through both layers of felt).
..")
11
Preparing your Stuffed Animal Cut carefully around the animal template. Remove your pattern (and save for later) Select ONE side to be the FRONT. Put other in Box.
 Select ONE side to be the FRONT. Put other in Box..")
12
Sewing a Button You will need: – Colored Felt – Button – Pin – Thread – Needle – Pencil

13
Sewing on a Button Video Go through the loop twice is only difference from my method and this video.

14
Sewing a Button Your button will act as your animals EYE. Using JUST ONE side of your animal, locate where your button will go, mark with a pencil. Thread a needle with double thread, knotting the ends together Insert your needle from the underside of the fabric

15
Sewing a Button Now, place the button, and pass the needle from underneath the garment through one of the button holes. Stitch diagonally four times

16
Sewing a Button Push the button upwards to create distance between it and the fabric. Wind your thread tightly around to construct a thread column – this is called a shank.

17
Sewing a Button After making a shank, head to the back. Make a knot by skimming go through knot skim go through loop twice!

18
Day 8- Sewing your Stuffed Animal Start by Pinning the two felt pieces together (be sure to match everything up)
")
19
Day 8- Sewing your Stuffed Animal Using FLOSS, and SINGLE THREAD start where indicated on your paper template. Start sewing in the MIDDLE so the knot is on the inside!!! Your choice: Whip or Blanket Stitch

20
Day 8- Sewing your Stuffed Animal Continue sewing, small, even stitches around your animal.

21
Day 8- Sewing your Stuffed Animal STOP sewing at mark indicated on your template. (Leaving room to stuff) Using a wooden dowel, carefully stuff
 Using a wooden dowel, carefully stuff.")
22
Day 8 Sewing Stuffed Animal Sew opening shut and hide knot on back.

23
How to Blanket Stitch around Corners 1. Make the last stitch before the corner so your needle goes in right where the inner corner of a square would be if you made a square from the corner. 2. Insert needle into same place as last stitch. 3. Complete stitch so that bar is diagonal from the needle insertion point to the corner. 4. Insert needle into the same place as the last two stitches. 5. Complete stitch so that the bar is perpendicular to the first corner stitch.

Similar presentations


 Shank button – a button with a plastic.>")


