Download presentation
Presentation is loading. Please wait.

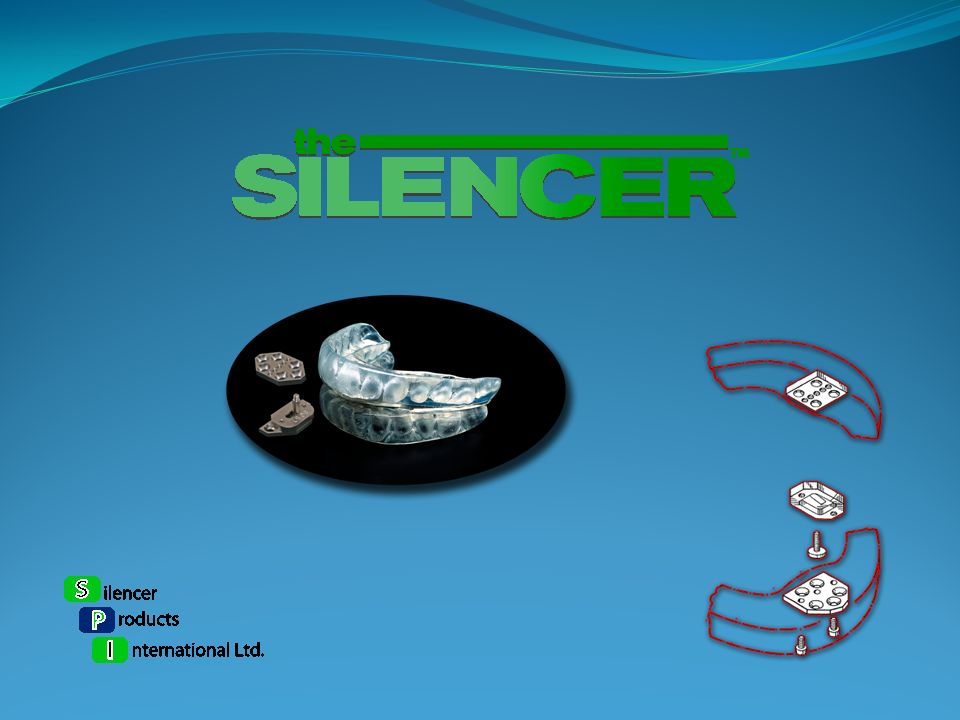
2
The fitting process for the appliance is detailed within chapters 5. and 6. of our training video. The following presentation provides an overview of the basic steps.

3
Fitting Appointment Step One Disassemble the device into it’s two parts, upper and lower arches. Check the bite pads for balance, articulating paper may be used. Adjust the pads as necessary to achieve an optimum balance. Check the device for any rough spots. Remember patient comfort equals compliance.

4
Fitting Appointment Step Two Reassemble the device to the appropriate setting. Note: Typical start point for therapy is to have the laboratory set the appliance up at a position equal to 50% of the patients range of motion. The lab will fabricate with this position achieved in the second advancement hole position, providing one position available to reduce the advancement of the appliance. Should the patient have initial comfort problems with advancement, it is important to be able to reduce the advancement level.

5
Fitting Appointment Step Three Place the appliance into the patients mouth and have the patient sit comfortably with the appliance for five minutes, if the patient has comfort complaints an immediate adjustment may be made. Otherwise, patient is ready to be sent home with the device. Over the first few nights should the patient experience discomfort, wearing the appliance for only a few hours each night may help them through this adjustment phase. If the patient experiences pain, then they should discontinue wearing the device and return for a dental visit.

6
Fitting Appointment Step Three Include instructions for short term side effects, such as excess saliva, muscle tension, along with cleaning, etc. Long term side effects should be covered within your informed consent document. Follow up and recall protocols vary. We believe it best for the patient to accommodate to the appliance for a period of 7 – 10 days prior to advancement changes.

7
Fitting Appointment Step Four Adjustments may be made over the next thirty to sixty days to achieve optimum comfort and effective treatment. Should the patient be advanced to a position that is comfortable, yet there are still snoring or sleep apnea issues, then an increase in the vertical dimension by changing the stylus pin is indicated. You may increase or decrease vertical dimension by one millimeter without adjusting the bite pads. Once you have achieved optimal positioning a follow up sleep study is recommended.

8
Fitting Appointment Notes: Stylus pins are available in four through ten millimeter sizes. There is also an alternate guidance box part that provides advancement in a one millimeter increment. Standard advancement is two millimeters from hole position to hole position. Provide the patient with the included wrench so that they may tighten the stylus pin once per week. This prevents loosening of the pin contributing to possible fractures and/or thread stripping.

9
Fitting Appointment Notes: Some of the very heavy bruxing patients have been shown to break even our titanium stylus pins. We do have a “heavy duty” version of our normal Halstrom Hinge product (HH1000) that may be used for these patients. This hinge (HH3000) may be used at the outset of treatment, or we have a modification procedure that may also be used.
 that may be used for these patients. This hinge (HH3000) may be used at the outset of treatment, or we have a modification procedure that may also be used..")
Similar presentations


 was introduced in 2011. Parts do not.>")


 Devices Dental Devices Branch Division of Anesthesiology, General Hospital, Infection Control and Dental Devices.>")


