Download presentation
Presentation is loading. Please wait.

1
The Darkroom Part 1… DARKROOM RULES, CHEMICALS, & SAFETY

2
No Electronics! Remember the #1 Rule…… No IPods. No cells phones.
No light emitting objects!

3
Rule #2 …… No food or beverages!

4
Rule #3 …… NO MICHEVIUOS MISCHIEF!
NO HORSE PLAY, GOOFING AROUND, OR BEING SILLY! You are expected to act like a responsible adult! No warnings for darkroom mischief! Immediate call to parent, meeting with administration, & loss of course credit.

6
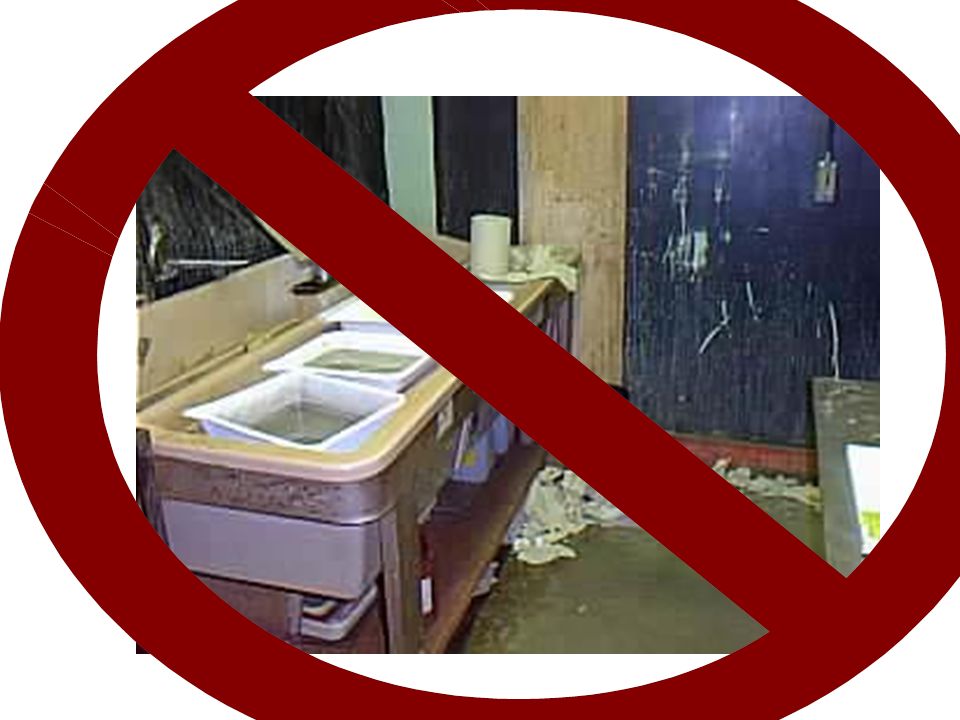
Rule #4 …… CLEAN UP AFTER YOURSELF….. Regardless of what you may think
I am NOT YOUR MAID! This includes; wiping up ALL spills & throwing away trash!

7
IF IT SEEMS TO CROWED- IT IS!
Rule #5 …… IF IT SEEMS TO CROWED- IT IS! OPTIONS: Leave (if it is NOT your darkroom day) , POLIETY kick someone out (who’s darkroom day it is not), or politely ask Miss McLean to.
 , POLIETY kick someone out. (who’s darkroom day it is not), or politely ask Miss McLean to.")
8
Rule #6……. WATCH THE CLOCK… Miss McLean will NOTwrite
you a pass to your next class!

9
The 2 Parts of The Darkroom …. TWO QUIZES: DARKROOM PARTS 1 & 2
DRY vs. WET PART 1: “The Chemicals” TWO QUIZES: DARKROOM PARTS 1 & 2 Part 2: “The Enlarger”

10
“The DRY side” The Darkroom utensils Enlarger Easels Safe light box
Timer Grain enlarger Safe light box Photo paper Paper cutter Enlarger “The DRY side”

11
The Darkroom utensils “The WET side”
Safe lights TONGS measuring cup TRAYS CHEMICALS sink (water) squeegee “The WET side”
 squeegee. The WET side")
12
Dry Wet Side Dry Side

13
Ideal Darkroom Temperature 68° to 72°
13

14
WHY is the Ideal Darkroom Temperature 68° to 72° ?
TOO COLD> the chemicals work s-l-o-w-l-y, poor results TOO HOT > the chemicals work faster, too fast causing lower contrast and over development. 14

15
The Darkroom Chemicals
DEVELOPER STOP BATH FIXER

16
30 SECONDS 2. STOP BATH 3. FIXER 4. FIXER 5. Rinse in sink 1-2 MINUTES
1. DEVELOPER 2. STOP BATH 1-2 MINUTES 3. FIXER 30 SECONDS 4. FIXER 4 MINUTES 6 MINUTES 5. Rinse in sink 10 MINUTES minimum 10 min.

17
Darkroom Chemical #1 Developer
Detects changes in silver salt (halide) crystals. Crystals struck by light change to metallic silver, or black metallic. Latent images now visible. NAME OF DEVELOPER WE RHS ….. DEKTOL
 crystals. Crystals struck by light change to metallic silver, or black metallic. Latent images now visible. NAME OF DEVELOPER WE RHS ….. DEKTOL.")
18
LATENT IMAGE: An image that has been recorded onto the photo paper but is not yet visible to the naked eye.

19
Developer for paper and developer for film are NOT the same.
DEKTOL Paper use only! D- 76 Film use Only!

20
Darkroom Chemical #1- Developer
1 part STOCK DEKTOL + 3 parts WATER = WORKING SOLUTION Dektol (STOCK) mix 1:3 WORKING SOLUTION: ready for use - no mixing required STOCK SOLUTION: Needs to be mixed w/ water before use
 mix 1:3. WORKING SOLUTION: ready for use. - no mixing required STOCK SOLUTION: Needs to be mixed w/ water before use.")
21
Darkroom Chemical #1 Developer
Q: HOW CAN YOU TELL WHEN THE DEKTOL DEVELOPER IS EXHUSTED ? A: Developer will be black in color , (grimy looking). Latent Image will take an extremely long time to appear. Longer than 2 minutes. EXHUSTED: Gone Bad – TERM PHOTOGRAPHERS USE TO DESCRIBE CHEMICALS THAT NO LONGER WORK PROPERLY DUE TO TIME AND USE. DARKROOM CHEMICALS THAT NEEDTO BE REPLACED.
. Latent Image will take an extremely long time to appear. Longer than 2 minutes. EXHUSTED: Gone Bad – TERM PHOTOGRAPHERS USE TO DESCRIBE CHEMICALS THAT NO LONGER WORK PROPERLY DUE TO TIME AND USE. DARKROOM CHEMICALS THAT NEEDTO BE REPLACED.")
22
CONTANTMATION USE print tongs to pick up paper and move from one tray to the next. One TONG is used for developer & another TONG for stop bath and fixer. AVOID CROSS CONTANAMATION of chemicals- Rinse Thoroughly- chemicals can absorb into the plastic of the mixing container so they should be rinsed thoroughly when finished is the biggest problem new photo students encounter in the darkroom -It can destroy a roll of film, lower contrast and make poor results

23
Darkroom Chemical #2- Stop Bath
Halts developing process (stops silver salts from changing to black metallic) Strong Smell -strong concentrate Made by mixing x-small with water Made from acetic acid (orange juice) SAVES CHEMICALS by removing the developer from the paper. Keeps the fixer from getting worn out as fast.
 Strong Smell -strong concentrate. Made by mixing x-small with water. Made from acetic acid. (orange juice) SAVES CHEMICALS by removing the developer from the paper. Keeps the fixer from getting worn out as fast.")
24
Darkroom Chemical #2- Stop Bath
colored indicator dye placed in it that is yellow when the acid is still good. Turns purple when exhausted and no longer of use!!!

25
Darkroom Chemical #3- Fixer
Is sodium thiosulphate in chemical terms. dissolves the unexposed silver salt from emulsion -leaving the metallic silver in tact. fixes the film or paper so that it is no longer sensitive to light.

26
Darkroom Chemical #3- Fixer
After 5 min. in fixer, film/paper can be exposed to light outside dark room

27
Darkroom Chemical #3- Fixer
WATCH THE CLOCK If print not fixed long enough……. Will not be light safe, will be splotchy If print is left in Fixer too long……. Will bleach the metallic silver, print turns too light! Film will be transparent.

28
Darkroom Chemical #3- Fixer
can react with developer to create AMMONIA… contributes to the very lovely and attractive smell of the darkroom. This chemical when spilled on the floor/counters creates a white stain. The powder that is created on this stain can float into the air. So wipe it up! IT IS NOT GOOD FOR YOU! SIDE NOTE: The fixer does not react with air the developer does- It can be left in tray for a few days at a time.

29
Darkroom Chemical #3- Fixer
Fixer is never thrown can be used over and over until it is exhausted. To test for exhaustion: HYPO- CHECK three drops into the fixer; if good fixer will not change color If white and cloudy- fixer is EXHUSTED. (will need to be replenished.)
")
30
CONTANTMATION USE print tongs to pick up paper and move from one tray to the next. One TONG is used for developer & another TONG for stop bath and fixer. AVOID CROSS CONTANAMATION of chemicals- Rinse Thoroughly- chemicals can absorb into the plastic of the mixing container so they should be rinsed thoroughly when finished is the biggest problem new photo students encounter in the darkroom -It can destroy a roll of film, lower contrast and make poor results

31
30 SECONDS 2. STOP BATH 3. FIXER 4. FIXER 5. Rinse in sink 1-2 MINUTES
1. DEVELOPER 2. STOP BATH 1-2 MINUTES 3. FIXER 30 SECONDS 4. FIXER 4 MINUTES 6 MINUTES 5. Rinse in sink 10 MINUTES minimum 10 min.

32
RINSE= 10 minutes Finally we wash print to remove the dissolved unexposed silver salt as well as all the fixer residue Not rinsed long enough- yellow stains occur.

33
Squeegee & Hang to dry. SQUEGEE OFF EXCESS MOISTURE Hang it up to dry
33

34
Washing hands with soap & water!!!!!
#1 safety precaution……. Washing hands with soap & water!!!!!

35
#2 safety precaution……. AVOID….. Eyes Nose Mouth

36
#3 Darkroom Safety Old fixer will create sulfur dioxide and some minor ammonia and chloramines which will smell up the darkroom which is why good ventilation is required. 36

37
Darkroom Safety Use tongs!!!!!
Developer can cause skin irritation ……avoid contact and wash your hands often. Use tongs!!!!! stain your clothes when it drys- wash your clothes in COLD water the same day as contamination. 37

38
Darkroom Safety Caution to asthmatics
Environmental hazards are not considered a problem when solutions are flushed with large amounts of water and are emptied into a waste treatment facility. For some asthmatics or sulfite sensitive individuals exposure to fixer may cause wheezing and stomach upset. As long as students use caution photography presents no health threat. Care should be taken in washing hands after contacting chemicals, although the concentration of potentially toxic chemicals is very, very low- it is just good practice to wash hands after working with chemicals and to be cautious to avoid splashing into eyes or open cuts on your hands. Good ventilation in the darkroom is also necessary. All chemicals in the photo lab at RHS are flushed down the sink with large amounts of water. In general this amounts to only 2 gallons per week of material which presents no environmental hazard according to our research. Large photo labs with more chemical work than our lab should consider using silver recovery equipment to wash the fixer clear of silver. 38

39
That’s all…. until DARKROOM Part 2!

Similar presentations


: To review and summarize laboratory safety concepts and laboratory practices.>")


