Download presentation
Presentation is loading. Please wait.

1
Mexican Clay Sun Thermometer Kindergarten January Art Project West Mercer Elementary Art Enrichment Program

2
How this PowerPoint Works Some of the slides in this presentation are hidden. (The slide number has a box and slash through it.) A hidden slide will not be shown in ‘slide show’ mode. It is visible and can be edited etc. in ‘normal’ mode. You can change modes on the view tab or with the icons in the lower right corner. Some of the slides have notes. These notes contain more detailed information that will be helpful in understanding the background of an artist or talking points for a slide. If you would like view or print this presentation with the notes, use the ‘notes page’ on the view tab or on the print menu.
 A hidden slide will not be shown in ‘slide show’ mode. It is visible and can be edited etc. in ‘normal’ mode. You can change modes on the view tab or with the icons in the lower right corner. Some of the slides have notes. These notes contain more detailed information that will be helpful in understanding the background of an artist or talking points for a slide. If you would like view or print this presentation with the notes, use the ‘notes page’ on the view tab or on the print menu..")
3
Lesson Overview 1 Lesson: clay sun with colorful glaze with outdoor thermometer Time: 2 sessions- #1 60 minutes, #2- 30-45 minutes to glaze – Docents will need to glue thermometers on after 2 nd session Volunteers: 5 Medium: clay Project Overview/Skills – Students will look at and discuss artwork of Mexico and the idea of different weather around the world – Vocabulary Resources On the Same Day in March- A Tour of the World’s Weather by Marilyn Singer

4
Mexican Clay Sun Materials Needed Preparation the day before Bag of red clay- slice into 1/2” slices, place parchment or wax paper between slices and put back in the bag and keep sealed Wire cutter Session 1 cloth mats Wood carving tool to draw in face Session 2 Glaze in bright colors Large and small brushes Apple sauce/small bowls for glaze – Put a small amount of each color in the cups, those that are not used by a particular group of kids can be used as refills for others that are – Any extra untainted glaze can be scooped back into the jars

5
Clay Prep Use the clay slicer in the kiln room Put wax paper or paper towel between slices Wrap back up in a bag until the lesson or else it will dry out

6
Display Once the project is finished, student work should be mounted on black paper and displayed either in the classroom or in the designated area in the hallway. If there are some who have not finished, please check with the teacher on how they would like to proceed. Do not assume that it ok to continue the project after the allotted time.

25
Mexican Clay Suns

26
The history of Talavera Pottery The Talavera pottery has its roots in the Arab-Andalusia culture in Spain. About 8 centuries ago Arab potters settled in a location now days known as Talavera de la Reina and established and developed the techniques and procedures to create the earthenware known as Majolica. The word Majolica originated in Italy and it refers to a process that the Italians used in the 14th Century to produce ceramics. This technique consisted basically of applying or brushing pigments on raw or unfired glaze. Majolica was introduced in Mexico in the 16th Century, when according to the most accepted theory, Spanish monks used craftsmen imported from Talavera de La Reina to teach native artisans living in the Puebla region how to work the clay in order to craft pieces comparable to the ones produced in Spain. The monks wanted to decorate monasteries and churches with tiles and religious figures. The prehispanic cultures of Mexico had enjoyed for long time the work of skillful native potters that produced earthenware for daily use as well as for cultural and religious purposes. However, they did not use the potter's wheel or tin-glazed their pottery. The main characteristic of majolica ceramic is precisely its beautiful glaze work. The Mexican craftsmen blended the majolica process with their own interpretation of the method to work the clays of the region and incorporated their art forms and colors. Their product became to be known as Talavera. Talavera ceramic is made in several parts of Mexico, but the official Talavera is only produced in Puebla. The Talavera produced in certain workshops in Puebla is now officially designated, recognized and protected by the Government of Mexico. These Talavera manufacturers must follow a complex and strict technical fabrication process dating from the 16th Century and use only clay from a few approved clay sites in the Puebla area. Since the mineral pigments needed to produce the color blue were very expensive, this color was reserved for the finest ceramic. Talavera buyers could easily differentiate the quality of fine ceramic from the one of lesser quality. During the 18th Century the Talavera artisans started to broaden the designs of their ceramic by using more colors, like green, mauve and yellow, in addition to the blue tones that were very popular in the 16th and 17th Centuries. Thanks to the artistic skills and the high quality of the clays, the Talavera form Puebla has achieved high quality and beauty. In the centuries XIX and early XX it became common for wealthy families in Mexico to have extensive collection of talavera dinner sets and decorations. Since then, it has been treasured and appreciated by collectors and admirers all over Mexico and in many other parts of the world.

27
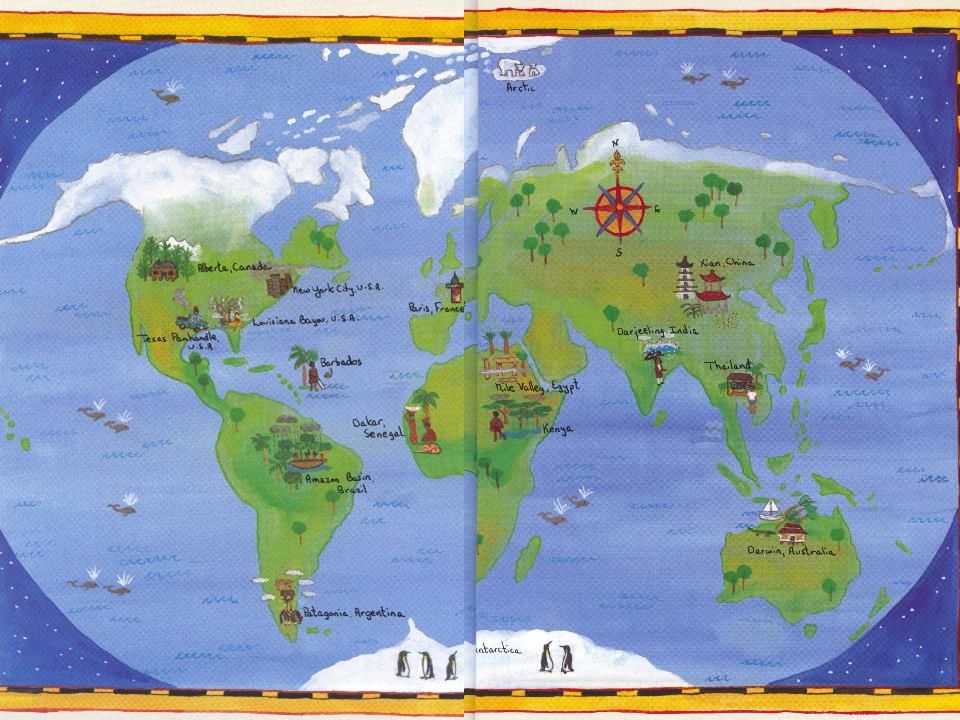
Mexican Clay Suns We live here These suns are made here in central Mexico

28
Today’s Project Session 1 Make a sun shape Cut and shape rays Carve a face Session 2 Paint glaze in bright colors

29
Step 1 – Desk Prep Your desk should be covered with a cloth mat- red side up Wood clay tool with angled end

30
Step 2 – Clay slab Carve your initials and room # LIGHTLY on the clay in the center Flip clay over

31
Step 3 – Solar Flares Look at the flares around the edge of these clay suns. You can use the wooden tool to cut wedges of the clay out- OR – you can just pinch with your fingers to make the flares. – They do not all need to be the same size or shape.

32
Step 4 – Make a face Use your wooden tool to carve a face. Look at these examples for the shapes for eyes, nose, and mouth.

33
Step 5 – Session 2 - Glaze Paint the face (big brush) Then paint the flares and other decorations (small brush)
 Then paint the flares and other decorations (small brush)")
Similar presentations