Download presentation
Presentation is loading. Please wait.

1
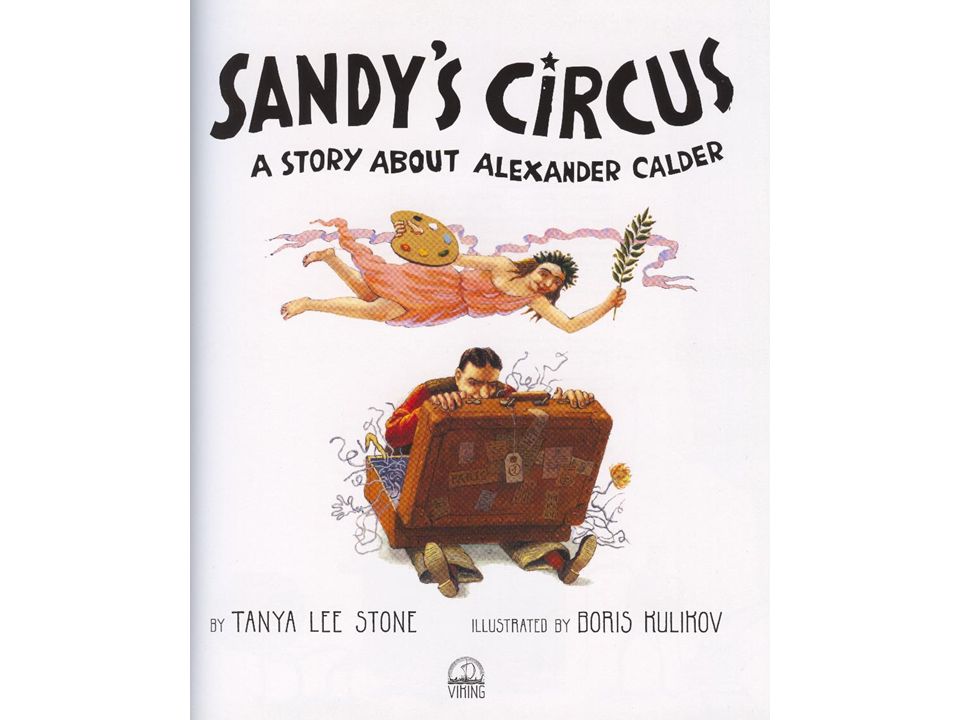
Calder Wire Portrait 3rd Grade November Art Project West Mercer Elementary Art Enrichment Program

2
How this PowerPoint Works Some of the slides in this presentation are hidden. (The slide number has a box and slash through it.) A hidden slide will not be shown in ‘slide show’ mode. It is visible and can be edited etc. in ‘normal’ mode. You can change modes on the view tab or with the icons in the lower right corner. Some of the slides have notes. These notes contain more detailed information that will be helpful in understanding the background of an artist or talking points for a slide. If you would like view or print this presentation with the notes, use the ‘notes page’ on the view tab or on the print menu.
 A hidden slide will not be shown in ‘slide show’ mode. It is visible and can be edited etc. in ‘normal’ mode. You can change modes on the view tab or with the icons in the lower right corner. Some of the slides have notes. These notes contain more detailed information that will be helpful in understanding the background of an artist or talking points for a slide. If you would like view or print this presentation with the notes, use the ‘notes page’ on the view tab or on the print menu..")
3
Lesson Overview 1 Lesson: Shape, Form, Line Medium: Copper Wire Time: 60 minutes Curriculum Tie: Balance & Measurement—Calder Mobiles Volunteers: It is recommended that you have 5-6 volunteers for this project. Project Overview/Skills Students will learn about Alexander Calder and make a wire sculpture of a face similar to what Calder did prior to his famous mobiles. We will begin by discussing the principles of balance used in Calder’s artwork and then discuss the concept of continuous line in wire sculpture. Use Video and Book from library for showing Calder’s artwork. Vocabulary Write these up on the board: Balance—Weight and Visual Continuous Line Display Consider making a large classroom mobile out of all the wire face sculptures using wire hangers as forms. Another great display option is to hang the sculptures on a wall, putting each student’s final draft drawing behind the face sculpture so you can see how the sculpture compared to the final draft. Ideas from http://www.deborahsilk.com/art/curric/padrick/calder.html

4
Calder Wire Portrait Materials Needed Scratch paper Pencils 4.5-5 foot lengths of copper wire – pre-cut prior to lesson Name tags Small pieces of smaller gauge wire cut for attaching to sculptures You may also want to add beads, pipe cleaners, feathers or other decorative items to add color and personality to the sculptures, and if you do – it works well to pre-cut short lengths of the wire prior to the lesson

21
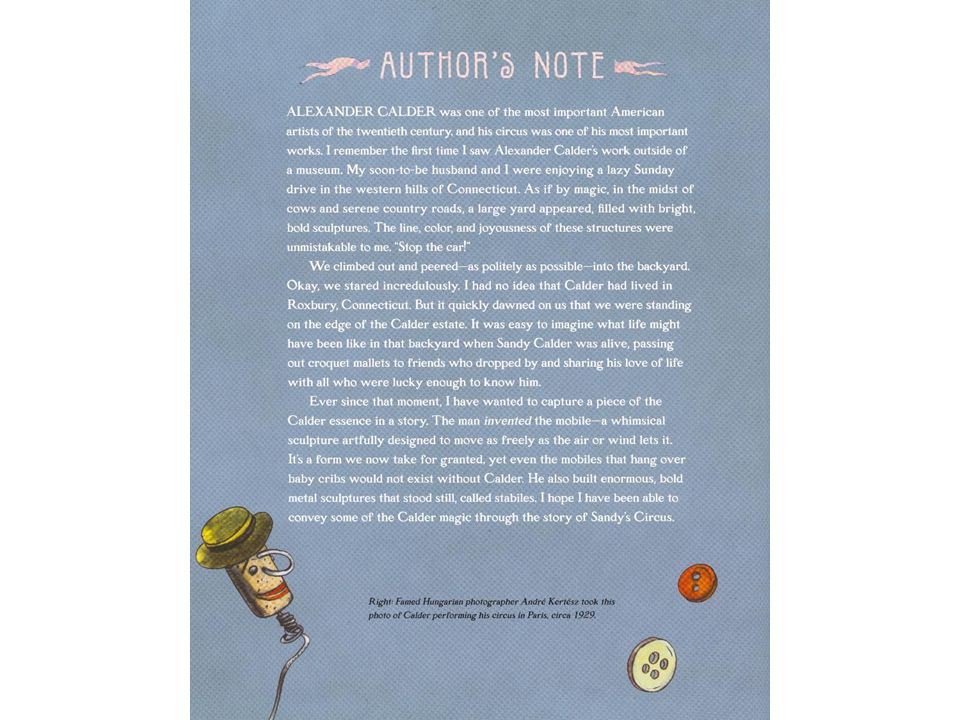
Alexander Calder Self-portrait

22
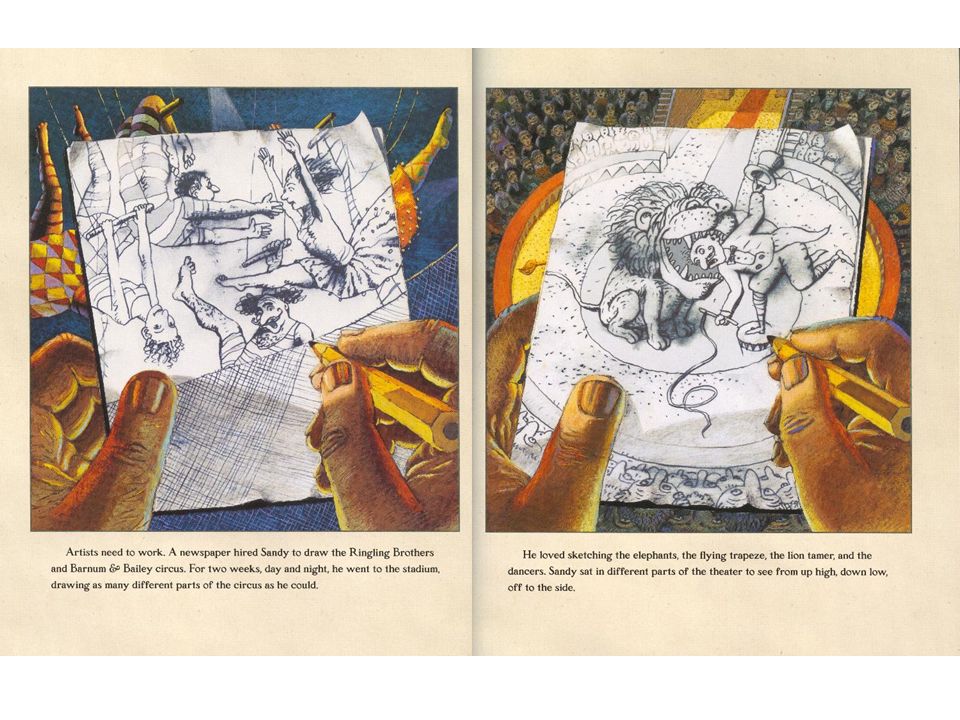
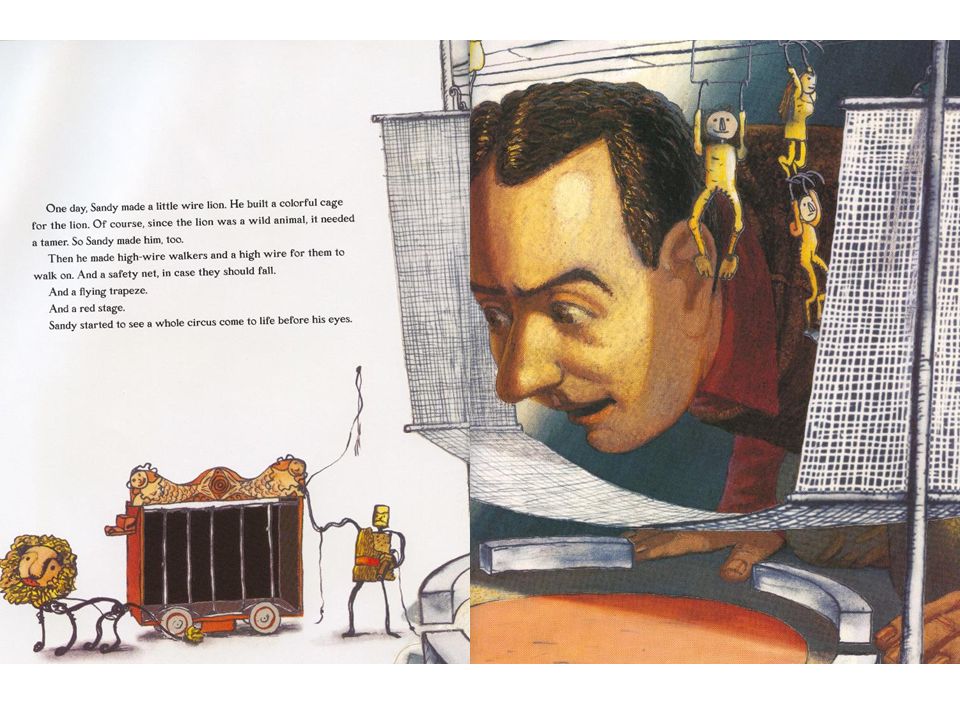
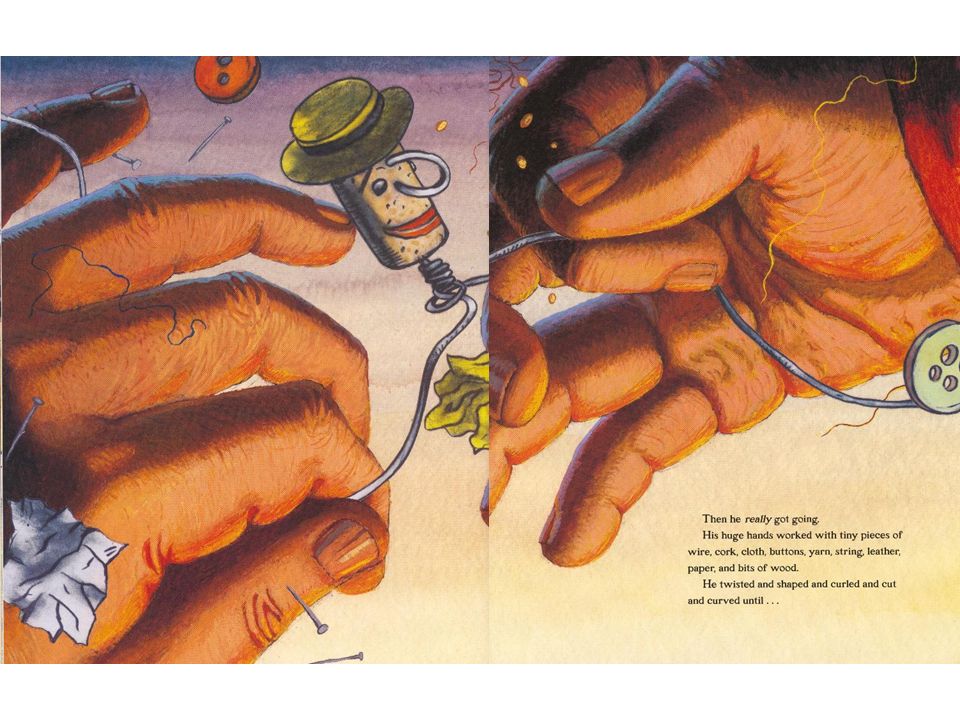
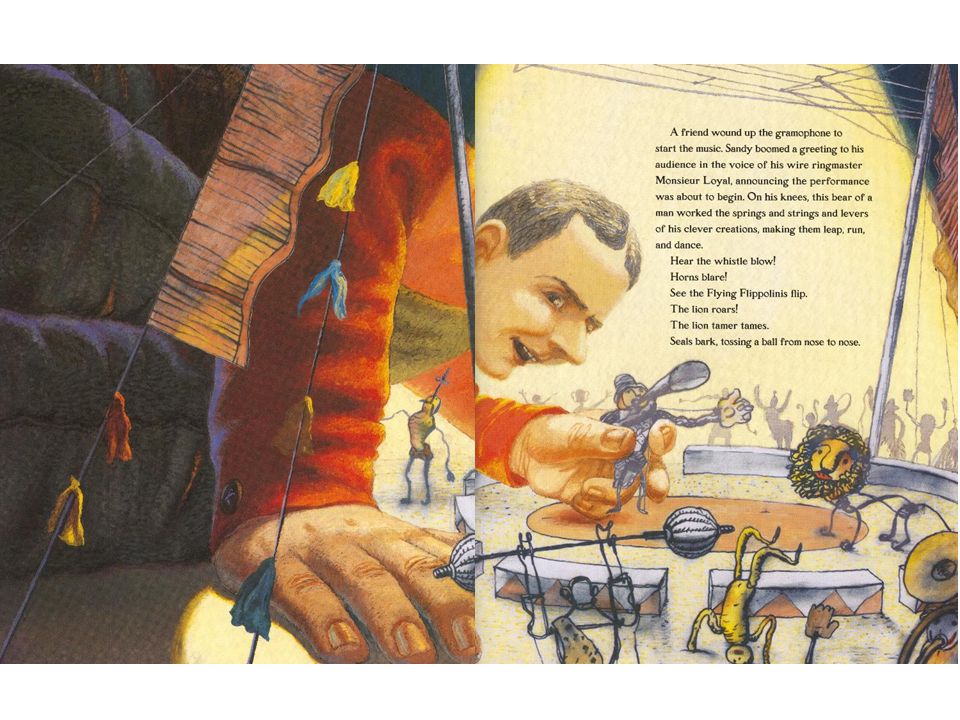
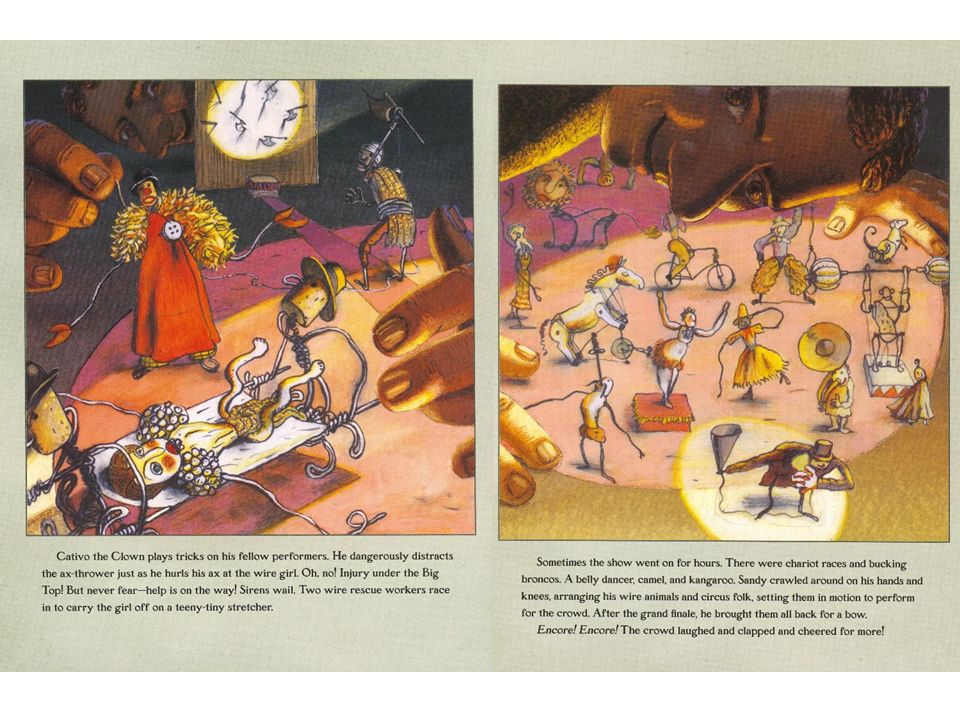
Circus Animals

23
Mobiles What does the word balance mean? What does it mean in a piece of art?

24
Mobiles- from simple to complex

25
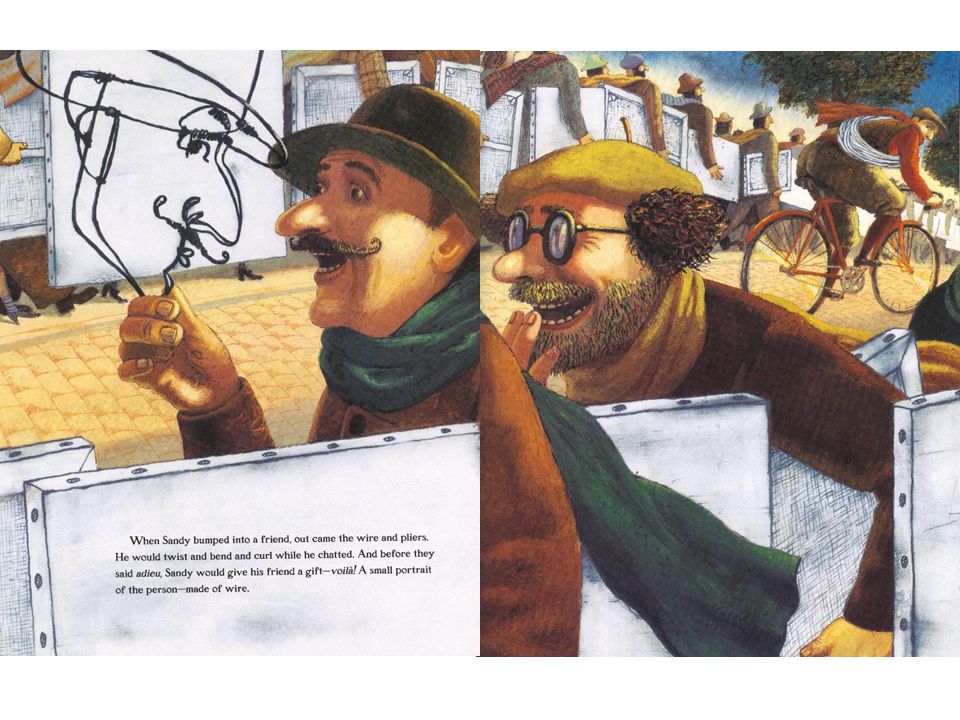
Portraits of Friends

26
Alexander Calder in action Video of Calder Exhibit Showcases Different Side of US Artist – YouTube http://www.youtube.com/watch? v=ovC9_LDnK1o Exhibit Showcases Different Side of US Artist – YouTube http://www.youtube.com/watch? v=ovC9_LDnK1o

27
Today’s Project Alexander Calder Continuous line wire portrait

28
Step 1- Continuous Line Art

29
Step 2- Wire Things to remember: Wire gets kinked- bend it only where necessary Your wire is long- be aware your wire is and your neighbors

30
Step 2- Make a nose Bend the wire in half. Make a loop around two fingers to make a balloon shape and twist the wire 2 times. Point the balloon down and make it look like a nose

31
Step 3- Make an eye Separate the two wires. Make a loop around 2 fingers Wrap the wire around a 2 nd time. Pull the 2 nd loop tighter to represent the pupil of the eye.

32
Step 4- Make an ear Make a long, flat loop to represent an ear. Twist it 3 times.

33
Step 5- Make another eye and ear Use the other wire to make another eye: – Make a loop around 2 fingers – Wrap the wire around a 2 nd time. – Pull the 2 nd loop tighter to represent the pupil of the eye. And another ear: – Make a long, flat loop to represent an ear. – Twist it 3 times.

34
Step 6- Make some hair Use the rest of the length of the wire from the second ear to make hair. – Curly hair – Parted hair – Spiky hair Wrap the wire around the top of the first ear to tie it off.

35
Step 7- Make a chin Use the rest of the wire from the first ear to make a chin or mouth. Wrap the end of the wire around the bottom of the second ear to tie it off.

36
Step 8- Put your name on it Write your name on a tag and attach it to your portrait.

Similar presentations


 What is the most challenging thing for you to draw on the human face? ( Eyes, ears, lips, nose, chin, hair, etc.) 2) What is.>")


>")


