Download presentation
Presentation is loading. Please wait.

1
NWTS Vascular Access and Ultrasound Training Guide to NWTS Ultrasound equipment Guide to vascular access techniques in Paeds Sonosite’s Ultrasound physics presentation

2
NWTS Ultrasound Training Disclaimer: This is a basic guide to familiarise you with NWTS ultrasound equipment. There is also advice on techniques for vascular access in children. Techniques should be learned under direct supervision and you should be assessed as competent before using this equipment on patients.

3
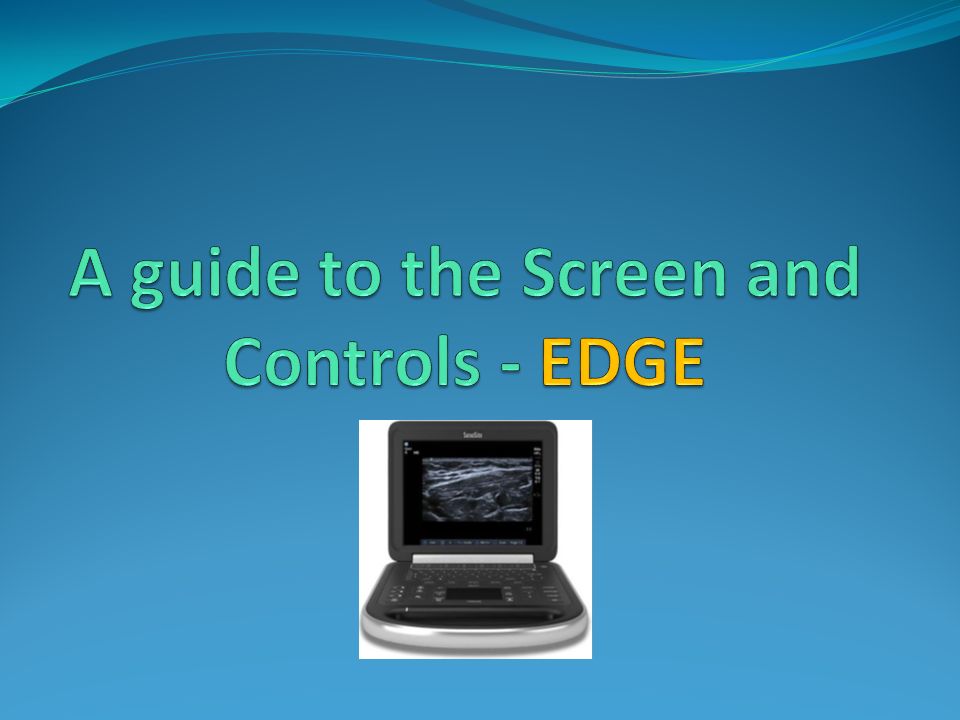
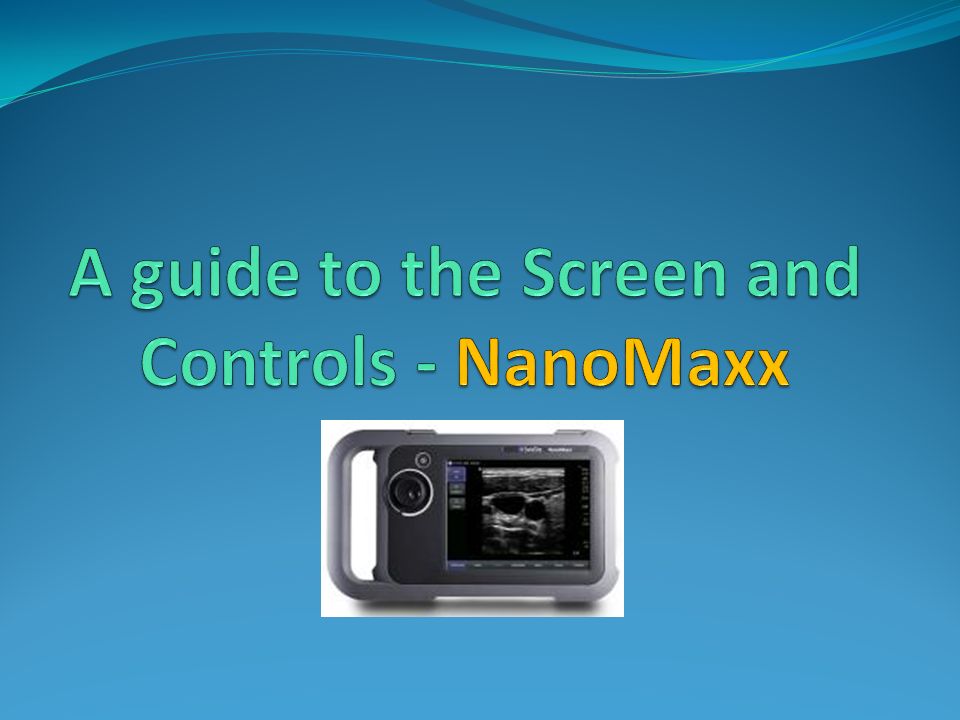
An introductory guide for NWTS trainees EDGE NanoMaxx

4
Contents Equipment overview Transducers A guide to the screen and main controls Edge NanoMaxx Setting up for line insertion Tips for use

6
Uses of portable ultrasound Most common use is to guide central venous and arterial access Other NWTS uses include: Thoracic imaging for effusions and exclusion of pneumothorax Focused echocardiography Peripheral venous access Abdominal imaging e.g. bladder volume, intra-peritoneal free fluid Cranial Ultrasound

7
Equipment location NWTS uses two Sonosite portable ultrasound systems. These are the Edge and the NanoMaxx. They are located in the trolley/equipment room, on the lower wire shelf, in two grey bags.

8
The Edge - bag contents Power pack and cable Sonosite Edge The ‘echo’ transducer The ‘hockey stick’ transducer

9
The NanoMaxx - bag contents Power pack and cable Sonosite NanoMaxx Linear array transducer

10
Introduction The Edge is the newer of the two systems. It has a larger display and two transducers. It is similar to a laptop, and is controlled using a keyboard and a touchpad. The NanoMaxx is the smaller system, is highly portable and has a single transducer. It is controlled using a touchscreen and a control knob. It has a kickstand to aid viewing.

12
Changing transducers (always switch machine off first) (click play on the videos below) Removing a transducer Connecting a transducer
 (click play on the videos below) Removing a transducer Connecting a transducer")
13
Compact Linear Array (Hockey stick) and Linear Array 25mm Transducers (13-6MHz) These are high frequency transducers with a small footprint. They are ideal for vascular access, as they produces high resolution images of superficial structures. They can also be used for superficial pleural/lung imaging, and imaging of nerves. The maximum imaging depth is 6cm. Linear array transducer Compact linear array transducer (Hockey stick)
.")
14
Rectangular image produced by linear array transducers Probe Beam

15
Phased Array 10mm Transducer (8-4MHz) This is a lower frequency transducer with a smaller footprint. It is ideal for echocardiography, as its small footprint allows imaging between ribs. It can also be used for paediatric thoracic and abdominal imaging, and also neonatal cranial imaging. The maximum imaging depth is 14cm.

16
Sector image produced by the phased array transducer Probe Beam

18
A guide to the main controls Gain controls Power On/off Imaging mode Depth Adjustment Control keys with on-screen functions Zoom Touchpad and Select key Exam menu

19
Screen layout Image optimisation On-screen control key functions Depth Marker Maximum selected depth Exam type System status (charge/ memory) Orientation marker Index’s of tissue heating
 Orientation marker Index’s of tissue heating")
20
Imaging mode and Exam Menu 2D is the default mode, and is the most frequently used Color is used to visualise the presence, direction and velocity of flow Doppler records blood flow velocity along the length of a beam M Mode uses a single beam of ultrasound and projects the image over time Exam – pressing this key displays the exam type menu. The options depend on the transducer attached(e.g. vascular, nerve, abdomen). When using the Hockey stick transducer, the default exam type is ‘Venous’ (no need to change this for vascular access). Exam menu Imaging modes
. When using the Hockey stick transducer, the default exam type is ‘Venous’ (no need to change this for vascular access). Exam menu Imaging modes.")
21
Depth and Zoom Controls The up and down depth keys adjust the displayed depth. The vertical depth scale will be marked in 0.5cm, 1cm and 5cm increments, depending on the selected depth. The maximum selected depth will be displayed as a number (in cm) in the lower right hand corner of the screen. The ZOOM button magnifies the image 100%. Press the zoom button – a box will appear on the screen. Using the touchpad, move the box to the region of interest. Press zoom to magnify this region. To exit, press the zoom button again. (Practically zoom needed only for small peripheral vessels and always align box to the skin at the top.) 1.0cm 0.5cm 1.5cm 2.0cm 1cm 2cm 3cm 4cm 5cm 6cm
 in the lower right hand corner of the screen. The ZOOM button magnifies the image 100%. Press the zoom button – a box will appear on the screen. Using the touchpad, move the box to the region of interest. Press zoom to magnify this region. To exit, press the zoom button again. (Practically zoom needed only for small peripheral vessels and always align box to the skin at the top.) 1.0cm 0.5cm 1.5cm 2.0cm 1cm 2cm 3cm 4cm 5cm 6cm.")
22
Gain controls Gain refers to the degree of amplification of returning signals. Increasing the gain makes the image appear ‘whiter’. It increases the noise on the displayed image. Adjusting the gain may improve the ability to distinguish structures on the screen. In each pair of gain keys, the left key decreases gain and the right key increases gain. Near adjusts gain in the near field (upper half of the image) Far adjust the gain in the far field (lower half of the image) Gain adjusts the overall gain (entire image) Auto adjusts the gain automatically It is usually sufficient to change the overall gain or to use the auto-gain.
 Far adjust the gain in the far field (lower half of the image) Gain adjusts the overall gain (entire image) Auto adjusts the gain automatically It is usually sufficient to change the overall gain or to use the auto-gain..")
23
Control keys with on-screen functions Image optimisation Res: best resolution Gen: balance between resolution and penetration Pen: best penetration Dynamic range/greyscale: adjusts the number of greys displayed Multi-beam imaging: increases resolution / enhances borders (default: on) Allows display of two images Scrolls between Pages 1 and 2 Video clip options Orientation marker (see next slide) Brightness adjustment
 Allows display of two images Scrolls between Pages 1 and 2 Video clip options Orientation marker (see next slide) Brightness adjustment")
24
The orientation marker The orientation marker (green dot on screen) corresponds to the tip of the foot of the hockey stick probe or the raised dot on the phased array transducer.
 corresponds to the tip of the foot of the hockey stick probe or the raised dot on the phased array transducer.")
25
Changing the orientation marker position The orientation of the on-screen image can be changed by changing the position of the orientation marker. The options are Up/Right, Up/Left, Down/Left, Down/Right (found on Page 2 of the on-screen control keys).
..")
27
A guide to the screen and controls Control knob On/Off Orientation marker System status Touchscreen controls Exam type and transducer Image optimisation Depth Marker Maximum selected depth Touchscreen controls

28
Using the touchscreen controls The touchscreen controls are dynamic, and change according to context. To select a control, tap it with your finger. The following symbols identify how a control functions: (+) cycles through a list of settings ( ) tapping the control displays/collapses a list ( ) indicates that the setting is adjusted using the control knob
 cycles through a list of settings ( ) tapping the control displays/collapses a list ( ) indicates that the setting is adjusted using the control knob.")
29
Touchscreen controls – vertical group Depth Tap, then adjust with control knob Gain Tap to select Overall (‘Gain’), Near or Far gain, then adjust with control knob Tap to change page Automatically adjusts gain Zoom Tap for box to appear; slide box to region of interest. Tap ‘Box’ icon to zoom. Multi-beam imaging: increases resolution/ enhances borders (default: on) Brightness control of screen not image Reverts to default gain setting Image optimisation Res: best resolution Gen: balance between resolution and penetration Pen: best penetration Dotted line down middle of screen
 Brightness control of screen not image Reverts to default gain setting Image optimisation Res: best resolution Gen: balance between resolution and penetration Pen: best penetration Dotted line down middle of screen.")
30
Touchscreen controls – horizontal group MODE Tap for menu, then select mode required. 2D is the default mode, and is the most frequently used. Color is used to visualise the presence, direction and velocity of flow. M Mode uses a single beam of ultrasound and projects the image over time. EXAM Tap for menu, then select exam required. The default setting is Vascular. Other exam types are Venous, Musculoskeletal, Superficial, and Nerve.

32
System Defaults Edge NanoMaxx When the Hockey stick transducer is attached and the system is turned on, the following default settings will be present: Exam type: Venous Image optimisation: Resolution Orientation marker: Up/Right Image depth:2.6cm Multi-beam imaging:On When the system is turned on, the following default settings will be present: Exam type: Vascular Image optimisation: General Orientation marker: Up/Left (fixed position) Image depth:2.6cm Multi-beam imaging:On
 Image depth:2.6cm Multi-beam imaging:On")
33
System set-up for line insertion After checking the default settings, the only adjustments that may be required are: Depth Gain Orientation marker: may need to change this when using the Hockey stick probe, depending on how the probe is held. The position of the marker is fixed on the Nanomaxx. Image Optimisation: you may want to change this depending on the depth of your target (Res, Gen or Pen).
..")
35
Tips for use Whenever possible, connect the ultrasound machine to the power outlet to prevent the machine from powering down during a procedure. The operator should orient the transducer to match the medial-lateral orientation of the patient. A quick check can be made by touching one edge of the transducer, so the orientation on the patient corresponds to that on the screen. Always use plenty of ultrasound gel in the probe cover, and make sure there are no air pockets, which result in poor image quality. Using a generous amount of gel on the skin not only provides better image quality, but also allows scanning with minimal pressure, which avoids compression of vascular structures.

36
Ergonomics The patient, operator, ultrasound machine, and sterile tray should all be arranged in an ergonomic position that allows for efficient performance of the procedure. The ultrasound machine should be set up in such a way that the operator can see both their needle and the screen without having to turn their head. This avoids unnecessary movement, which may compromise line insertion. The sterile tray/trolley should be positioned close enough to the operator so that it eliminates the need to reach out for needle, lines and other supplies.

37
NWTS Ultrasound Training Cleaning – Machine cleaning / disinfection (switch off – disconnect from power – non abrasive cleaners (soap and water) – do not immerse - alcohol, glutaraldehyde, ammonia and per-acetic acid based products are ok - Probes (switch off – disconnect from power – non abrasive cleaners (soap and water) – do not immerse connection end (probe end ok) alcohol, glutaraldehyde,ammonia and per-acetic acid based products are ok Storage – Always place back on charge and switch off the machine Replace any sterile products used (Gel /Sheathes)
 – do not immerse - alcohol, glutaraldehyde, ammonia and per-acetic acid based products are ok - Probes (switch off – disconnect from power – non abrasive cleaners (soap and water) – do not immerse connection end (probe end ok) alcohol, glutaraldehyde,ammonia and per-acetic acid based products are ok Storage – Always place back on charge and switch off the machine Replace any sterile products used (Gel /Sheathes)")
Similar presentations


>")
