Download presentation
Presentation is loading. Please wait.

1
Instructor: Elon Yariv

2
www.rcsb.org
3
1971 – PDB founded with 7 X-ray structures. 2015 – 102,318 X-ray, 11,256 NMR & 933 EM structures.

4
Sequence Ligand structure Drug Target New Structures Sequence Ligand structure Drug Target New Structures Type ALK

5
90 search results. Scroll down to PDB entry 4CNH. Click to enter!!

6
Click!!

8
File->Preferences->Set… Type working directory here 3D Viewer DashBoard Menu

9
File->Read molecule Or Click New molecule appears Hold to rotate around Axis Hold to move Hold/Scroll to zoom + Shift Hold to move in/out Select You can change selection level through this menu to atoms, residues, chains or molecules. Select 4CNH.pdb you’ve just downloaded + Shift

10
Left Click rectangle to select chain B Edit->Delete->Delete selected Atoms Edit->Delete Water Two identical proteins in crystal symmetry unit. The protein is monomeric. We will delete chain B and all water molecules. Left Click to expand

11
Step1: Expand chain A and select residue 3U92402. Step2: create new set, and call it “ligand” Step3: Select the protein, subtract the ligand and create another set: “receptor”

12
L – line B – Ball & Sticks C – Space fill R – Cartoon MS – Molecular surface L – Labels CL - Colouring

13
Step1: Select ligand (green dot) Step2: Select->Spherical region Step3: left click Step4: Click Step5: select from protein Step6: click select, then close Before closing make sure the selection level is at residues. Add the selection to a new set: “protein near ligand”

14
● Hide everything. ● Change “protein” representation to cartoon. ● Colour by rainbow. ● Show ligand and “protein near ligand” as ball&stick. ● Right click the show ball&stick button next to “ligand”. You can change the representation of “ligand” and “protein near ligand” Individually. To render high quality images go to: 3D graphics->Render large image

15
File->Save ->Current session Save to a folder of your liking. Session file ends with.psf To load an old session: File-> Read session

16
File->Save->Write PDB Call the new file – 4CNH_monomer.pdb Confirm

19
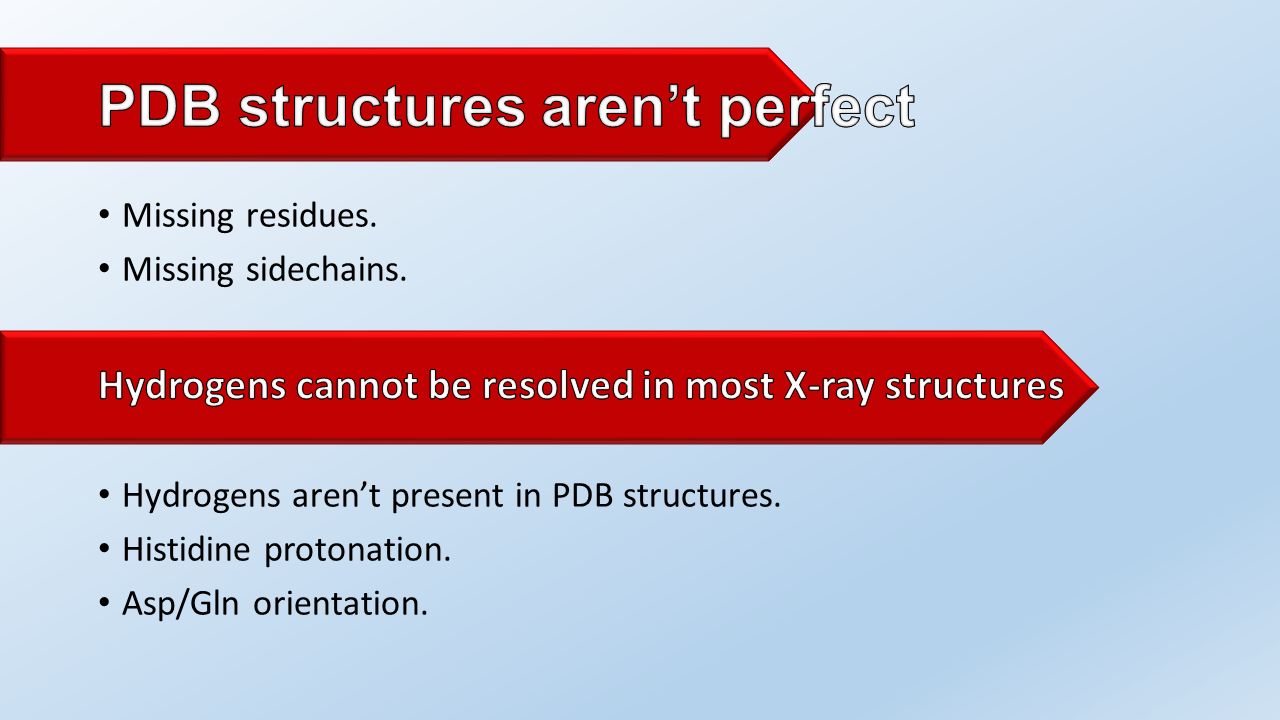
Open ‘Edit’ menu Press to add hydrogens Quick solution but not the best. We will not do this in this workshop.

20
Adds explicit hydrogens. Asp/Gln flips. Changes Histidine protonation.

21
type ‘4CNH’ Or upload 4CNH_monomer.pdb

22
Select this option Fix Asn/Gln/His residues Hydrogen placement for X-ray structures Click to add hydrogens

23
Confirm results and download.pdb file Choose which residues you want to flip.

24
Structures must be minimized to relax protein strain. Chimera built-in minimization: www.cgl.ucsf.edu/chimera/www.cgl.ucsf.edu/chimera/ 3Drefine (webserver): sysbio.rnet.missouri.edu/3Drefine/sysbio.rnet.missouri.edu/3Drefine/ Chiron (webserver): troll.med.unc.edu/chiron/login.phptroll.med.unc.edu/chiron/login.php PDB-Redo (webserver): www.cmbi.ru.nl/pdb_redo/www.cmbi.ru.nl/pdb_redo/
: sysbio.rnet.missouri.edu/3Drefine/sysbio.rnet.missouri.edu/3Drefine/ Chiron (webserver): troll.med.unc.edu/chiron/login.phptroll.med.unc.edu/chiron/login.php PDB-Redo (webserver):")
25
Select the ligand, and then remove it Don’t forget to set selection level to residues. Read the molprobity output file. Delete the ligand residue within the structure.

26
Automatically detects rotatable bonds, rings, assigns charges and merges non-polar hydrogens. After loading the ligand, in the torsion tree menu, select “detect root…”. Change file type to.mol2 then choose 3U9.mol2 from the tutorial folder.

27
Open the ligand menu Select “Choose Torsions…” option. Rotatable bonds and rings are highlighted. You can make bond non- rotatable by selecting it. Number of torsions in molecule. Confirm selection Important: Sampling more then 9-10 torsions is inefficient!!!

28
Save the ligand. Hide root marker. Hide it and display the receptor – 4CNH_monomerFH_reg PDPQT format: Contains atom coordinates of structure. This file also contains partial charges and autodock atom types. Both ligand and receptor must be converted to PDBQT. Recognized atom types: H, C, N, O, F, Mg, P, S, Cl, Ca, Mn, Fe, Zn, Br and I. Open the ligand menu

30
Open Grid menu Select this molecule Click After dismissing the warning message, select the directory and the name of the protein.PDBQT file.

31
Open menu through Grid->Gridbox… Set box size to 50x50x50 Set centroid to: (45,-4.5,-49) The Grid box appears at origin of axis (0,0,0). The position and size of the box must be altered When finished press the file tab in the Grid Box window. Choose: “Close saving current”

32
Select the Ligand Autogrid will use the atom types found in the ligand. It will place them at each grid point Open Grid menu Confirm

33
Save the grid file as “4CNH.gpf”. This file includes the grid box dimensions and the atom types found in the ligand molecule. Open Grid menu Save the grid parameters file

34
Choose the.gpf you’ve created Name of the log file (.glg extension) Filled in automaticall y Once finished press “Launch”. Open Run -> AutoGrid… Select autogrid4.exe

35
Job last about 15 seconds. Can be monitored by opening 4CNH.glg with Notepad++. Or with the ‘tail’ command in Unix. Here you will find the error messages. Output: Grid map file for each atom type in the ligand..map file: List of the scores of every point in the grid, most values are zero or large positive numbers.

37
Open Docking menu and select Choose the receptor structure file: 4CNH_monomerFH_reg.pdpqt Choose ligand “3U9”. A new window will open that allows you to review ligand properties, set the initial location of the ligand and the initial number of torsions. Press “Accept” without changing anything.

38
Docking -> Search Parameters -> Genetic Algorithm New window opens Number of output results Change duration to short Confirm to exit Short simulation: about 1 min Medium simulation: about 10-20 min Long simulation: Can only guess… Always generate more then 1 ligand pose.

39
For advanced users. You shouldn’t mess with these! Add the crystal ligand conformation, i.e. 3U9.pdb, as a reference for RMS calculations. This will give you an indication how well the results were. Write the directory of 3U9.pdb Select ‘no output’ “Accept” to Exit Click to expand

40
This file contains all the sampling parameters you’ve just set, the receptor file, ligand file and grid file location. Call it “3U9.dpf” do not forget to write the file extension. Docking -> Output-> Lamarckian GA(4.2)…
….")
41
Choose the.dpf you’ve created Select Autodock4.exe Press to start simulation Select autodock4.exe

42
To load results into open the Analyze menu->Dockings->Open… Select 3U9.dlg – the output file. To view the different poses: Analyze->Conformations->Play, Ranked by Energy Pose Rank Next pose Play/Pause Pose Player options Move to first pose Exit

43
Open the analyze menu->Macromolecule->Choose… Select 4CNH_monomerFH_reg and confirm Open the pose player options menu Select to build Hydrogen bonds Show energy components for docked pose

44
2 H-Bonds 1.34Å RMSD from crystal coordinates. Maximal deviation 4.3Å This window is opened by ticking the show info box shown in the previous slide

Similar presentations


 OR Click on Start All Programs Microsoft Office Microsoft Office Excel 2003.>")


