Download presentation
Presentation is loading. Please wait.

1
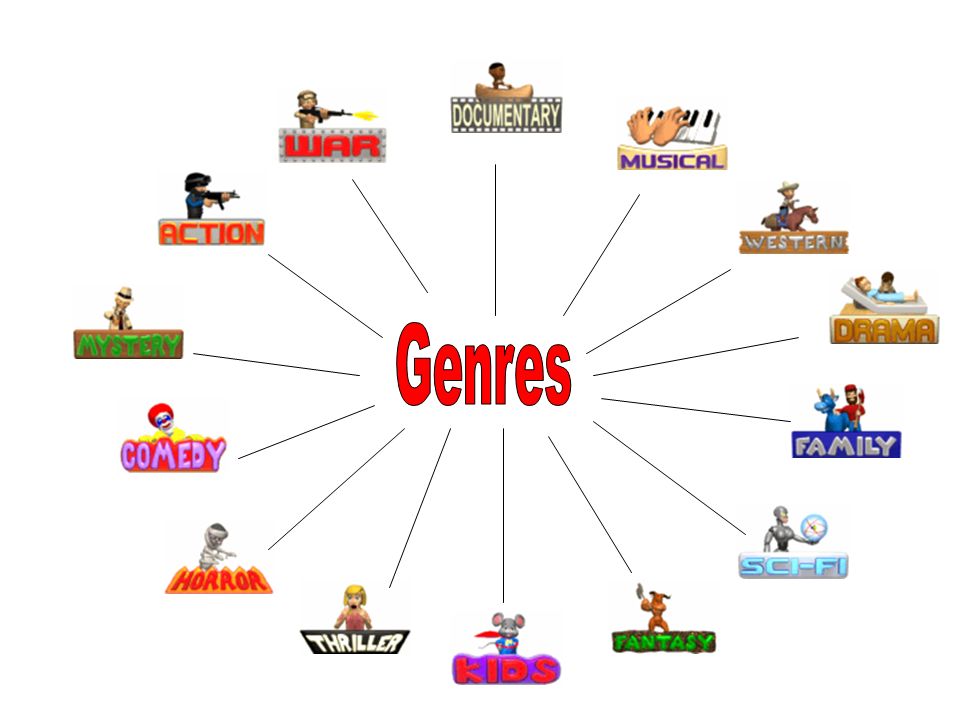
Task 1 On your own, think of all of the types of film that you get (for example – horror). We call these genres. Write one on your card. When your teacher says to, pass it to the person on your left. Write another genre on your new card. You can’t write the same one twice on the same card! Pass it on. Keep writing down genres and keep passing on the cards.

4
Windows Movie Maker How easy is it to make a film?

5
By the end of today’s lesson you will: Knowledge Know how to use Windows Movie Maker; Skills Be able to make a short film; Understanding Understand what the basic elements of a film are.

6
Task 2 Open Windows Movie Maker. It might be on your desktop, or in the Programmes Folder in the Start Menu.

7
Task 3 Let’s start by bringing in some photographs. This is called importing. Click on Import pictures in the Capture Video menu on the left. Go to: –My Computer –Samples –Yr07 Enrichment Programme –Movie Maker Intro –Images Press Ctrl and click on three photo’s that you like. Click Open. This will import them into Movie Maker.

8
Task 4 To put the photo’s into your film, you have to drag them onto your storyboard. Hold down the left mouse button and drag them onto your storyboard. You can change the order of them by dragging them into different places. To see your film so far, click on the first photo, and then press the play button underneath the preview window. To view it full-screen click this button

9
Task 5 Importing video is just the same. Click on Import video in the Capture Video menu on the left. Go to: –My Computer –Samples –Departments –Bla bla bla Choose a piece of footage and then click Open. This will import it into Movie Maker.

10
Task 6 To preview the footage, click on it, and then press play on the preview window. If you like it, drag the video onto your storyboard as well. Now add another video clip, and maybe some more photo’s.

11
Task 7 Now let’s add some titles. Click on Make titles or credits in the Edit Movie menu on the left. Click Add title at the beginning of the movie. Enter the title of your movie. You can see what it looks like in the preview window. To change the title animation, font or colour, click on the commands on the left (you can work this bit out for yourself!) Add some more titles to your film.
 Add some more titles to your film..")
12
Task 8 Now let’s add some transitions. These are what you see between clips. For example, one clip might fade out, and the next fade in. Click on View video transitions in the Edit Movie menu on the left. Choose a transition. Again, you can see previews of them by hitting the play button. If you like one, drag it into the box between your clips or photographs. To change it, simply drag a different one on top of the old one.

13
Task 9 Now let’s add some special effects. For example, you can speed your film up. Click on View video effects in the Edit Movie menu on the left. Choose an effect. Again, you can see previews of them by hitting the play button. If you like one, drag it onto a movie clip or photo You can add more than one effect to a clip. Play around and see what you can do.

14
Now go round and have a look at each others’ films…

15
Knowledge Know how to use Windows Movie Maker? Skills Have the skills needed to make a short film? Understanding Understand what the basic elements of a film are? By the end of today’s do you:

Similar presentations


 structures in painting.>")


